
Now that the new Dill Pickle handlebar bag is up, I thought this time I’d try and document my design process for all to see, in case anyone’s interested.
The first step is to figure out what it is that I want to create. Personally, on long rides I use a small-ish handlebar bag for things like food, camera, sunglasses, arm warmers, etc: basically, the stuff I want to be able to get at easily while riding. The cuesheet goes on top of the handlebar bag where it’s in easy view. Tools, extra layers, dry clothing, etc. goes in a saddlebag, which keeps it away from my grubby fingers, spilled gu, and banana peels.
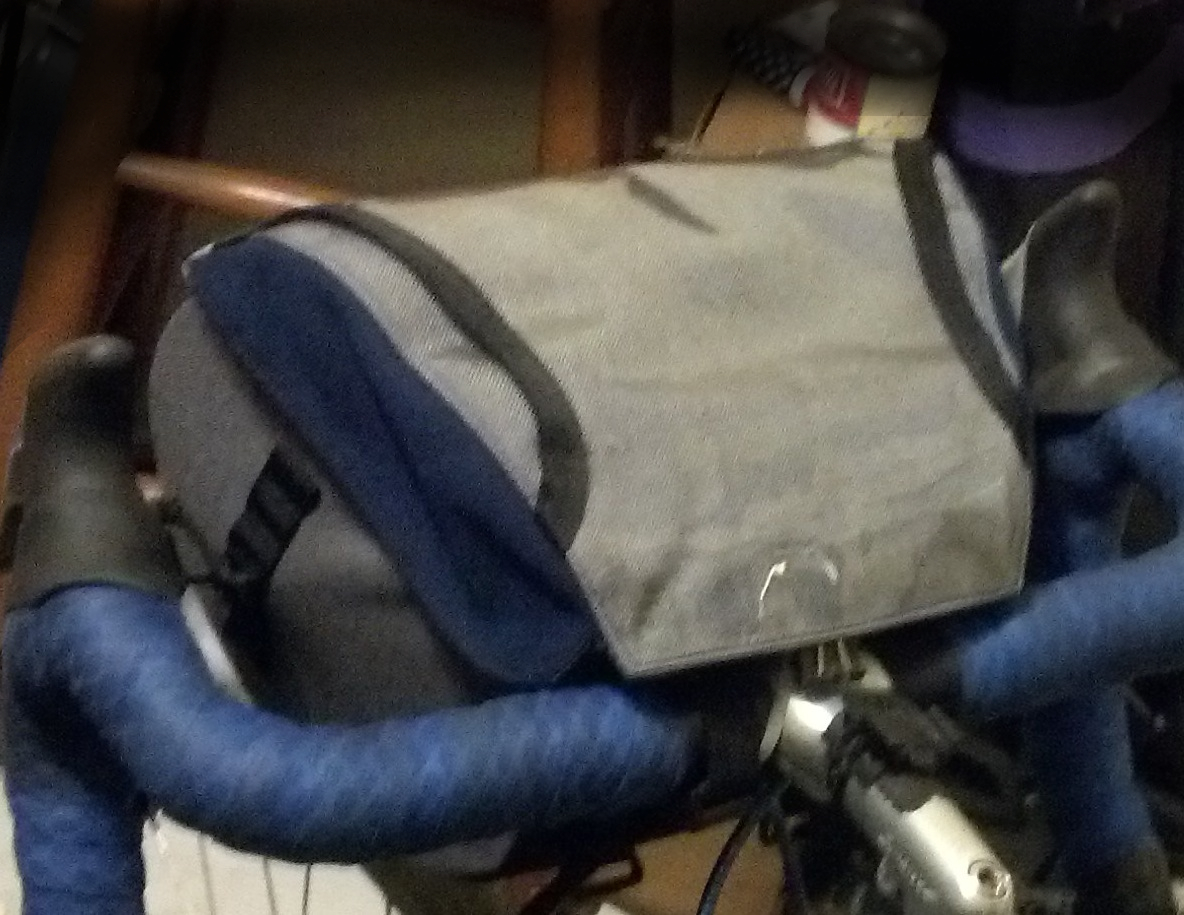
The handlebar bag that I’ve used for years was actually one of the first bike bags I ever made. It’s sort of rough, and has way more buckles than it needs. I made a mount for it that keeps it away from my fingers and also holds my headlight. It’s been useful and successful, but there were a few things I wanted to improve on. The lid operates in a stupid way. It’s easy enough to unzip the back and stick my hand in, but I like the easy-open lids that the traditional boxy front bags have. It can strap directly to the handlebars, but then it gets in the way of wrapping my fingers around the tops.

My old standby handlebar bag, on its mount
So there were some things I wanted to improve upon from the one I’d made before. There were also a few things I wanted to improve on over lots of other common handlebar bags on the market. Most handlebar bags with a larger capacity and a cuesheet window on top need tools to install, leave a mounting bracket on the bars when the bag isn’t in use, and keep their shape only through completely rigid and heavy internal structure. It makes no sense to me for the bag and all its associated hardware to weigh as much as its contents when full. There are some smaller ones that strap onto the bars, but they get in the way of your fingers and usually don’t have a cuesheet window and are less convenient to get into while riding. Then there are the traditional boxy rando front bags, but they require a front rack and usually a decaleur as well, and really work best on bikes that are designed to carry the load that way in the first place. Don’t get me wrong, a bike with a fully-integrated design from the ground up can be a beautiful thing, but many of us use the same bike for more than one thing, or have a bike we like and don’t want to re-design that wasn’t built that way.
So the goals for this model were as follows:
- Similar in size to the one I’ve been using
- Cuesheet window or other attachment system on the lid
- Easy access to the contents with one hand
- Stays out of the way of wrapping your fingers around the tops
- Self-contained mounting hardware, as universally adjustable as possible for use on most road bikes
- Light enough in weight that it’s actually lighter than whatever you might fill it with, and so that it doesn’t have as much affect on the handling
- As much cuesheet real estate as possible, while remaining narrow enough to use with narrow handlebars and still have room for wrapping thumbs around hoods
- Tall enough from top to bottom to be able to offer a dedicated smartphone pocket
The obvious “footprint,” or basic overall shape when looking down from above for something like this is a rectangle. But a rectangle would put a long flat side against the bars and get in the way of your hands. For months and months I thought about using different kinds of spacers to offset the bag from the bars. Rubber bumpers? Wooden blocks? Extra-thick straps? All these had drawbacks in stability, ease of use, complexity of construction, etc. If you’ve ever wondered what goes through my head when I’m out on my bike by myself for hours and hours and hours, now you know. I also began looking into having a version of my own home-grown bag-and-headlight mount produced.
But eventually, I decided that a rectangle was just not going to work. The simplest way to keep out of the way of your fingers is just to get rid of the part that would be in the way. Then it could strap straight onto the handlebars, using cords around the levers to support it at the desired angle.
In thinking about the mounting system, lid closure, etc, I spent some time browsing through catalogs of luggage hardware and realized that while shock cord on a hook is a common and simple way of keeping a lid closed, lots of handbags have something even easier to use: magnetic snap closures. They close themselves as long as you get the stud into the general vicinity of the socket and opening it is as easy as grabbing the lid, but in the shear direction they are completely secure. One way or the other, the closure would have to be off to the side, around the corner from the flat edge that would be right up against the bars and stem or it would be awkward to use.
So off to the drawing board to draft the first prototype. For a variety of reasons, I don’t use CAD. I do it the old fashioned way, like this:
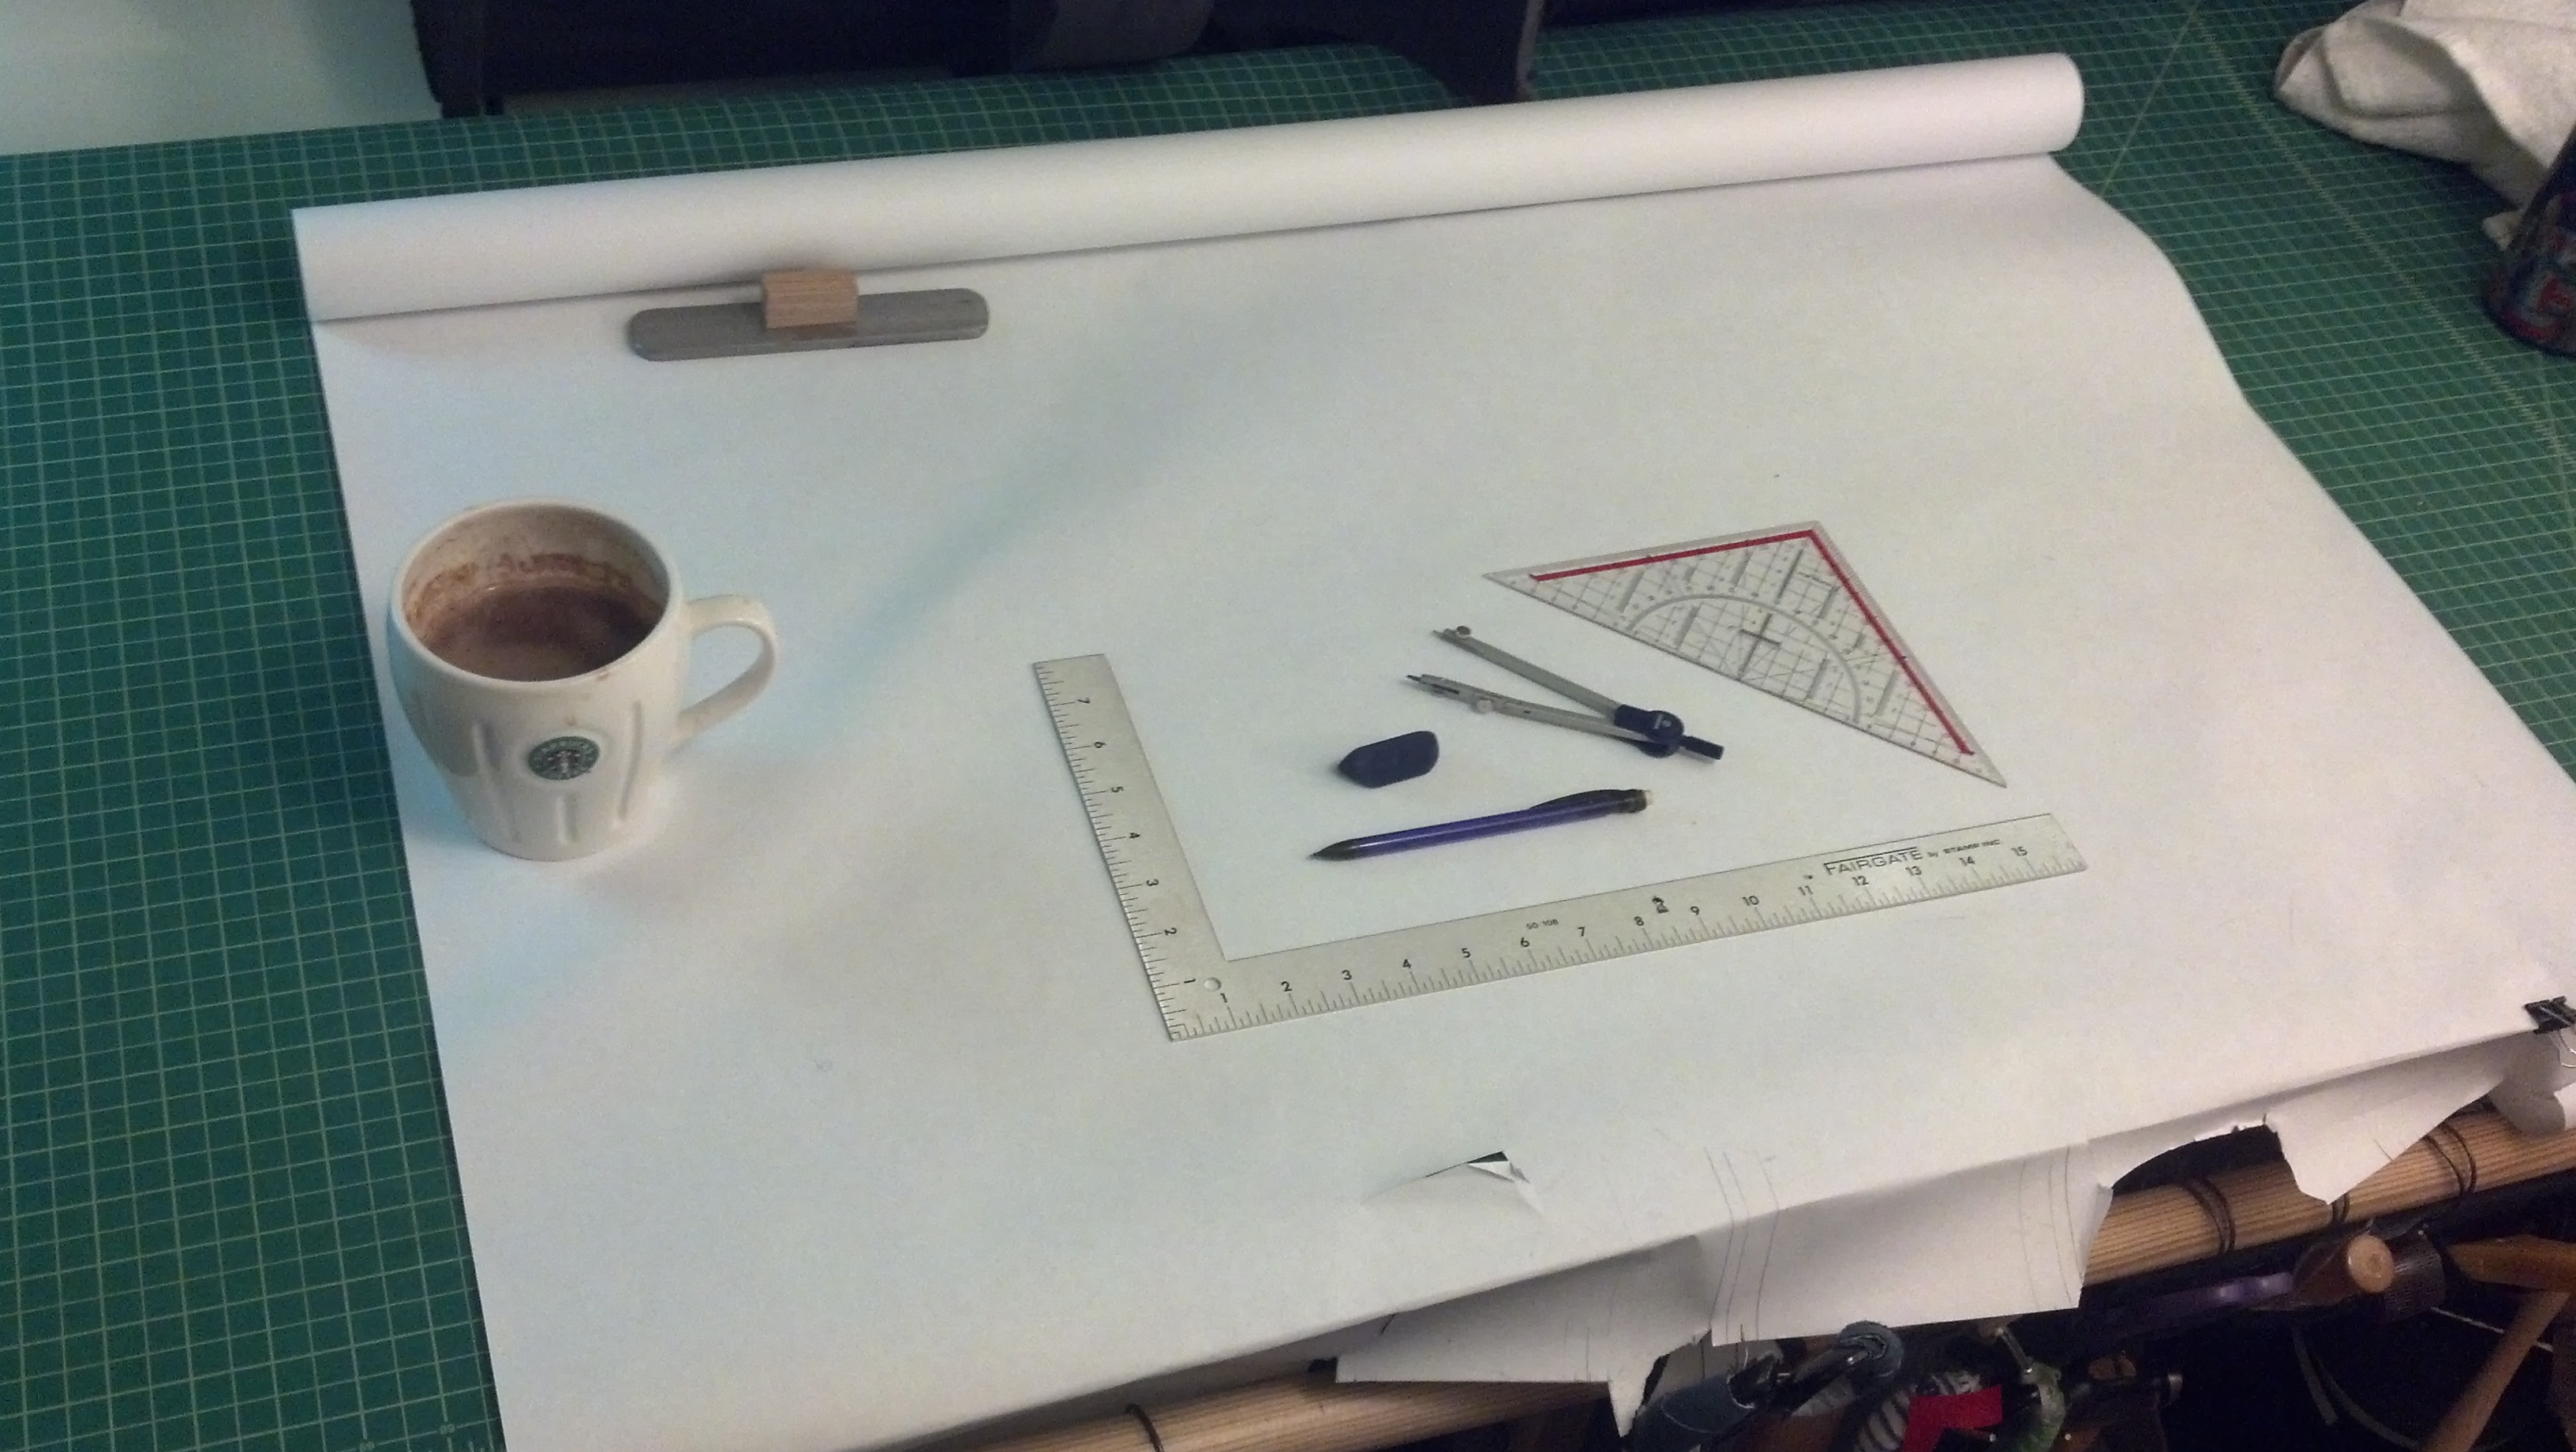 Yep, I remember my high school geometry!
The first prototype had an aesthetically pleasing, curved “footprint”. It curved away from the handlebars, with an oval-ish lid and a curved bottom. The bottom and front were one panel, and the sides and back were one panel that curved around to the front. But it had a few problems. First, the lid overlapped the mounting straps so that the stem would be in the way of closing the bag. But more critically, the curved shape meant that it could deform too much when loaded, or even just when pulled out of shape by the mounting cords. In order to keep the weight and complication down, the shape had to make use of the structural properties of the plastic, not fight against them.
So on to prototype no. 2. The second version had side panels angling out from the bars that contained thicker, more rigid plastic with a curved front/bottom/back panel reinforced by a lighter plastic that gained rigidity by wrapping around the curve. I mounted it on the bike, and it was much closer to what I wanted:


But it still had a few issues. It looked too big and bulbous, to start with, out of place and out of proportion and I felt also too big to properly support its load this way. My original idea was to offer a row of possible mounting locations on the side panels for the cords that go around the levers, to accommodate differences in bike geometry. But upon trying it out, I realized that this was stupid because the bag is most stable when supported from the bottom, regardless of where the cord goes after that. And I didn’t like the way it was distorting the fabric of the side panels – it didn’t look like a recipe for longevity. Lastly, when bouncing the front end of the bike around, the bag would bounce up rather a lot. The cords keep it from bouncing down, but it needed something countering that to be completely stable. The fork offers just such an attachment point.
But otherwise, while the size and shape needed tweaking, the basic structure seemed good. The lid opened and closed easily, and the cuesheet window offered a reasonable amount of viewable area with a reasonable amount of security for keeping the cuesheet from going flying when the lid was open. And the lid opened and closed really neatly and easily. The top was just high enough above the bars for the lid to stay out of the way of the mounting straps.
So, back to the ol’ pencil and paper again for round three: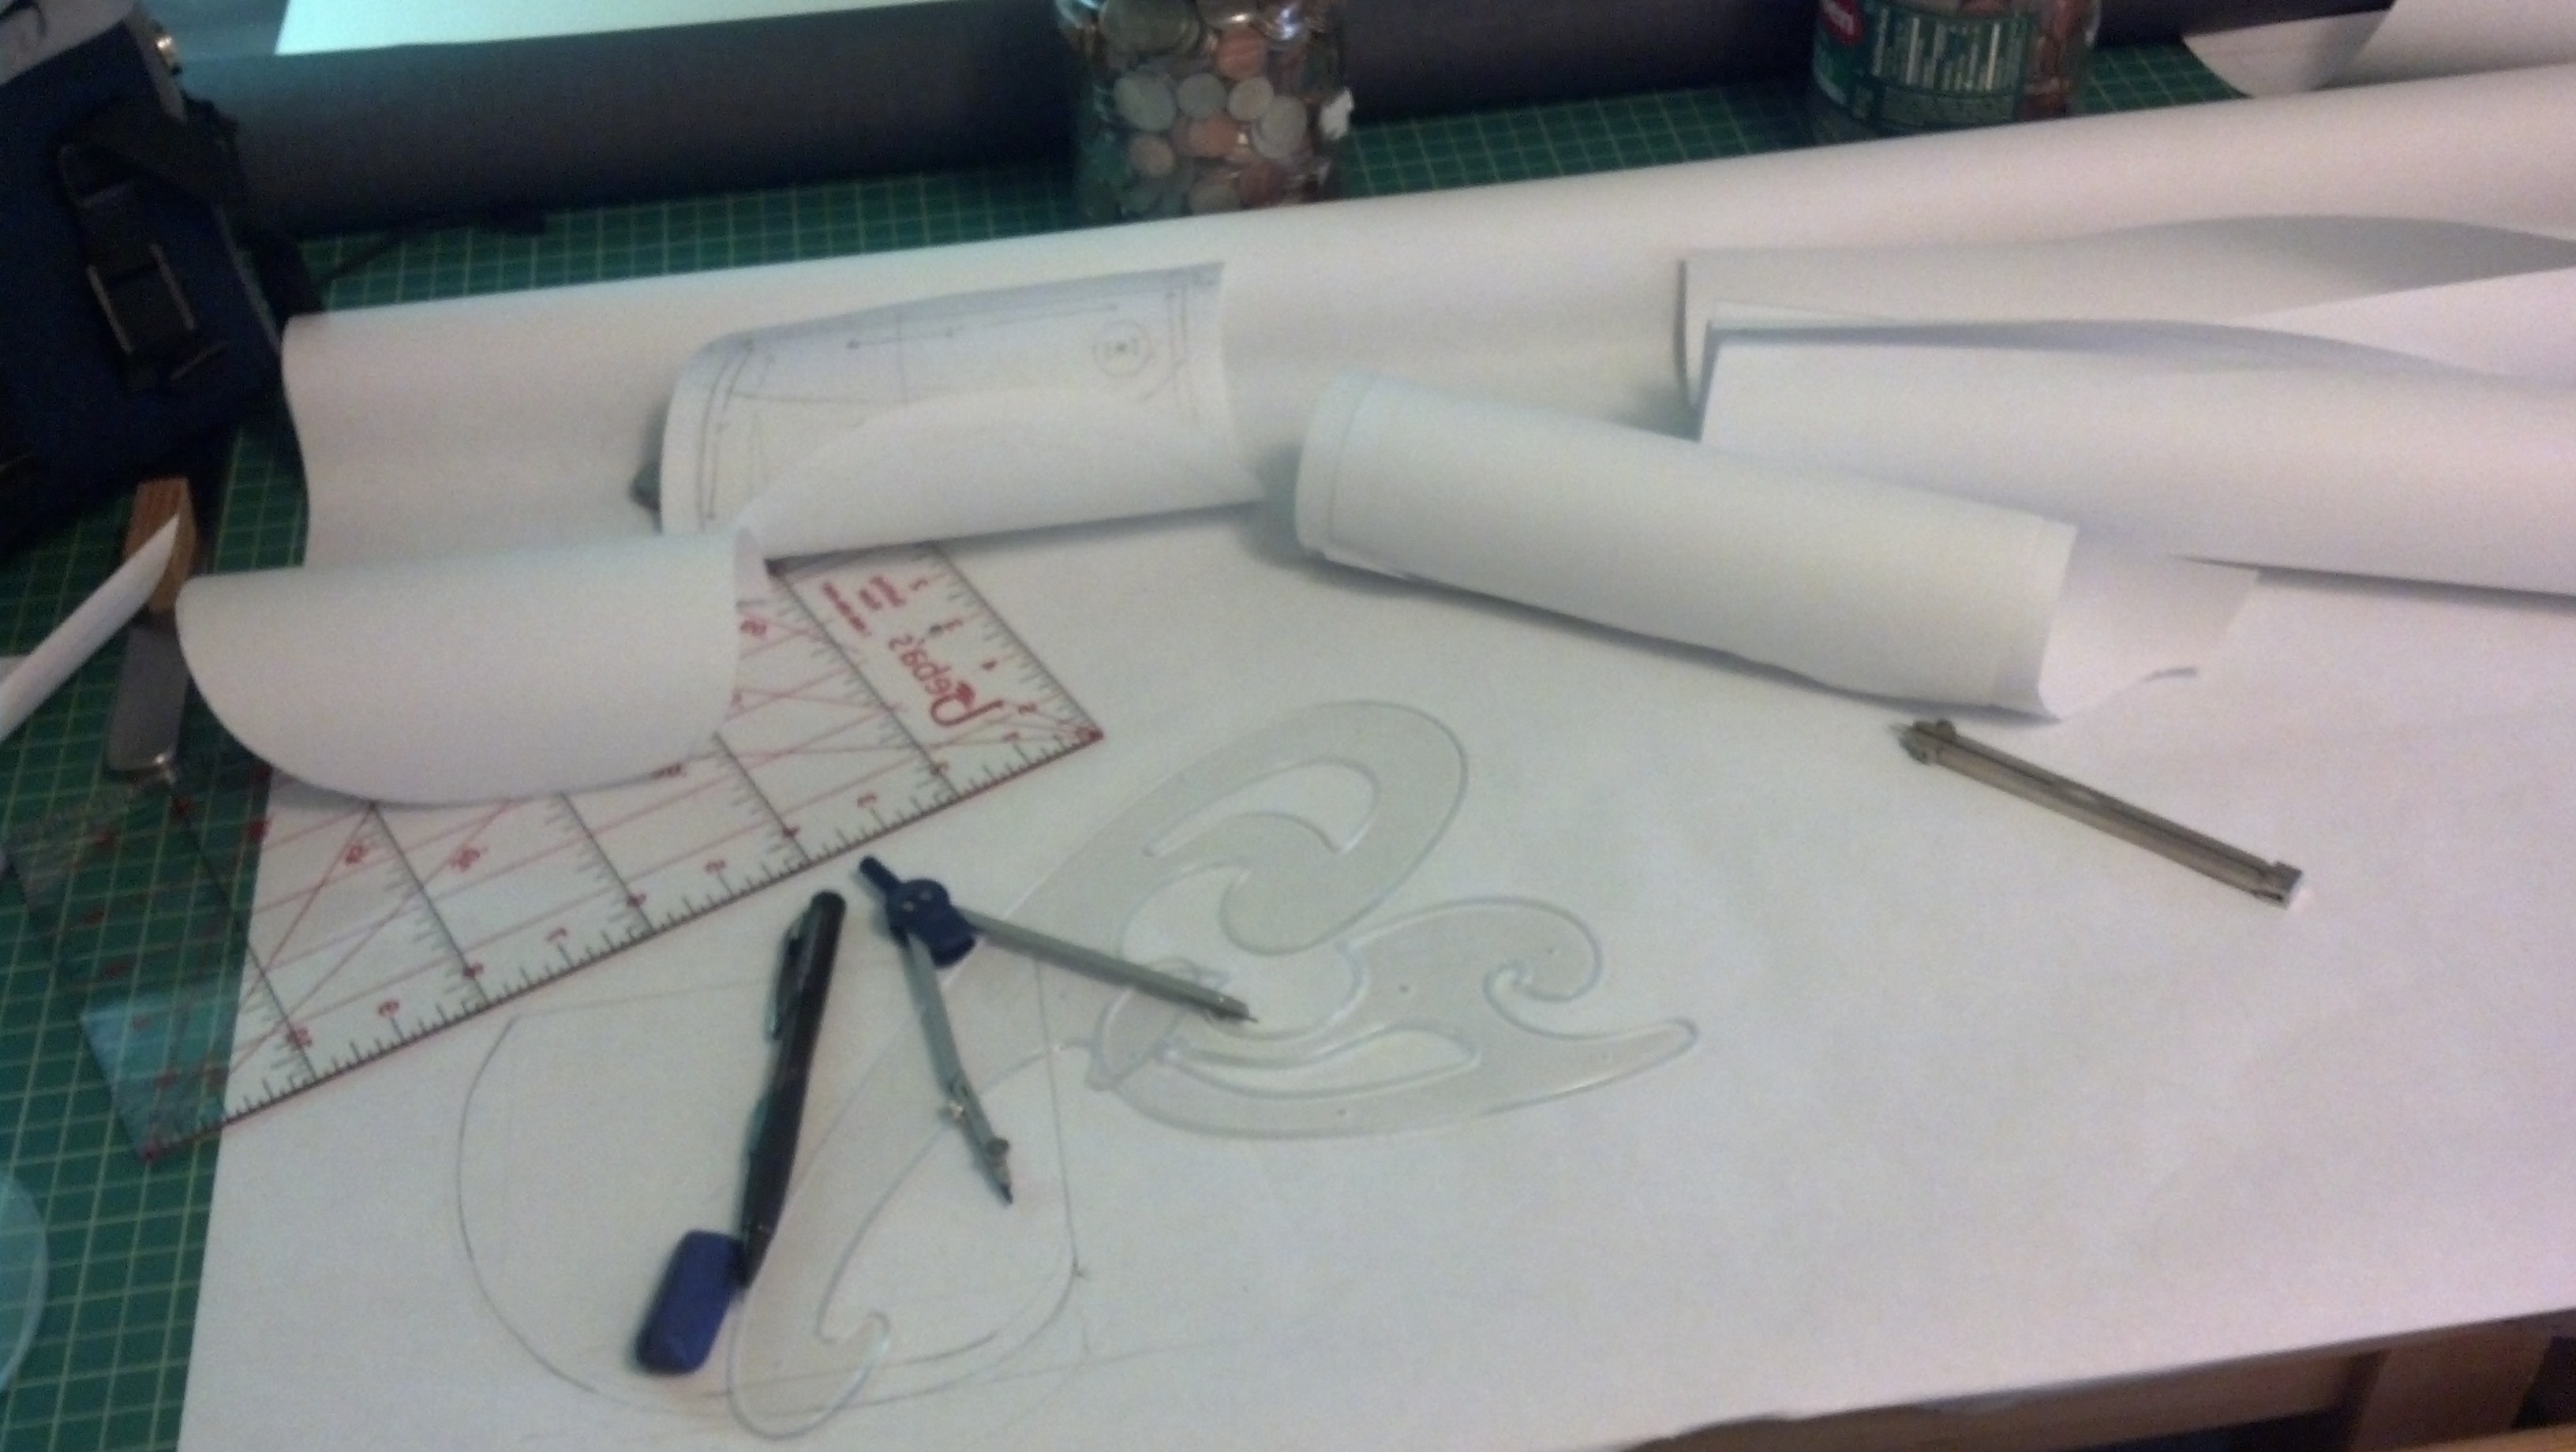
Prototype no. 3 fixed the major issues to my satisfaction, so now it was time for some real-world testing. Fortunately, we were off to DROVES for the weekend with our friends John and Pamela. DROVES is an annual trip they put together to go out and ride gorgeous practically-vertical dirt roads in Vermont. What better way to test the function and stability of a new design than to go careening down a bumpy dirt road with it? And not only that, I could take the opportunity to try it on Pamela’s bike. She rides with tiny 36cm bars with short reach. I’d already tried it on a 60cm bike belonging to a tall friend, so if it fit neatly onto her bike, it should work for just about anything.
Pamela’s bike indicated one more change to the design: she has disc brakes on that bike, so any stabilization strap needs to go either around the fork blades or around the fork crown. But actually, going around the fork blades provides better side-to-side stability anyway. But aside from that, the bag not only fit Pamela’s front end, but also matched her new Honey’s navy-and-gray paint job to perfection.
I put the bag back on my bike, dumped the contents of my saddlebag plus a few other odds and ends for additional ballast into it, and took it out for its road test. Saturday was cold and raining, and even started sleeting while we were out, which felt like being sandblasted in the face on the descents. Sunday was a bit better, and we went out for longer. But a couple days’ descending on dirt and washboarding and potholes and gravel and downed tree limbs from the storm put the bag through its paces. It stayed stable, the lid stayed closed, and it didn’t bounce. 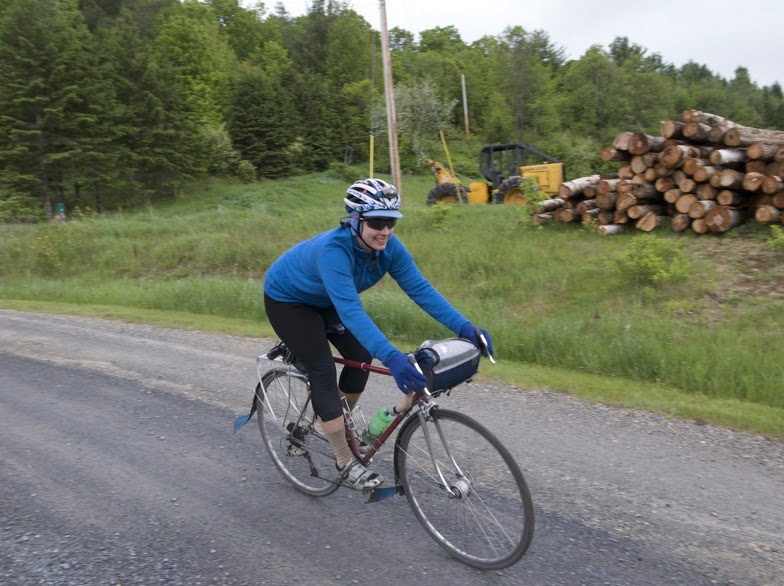
So, success!
The next step was to transfer the pattern pieces onto thicker, more permanent paper, make some more of them with the last revision of the fork straps, and take photos.
