So, how much can I carry?

You can click here to find out a comparison of each bag’s weight and capacity. But what does that really mean for what you can actually carry? To give you some idea, I filled up each size with an assortment of stuff you might have with you on a ride. This is by no means an exhaustive list of what you should bring on a brevet; for example, you’ll notice that while I packed a full change of on-bike clothes as well as a full change of off-bike clothes in the Large, I neglected to pack a toothbrush or clean socks. 

I tried to fill the bags so they were pretty much all the way full, but if you were so inclined you could still strap in some more stuff under the lids and have it stay put; so this is not really the *absolute maximum* you could carry, either.

I also weighed each bag as it was loaded, just to give some idea. For the sake of argument, although I showed the bags (except for the handlebar bag) with a water bottle in a side pocket, I weighed them with the bottle empty; if it were full, it would add a pound. The yellow rain jacket is also very bulky for its weight, but since it’s a great jacket and it weighs next to nothing, I almost always have it in my bag, so it’s in the photos.

The small saddlebag, filled: 

1Small Saddlebag Stuffed


And here’s what was in it. The water bottle was in one side pocket, the arm warmers were in the other, and the wind vest was in the lid pocket. There should have been a pump on the lid too, but I forgot. Wallet and cell phone were in the brevet card pocket. Inside were a pair of gloves, a rain jacket, a reflective sash, a tire lever, a multi-tool, a y-wrench, and a patch kit. The total weight, with no pump and with an empty bottle, was 3 lbs 10 oz.

1Small Saddlebag Open


Here’s the handlebar bag, full. Total weight loaded like this was 3 lb 1 oz. Actually the lid closes no problem, but I positioned the sunglasses to hold it open for the picture: 

1Handlebar Bag Stuffed

The cuesheet was in the cuesheet window. There were a couple of bars in the exterior side pockets as well as a small minimal cable lock, plus more bars and gels in a ziploc bag inside. Also inside were a cell phone (in the cell phone pocket), reflective sash, arm warmers, gloves, rain jacket, spare tail light, sunglasses, and lip balm. Personally, I don’t usually have my jacket in my handlebar bag, which leaves plenty of room for a sandwich or a bottled beverage, etc. 

1Handlebar Bag Open

Or even a loaf of bread!

A Handlebar Bag is just the size for a loaf of bread. This one has yellow lining.


When it comes to the Medium and the Large, there are more variables to what you can pack where, depending on whether you lash things to the lid or use a lid pocket, whether you use rear pockets, etc. So I packed the Medium just lashing the jacket to the lid, and the Large using the lid pocket. Here’s the Medium, packed: 

1Medium Saddlebag Stuffed 

And here’s what’s inside. The side pocket you can see in the picture has a wind vest and arm warmers in it; the side pocket on the other side has the water bottle. Lashed to the lid are the rain jacket and a pump, and there is a tail light on the loop on the back. In the rear zippered pocket are two spare tubes, multi-tool, patch kit, Y-wrench, and tire lever. Wallet and cell phone are in the brevet card pocket. Inside are a winter thermal jacket, long sleeved jersey, bib shorts, knee warmers, reflective sash, gloves, and a cycling cap. You could easily lash something larger or heavier, such as a stuff sack or drybag to the lid instead of the jacket. With the bottle still empty, the total weight was 6 lb 13 oz.

1Medium Saddlebag Open


For the Large, I chose one with a mesh lid pocket and mesh side pockets. Although the example in the picture does have a flap extension, I didn’t use it. By using it, you can stuff quite a lot more in where the shoes are if you are so inclined. 

1Large Saddlebag Stuffed Front 1Large Saddlebag Stuffed Back

And here is what’s in it. One side pocket has the water bottle; the other has the wind vest, cycling cap, and arm warmers. The lid pocket has the rain jacket and the reflective sash, with the pump attached. The rear zippered pocket contains two spare tubes, multi-tool, tire lever, small cable lock, Y-wrench, two patch kits, and a couple of bars, with room to spare. Wallet and cell phone are in the brevet card pocket. Inside the bag are a full change of bike clothes, including a winter thermal jacket, bib shorts, long sleeved jersey, and knee warmers; a change of off-bike clothes, including a long-sleeved T-shirt, cotton cargo pants, and a heavy flannel shirt; plus a spare folding tire, pair of gloves, and tail light. The sandals are strapped under the lid so that they don’t get the clean clothes dirty. This all weighed in at 12 lbs even, with the bottle empty. 

1Large Saddlebag Open


On my own rides, I often use the side pockets of my saddlebag to carry a bottled beverage or two, or a spare water bottle, or my arm warmers or vest. Particularly on the large, they are easily accessible while riding, so they are good for things I don’t want to have to stop to access. Like I said, this is not at all a recommendation of how to pack for a trip; just a representation of what will fit that you might carry.

Share Button

Gallery of Assorted Color Combinations

The most common color choices for Dill Pickle Gear bags are what you'd expect: Black and gray, navy and gray, black and red, etc. But here's an assortment of others you may or may not have thought of:

Large Saddlebag in Gray and Eggplant


Custom rear trunk bag in black and tan. Mmm, black and tan.... :)


Small Saddlebags in Black and red, red and black, black and red, and red and red


Small Saddlebags in assorted colors: Electric blue and celery, Olive and black, Black and Red, Navy and Gray, Red and Black, Black and Red, Tan and Black, Red and Red.
 
Large Saddlebag in Electric Blue and Gray


Small Saddlebag in Black and Neon Pink


Large Saddlebag in Navy and Olive with Emerald Pockets


Small Saddlebag and Handlebar Bag in Black and Yellow


Large Saddlebag in Navy and Gray.


Handlebar Bag in Red and Gray with Name Tag Window


Small Saddlebag in Gray with Black


Large Saddlebag in Navy and Wine


Tool Canister in Wine and Black with White Lining


Large Saddlebag and Extra Large Rando Bag, Navy and Royal


Boxy Rando Bag in Celery and Navy


Gig Bag in Gray and Navy with Yellow Lining


Medium Saddlebag in Navy and Tan


His'n'Hers panniers
His: Neon Green and Blaze Orange. Hers: Electric Blue and Wine. Both with gray bottoms.


Large Saddlebag in Electric Blue and Royal Blue


This is a gig bag in Eggplant with Yellow lining


Not the greatest representation of the orange, but this Handlebar Bag is Neon Green and Blaze Orange


A Handlebar Bag is just the size for a loaf of bread. This one has yellow lining.


Small Saddlebag in Electric Blue and Celery


Large Saddlebag in Gray and International Orange with Reflective Mudflaps


Handlebar Bag in "Classic Pickle" Navy and Gray


Tool Canisters in Black and Navy, Red and Black, and Wine and Black with White Lining


Handlebar Bag in Black and Orange with Orange lining. Handlebar Bag in Black and Orange with Orange lining. Handlebar Bag in Black and Orange with Orange lining. Handlebar Bag in Black and Orange with Orange lining.

Share Button

Introducing the new Medium Saddlebag, and the Under-seat Tool Cannister

Some folks have been asking about a saddlebag sized in between the Large and the Small for quite some time… and the new Dill Pickle Medium Saddlebag is finally here!

Medium Saddlebag Front

And it’s not alone!

Tool Cannister Mounted         Medium Saddlebag With Cannister Side

First the basics: The Medium Saddlebag has a capacity of around 5 liters or 305 cubic inches when more or less full, but not over-stuffed. You could probably stuff another liter in there. And that doesn’t count any exterior pockets. Like the Large and the Small, you can buy one that’s in stock, or you can configure your own and choose from a variety of interior and exterior pockets. The Tool Canister holds about 0.7 liter or 43 cubic inches and you can configure your own colors.

Medium Saddlebag Sketch

I thought long and hard over the final design of the Medium. I considered just making a smaller version of the Large; but I really wanted it to be versatile and able to mount on as many bikes as possible. The Large, like most traditional transverse saddlebags, requires either a saddle with bag loops on the back, or any number of after-market bag mounts and supports. Personally, I don’t like leather saddles and none of my preferred saddles have bag loops. I use a quick-release mount with my Large bag, which is convenient, but for a smaller bag I’d prefer to avoid the rather substantial extra weight of any of the various saddlebag mounts and supports.

So the medium borrows the shorter dowel from the small, but instead of tapering to a wedge shape at the seatpost it flares out from the dowel. That allows the mounting point to stay tucked away under the saddle and not hit your legs if you mount it to the saddle rails.  It has two large grommets for the straps to pass through like the large does; but the spacing between them is about halfway between the spacing of the bag loops on a saddle that has them, and the rails of a saddle that doesn’t. That lets the straps reach either way.

Medium Saddlebag Both on Mounts

The Medium is also fairly squat in profile, and the buckles are positioned so that if you ride a small bike with a low saddle and don’t have much clearance above your rear wheel, you can cinch the bag tightly in the middle to keep it from sagging onto your tire.

Medium Saddlebag With Cannister Bottom

For many riders, that’s the end of the story. But some riders complain that with a transverse saddlebag mounted only to bag loops and seatpost, their thighs hit the bag when they pedal. Some of the Bagman support models only work with bag loops as well, and are intended in part to solve this problem. Sure, you can strap a spare tire behind your seatpost to offset your bag a bit, or you can even clamp a short stem to your seatpost to keep your bag back off your legs, or any number of other things. But I wanted a more elegant solution.

So I designed the Tool Canister. It actually solves several problems at once. It supports the back of a saddlebag to keep it off of your legs and keeps it angled up more, and it works with both the Medium and the Large (and probably with other brands as well, although I haven’t tried) and weighs only 4 oz, much less than any Bagman. Big enough for just the basics, it separates your tools from the rest of the stuff in your bag so that you can change a flat without pawing through all your clean clothes. And you can leave it in place when you take the bag off, which means that when you’re just going on a short ride and don’t need much, you don’t have to move your spare tube and stuff back and forth between different bags; it’s just always right there. When used alone, it’s just a compact, convenient, and extremely stable alternative to a small under-seat wedge pack. When paired with the Medium saddlebag, it allows you to carry all you’ll need on a 600k, without bag loops or any other extra hardware.

Medium Saddlebag with Open Cannister              Tool Cannister Main

Last of all comes the best part… product testing! 😀

P1020595            Medium Saddlebag Testing

Share Button

Pickle Project: Make your own wedge-style saddle pack

*** This pattern is now also available as a kit! The kit includes everything you need to make any of the options for pockets in the pattern, and an assortment of fabrics and colors. Check them out on the “Accessories” page!***

Last year I posted a free sewing pattern for a cycling cap, as a DIY project you can make with either new or reclaimed materials. If you missed it, check it out. It’s got two brim options and optional earflaps, so it works for summer or winter.

So this year I thought I’d continue the tradition and post a pattern for a basic wedge-style saddle pack. There are a million different ways you can go with this: You can buy new materials, or you can cut up an old backpack. You can use canvas, leather, denim, Cordura, vinyl, etc. It’s small enough that if you don’t have a sewing machine, it won’t take unmanageably long to sew it by hand. The pattern pieces are  in jpeg format; click on the image for a full-sized file that you can print onto letter-sized paper. The exact scale isn’t that critical, as long as all three pieces are the same scale. The pdf of instructions does include details on how to make it bigger in each direction, but you can also save yourself some trouble and print at something other than 100% if you want to change the size. It will work fine as long as the three pieces are to the same scale; the ruler is included on each page so that you can double check that the scales match.

Here are two finished examples:

blue finished        Pink finished


The blue one is made of vinyl-coated polyester, which is the same stuff as a lot of tarps and banners. It’s a great way to make use of that stuff if you have an old banner or if you ask a sign/banner shop for scraps. You’ll also notice that the sewn-down loops are made of old inner tube, and that the edges are bound with a cut-up inner tube, too.

The pink one is made of a really cheesy backpack that I bought in a drug store for cheap years ago while I was traveling and needed something for a drop bag. It’s been sitting in the closet ever since. The backpack had the added bonus of saving me a step, since I was able to use the already-existing zipper.

You can download the full instructions as a PDF complete with photos and including the full sized pattern pieces here.  The PDF is really huge because it has lots of photos, so alternatively, you can view the instructions as a web page here. The thumbnails of the pattern pieces are below; click on the thumbnails to see full-sized jpeg images, which should fill standard letter-sized paper when printed at 100%.

The instructions are fairly comprehensive and include plenty of tips about construction, materials, etc. Have fun, and let me know what you think!

This pattern is available for free for your personal use. If you enjoy it, please consider donating to Bikes Not Bombs, the League of American Bicyclists, or some other worthy cycling organization. If you intend to sell items made from this pattern or any version of it, please contact me first.

If you have any feedback, questions or comments, please consider posting them as comments to this post so that others can benefit from your experiences. Happy Holidays!

Share Button

New Website!

As you can see, Dill Pickle Gear has a new look! I’ve also put up a whole bunch of new stock, too. The coolest part, though, is the new “Configurator” for the bike bags and mudflaps that lets you select your colors and options and have the picture change to reflect your choices. By the way, the “Configurator” and all the new store stuff is the work of my friend Cathy Stein, a fellow musician as well as a web developer.

We’ve also switched to a new payment system. Google Checkout has been fine, but it’s being discontinued. But the new system is just as safe and secure for making credit card orders, and as a bonus it doesn’t require creating an account if you’d rather not.

By the way, you may not have known this, but Dill Pickle Gear has a Facebook page. And as of quite recently, it also tweets on Twitter as @DillPickleGear. So if you’re into the social media thing, come check us out.


Share Button

Appalachian Double Cross 1000k redux… this time with photos!

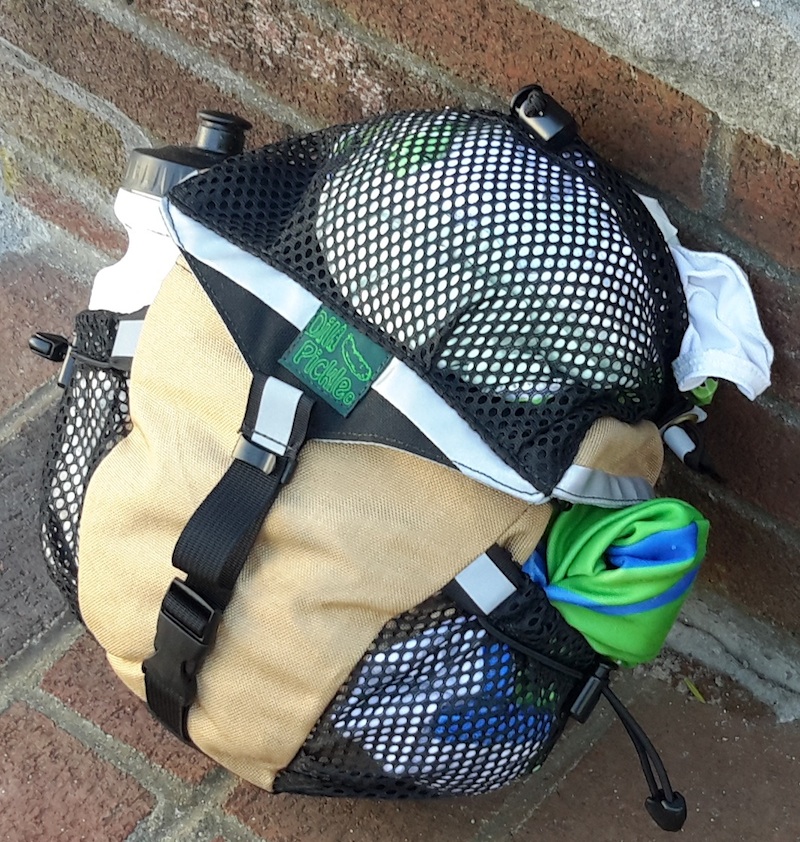
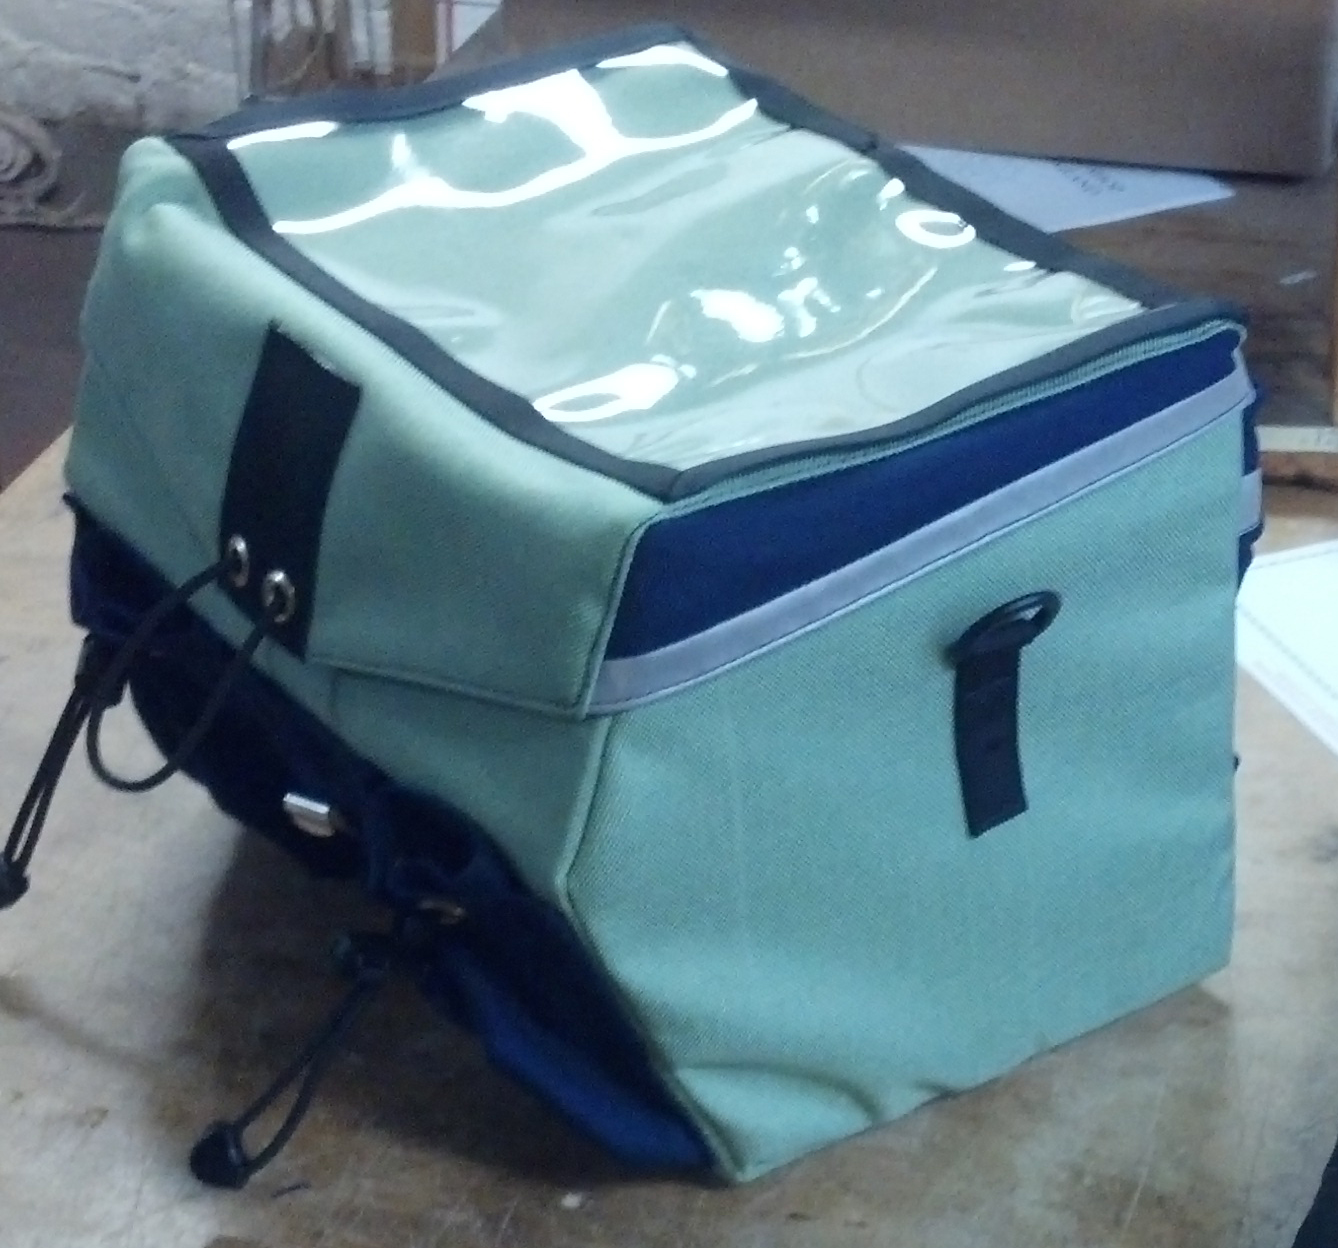
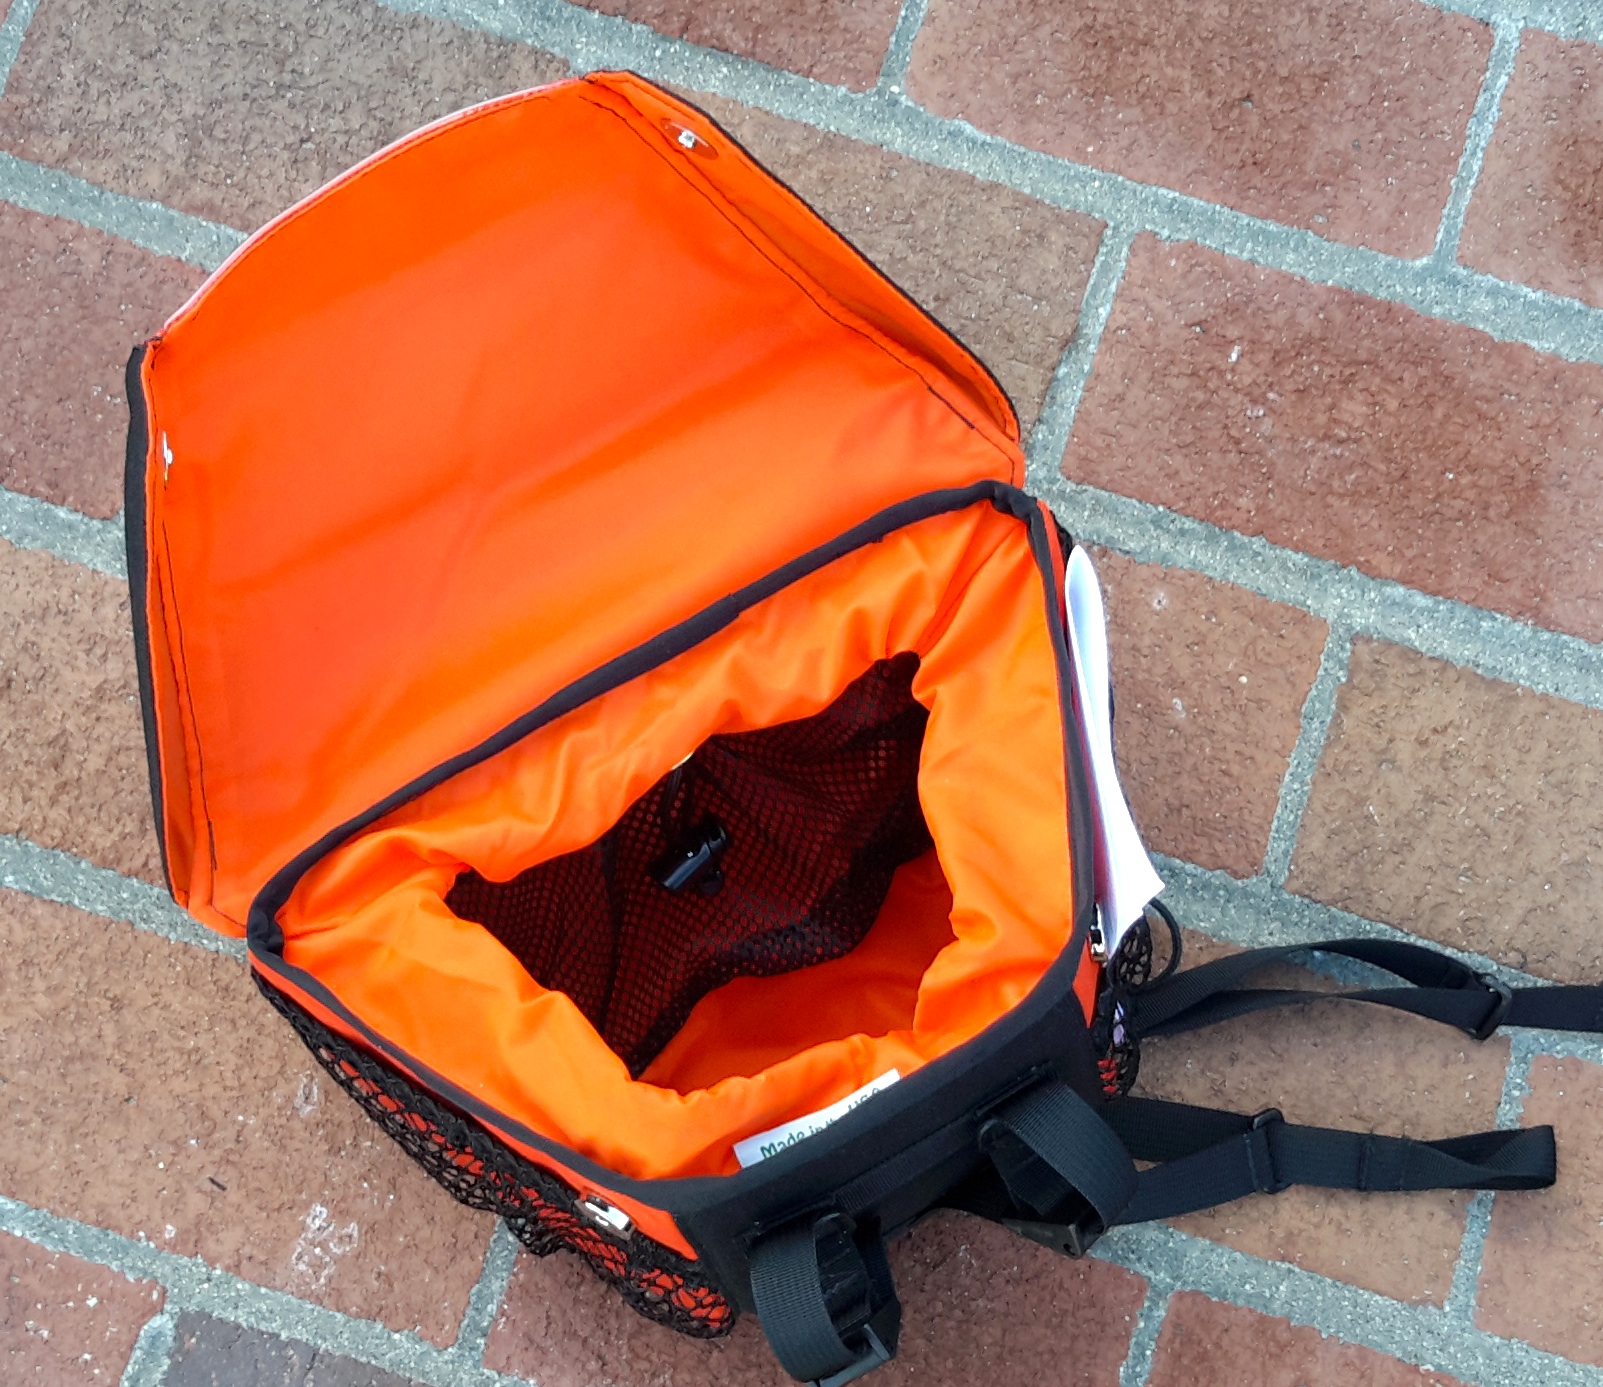
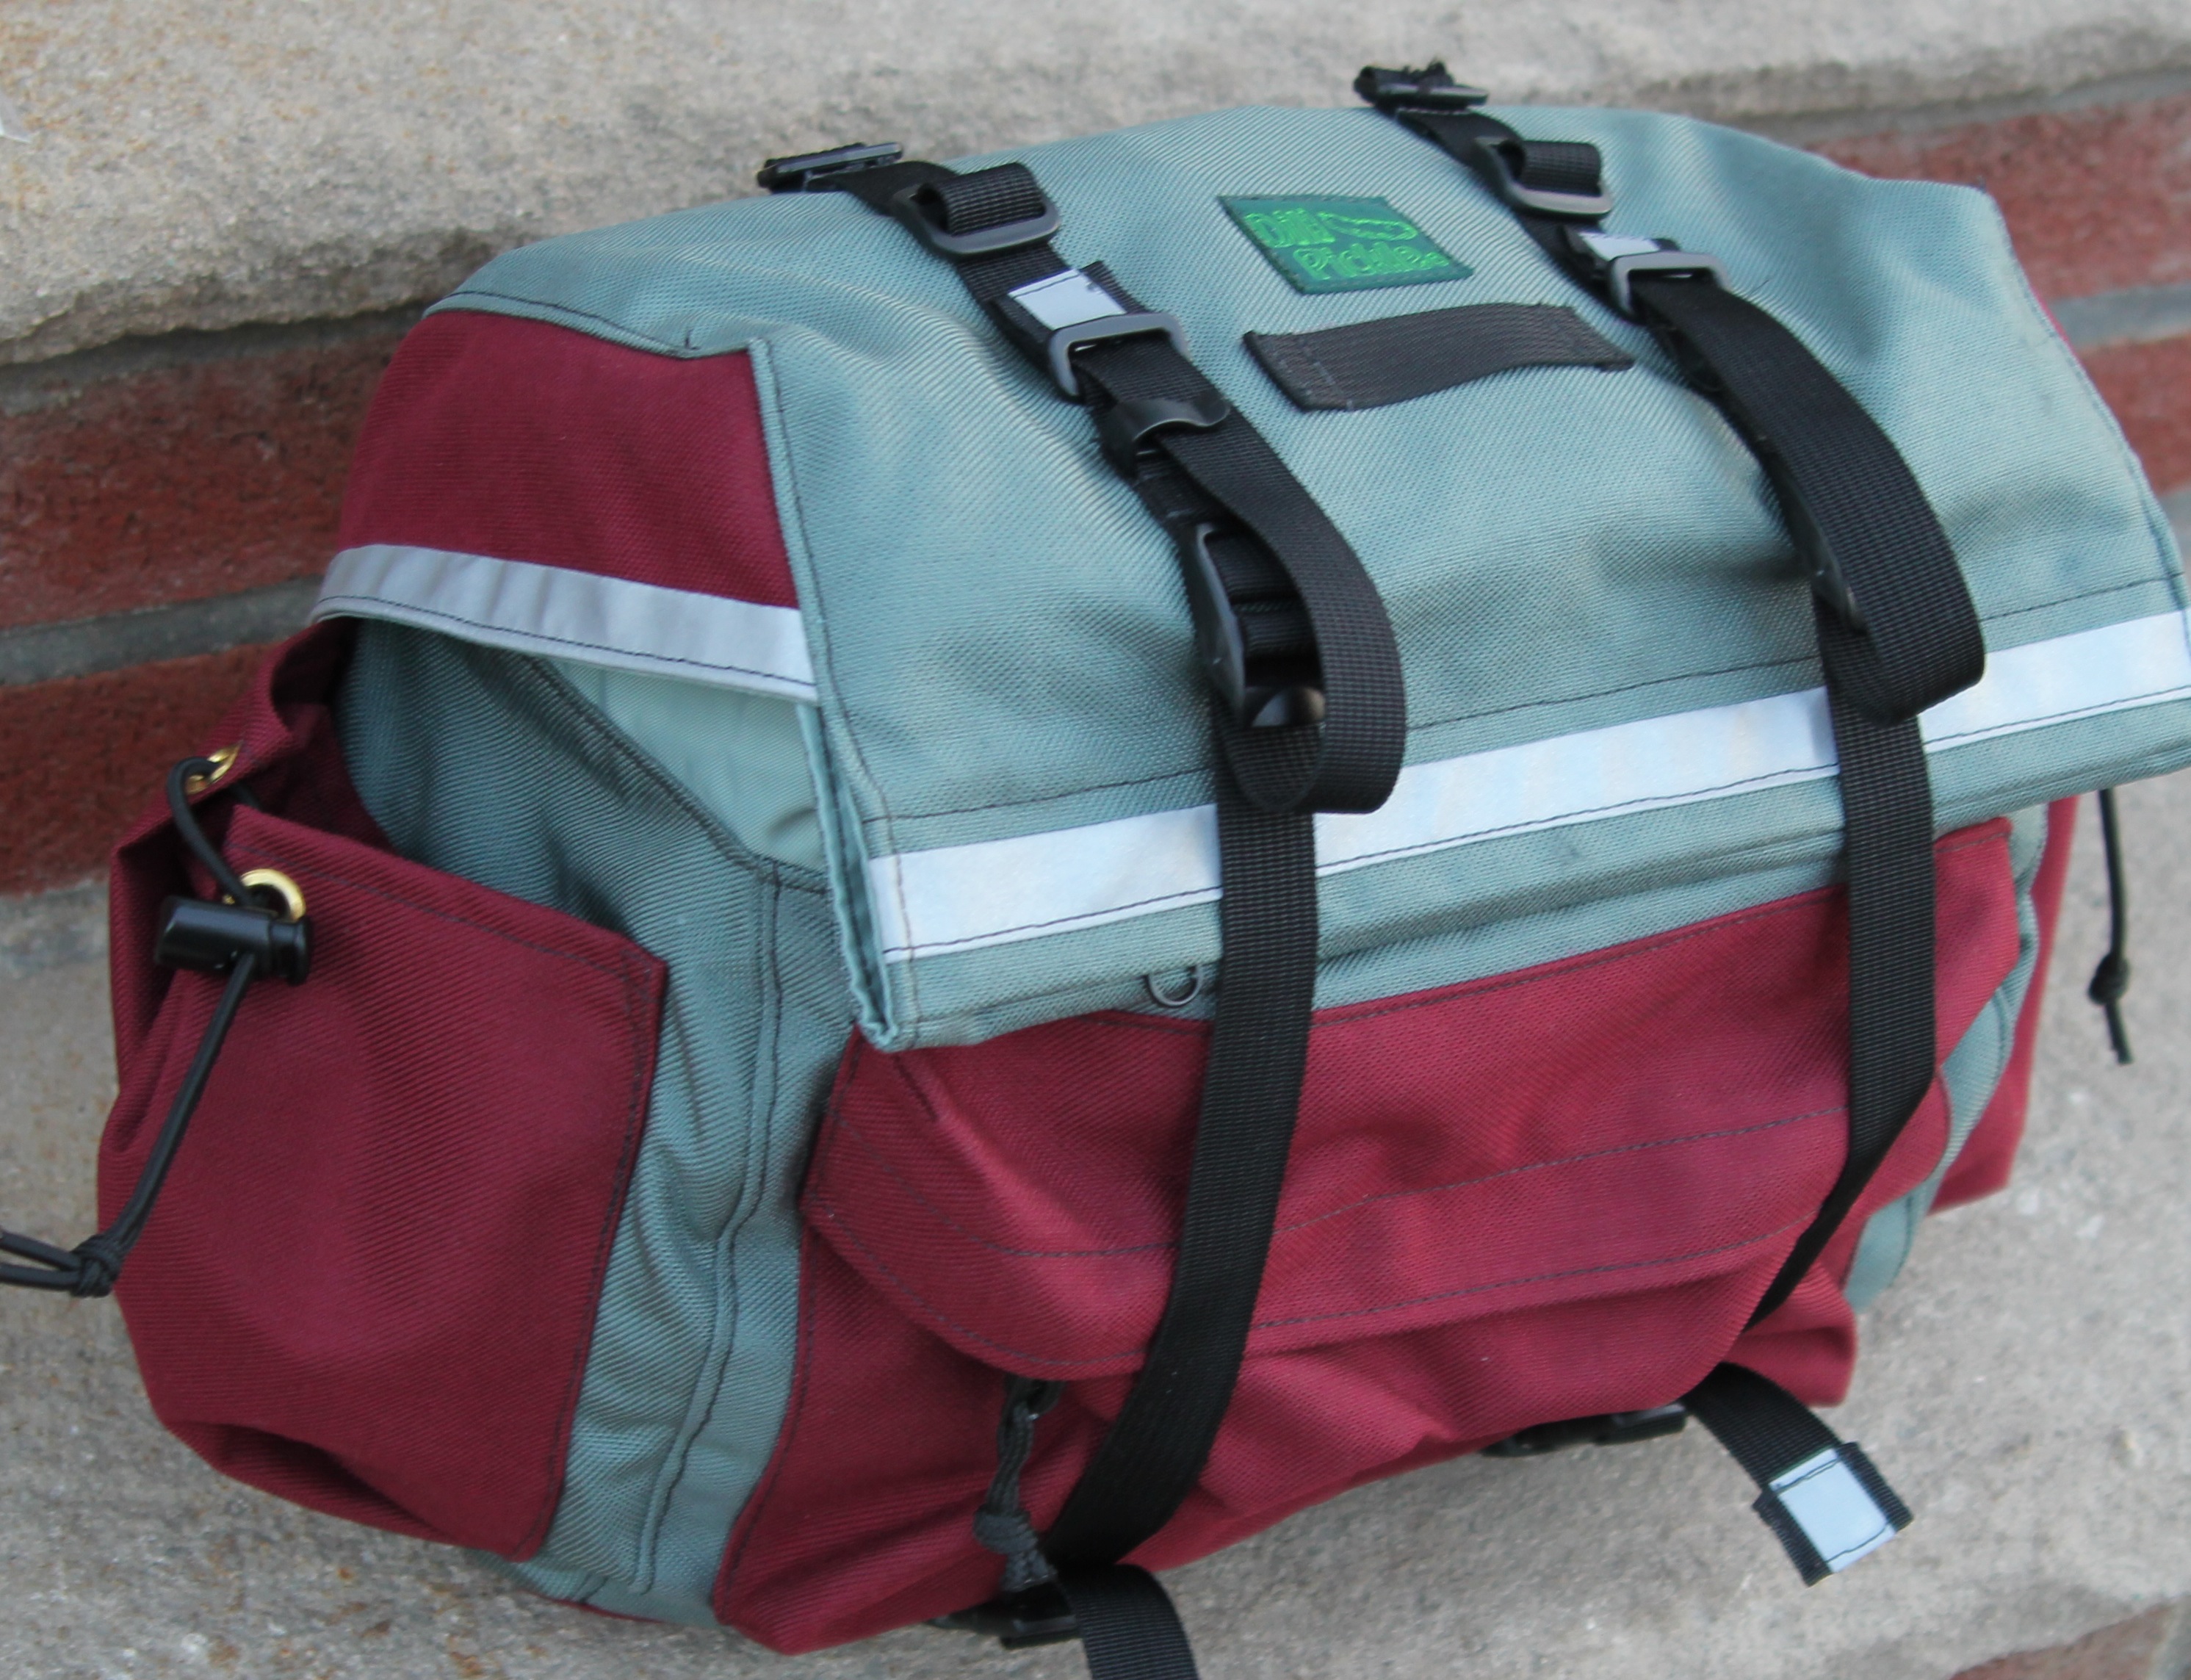
I rode this ride last year, and enjoyed it very much. It’s been a tough year for getting brevets into the schedule for me, but this one was able to fit in just barely. Of course, that said, it sort of snuck up on me, what with preparations for the Builders’ Ball and everything else – I hadn’t even been riding that much for the entire month of September – so I wasn’t entirely what one might call “ready”. I was even hurried and haphazard with packing for the trip, just throwing stuff into bags. I arrived at my mom’s house to find that I’d brought two arm warmers that matched, and three that did not. But at the same time, I figured I’ve done enough rides where I know what I need to bring and how to load my bike, plus I’ve even done this one before. Actually, last year I encountered some navigational difficulties, so I put the ride into GPSies when I was done and had the track in my GPS this time, so I figured I could at least regain a few hours for that.

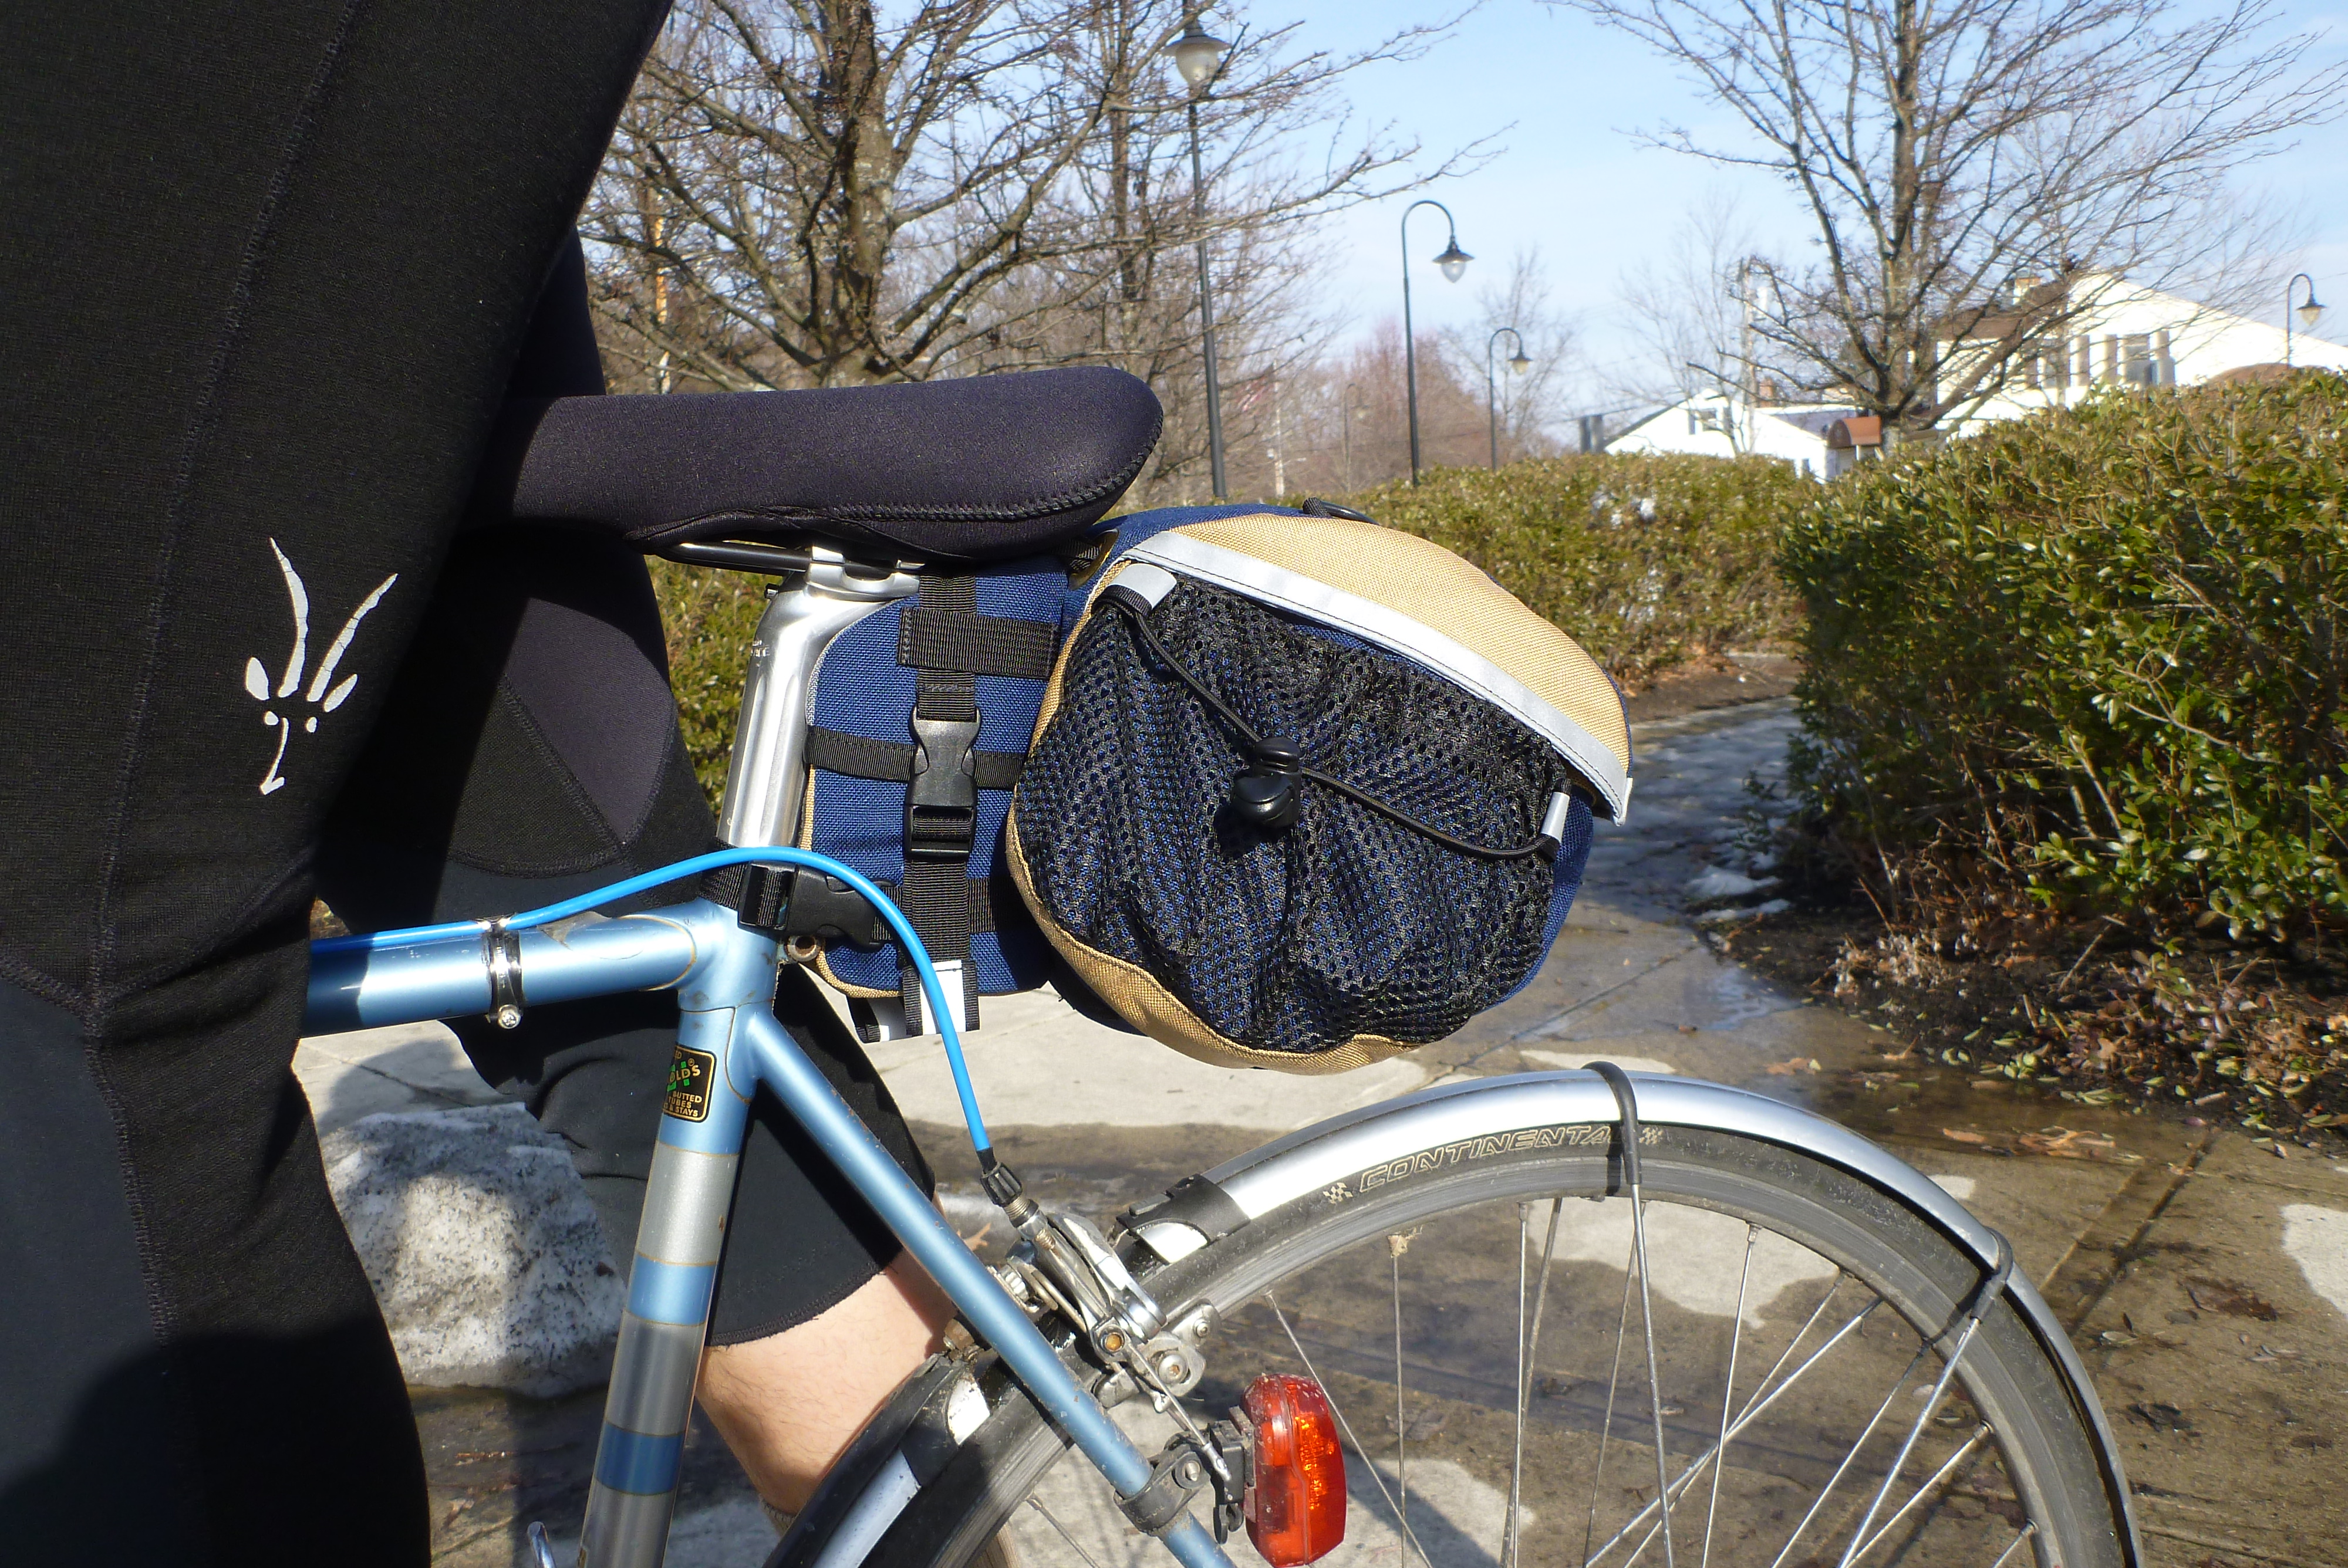
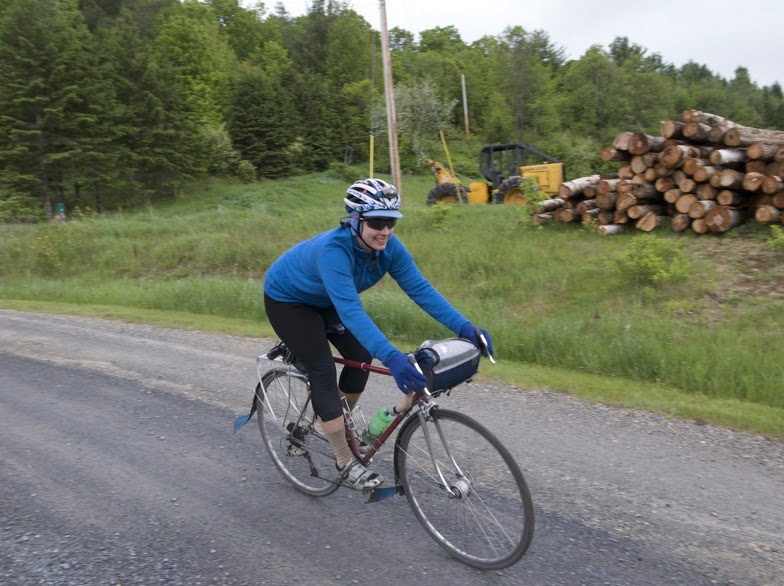
This ride has a really very scenic route, and it’s right at the height of the fall colors. It isn’t well attended, but the organizer Matt Settle doesn’t seem to mind at all doing the whole thing for only one or two people. Last year it was just me and he didn’t even mind running it for just one person. But this year I was joined by Spencer Klaassen, whom I had met a few times on other rides. Like me, he kinda got started riding brevets on a fixed gear and just kept doing them that way. He’s a strong, steady, and experienced brevet rider, and the fact that we were both riding fixed made it much easier to ride together, especially on a course like this. I think that on this route it would take a fair amount of work to ride with anyone riding gears on this ride. For those who are curious, my gear is 42×16 and Spencer’s is 42×15.

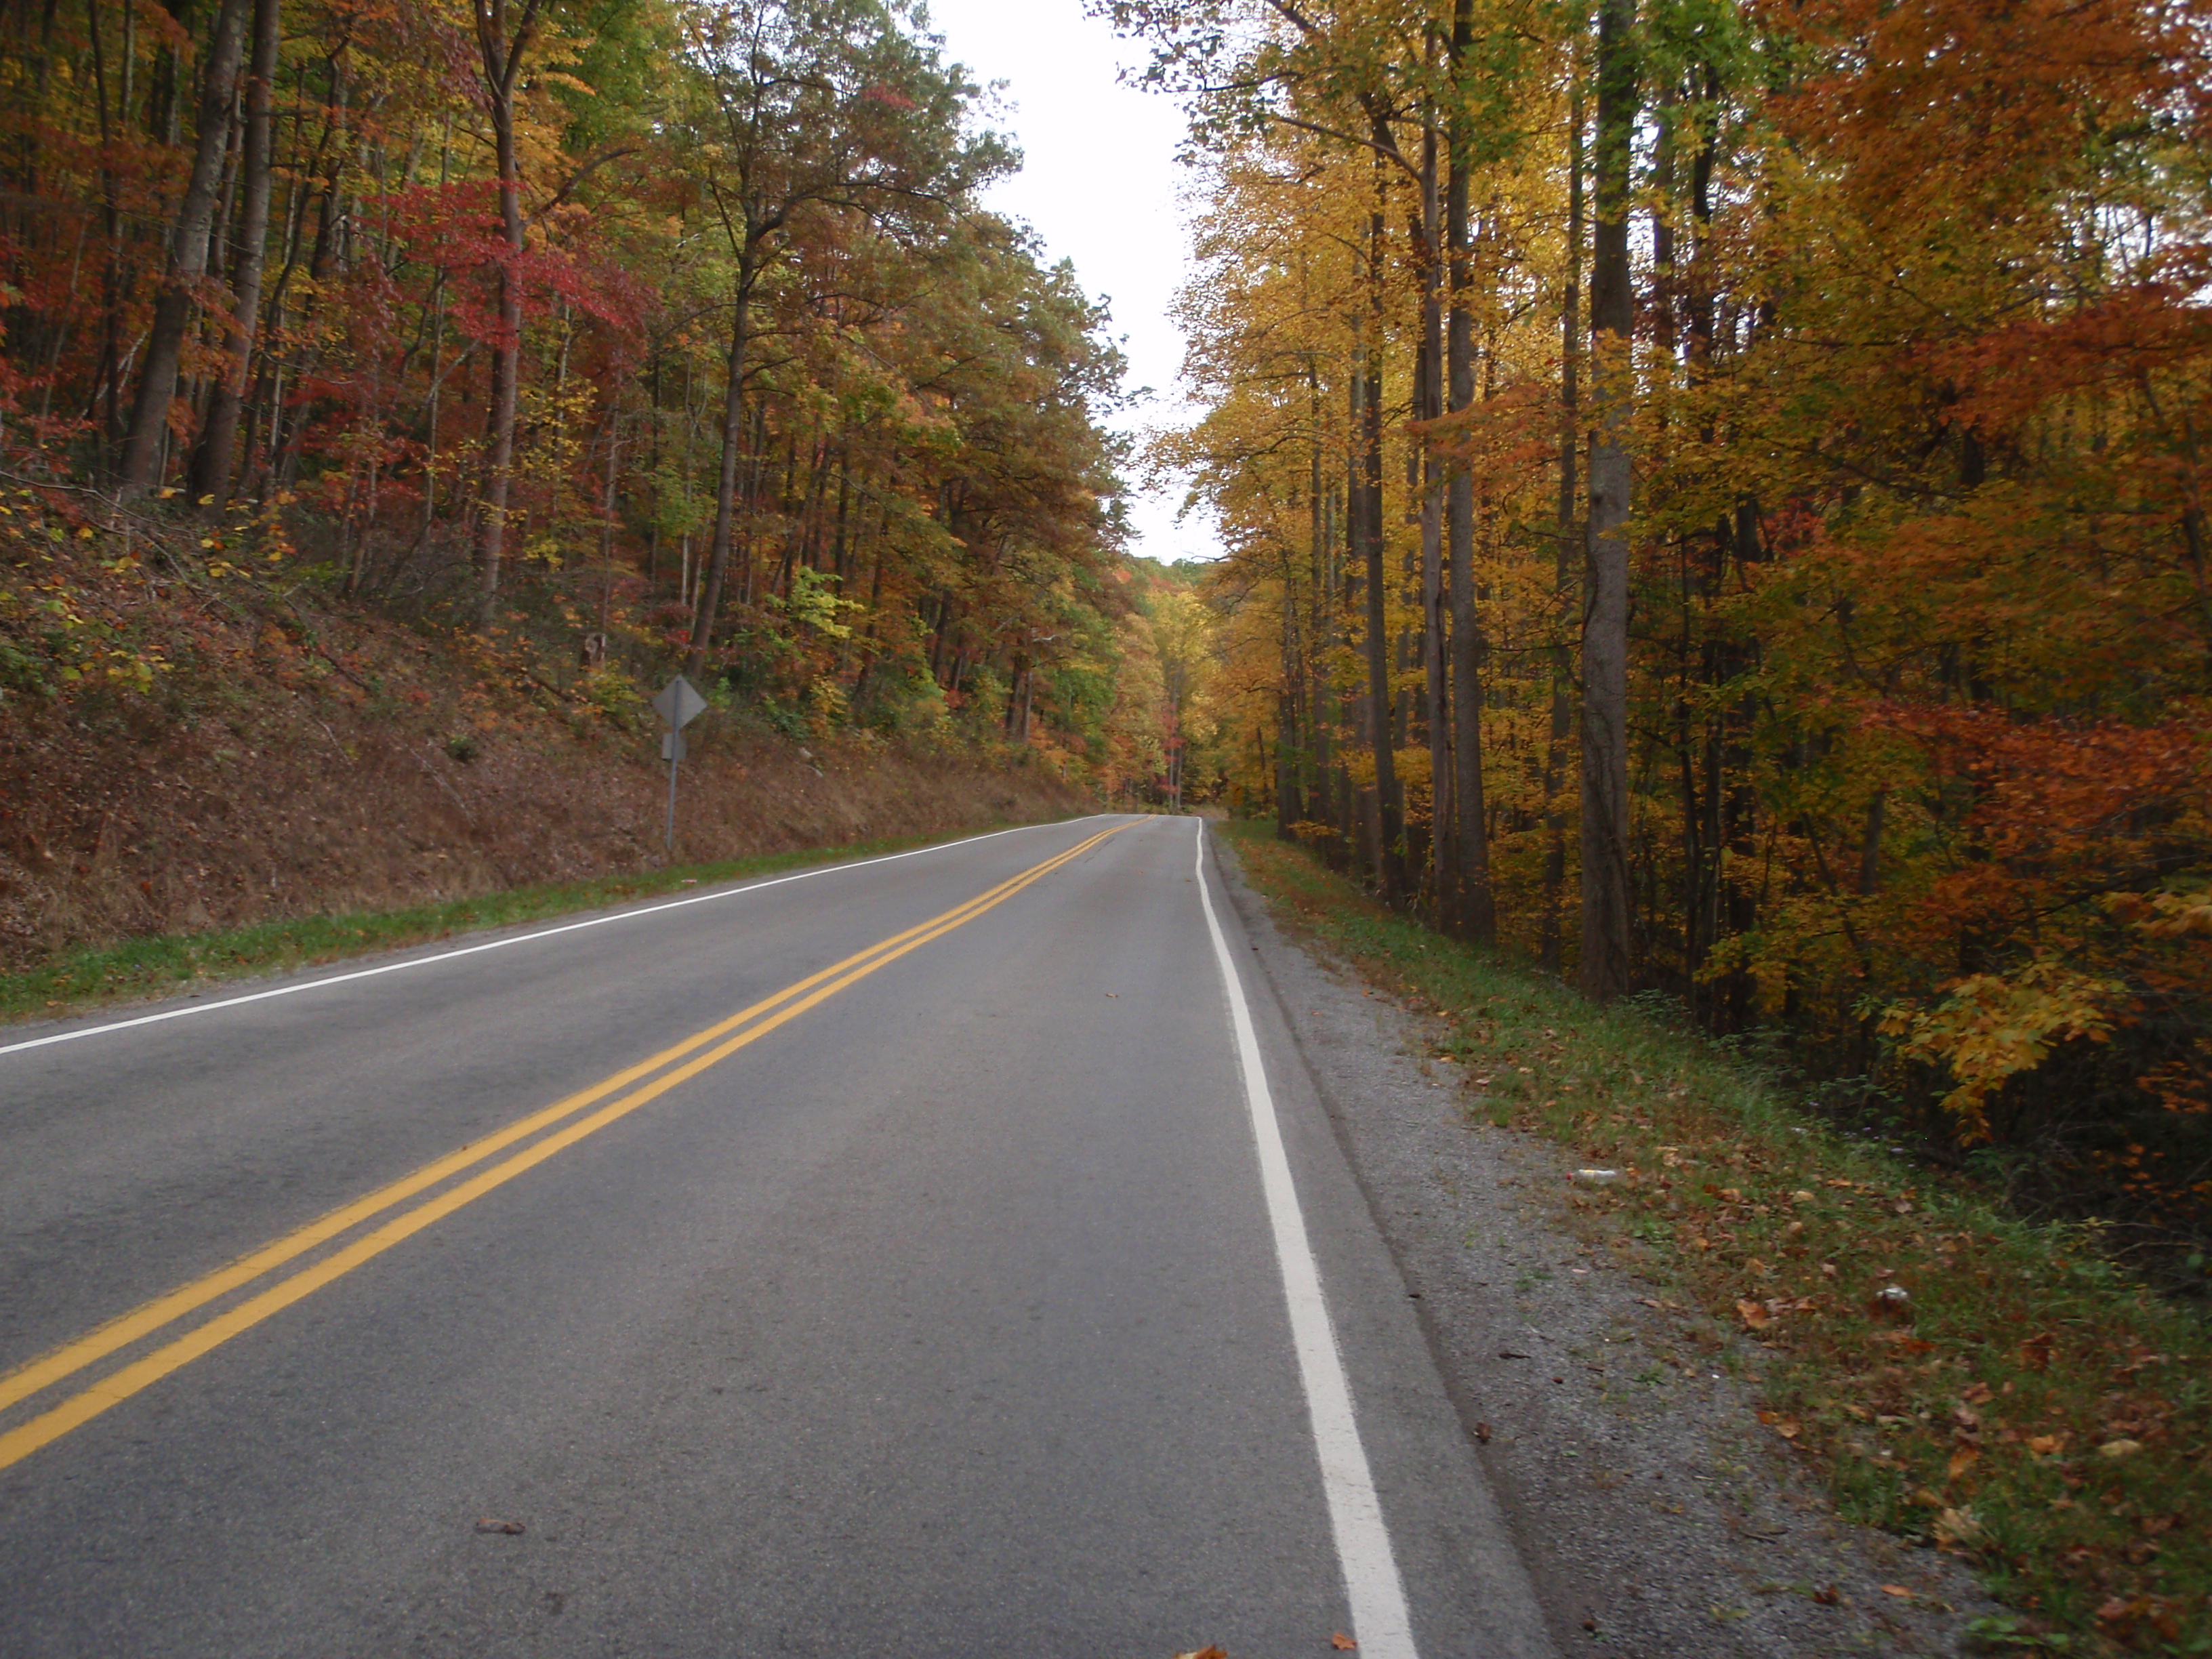
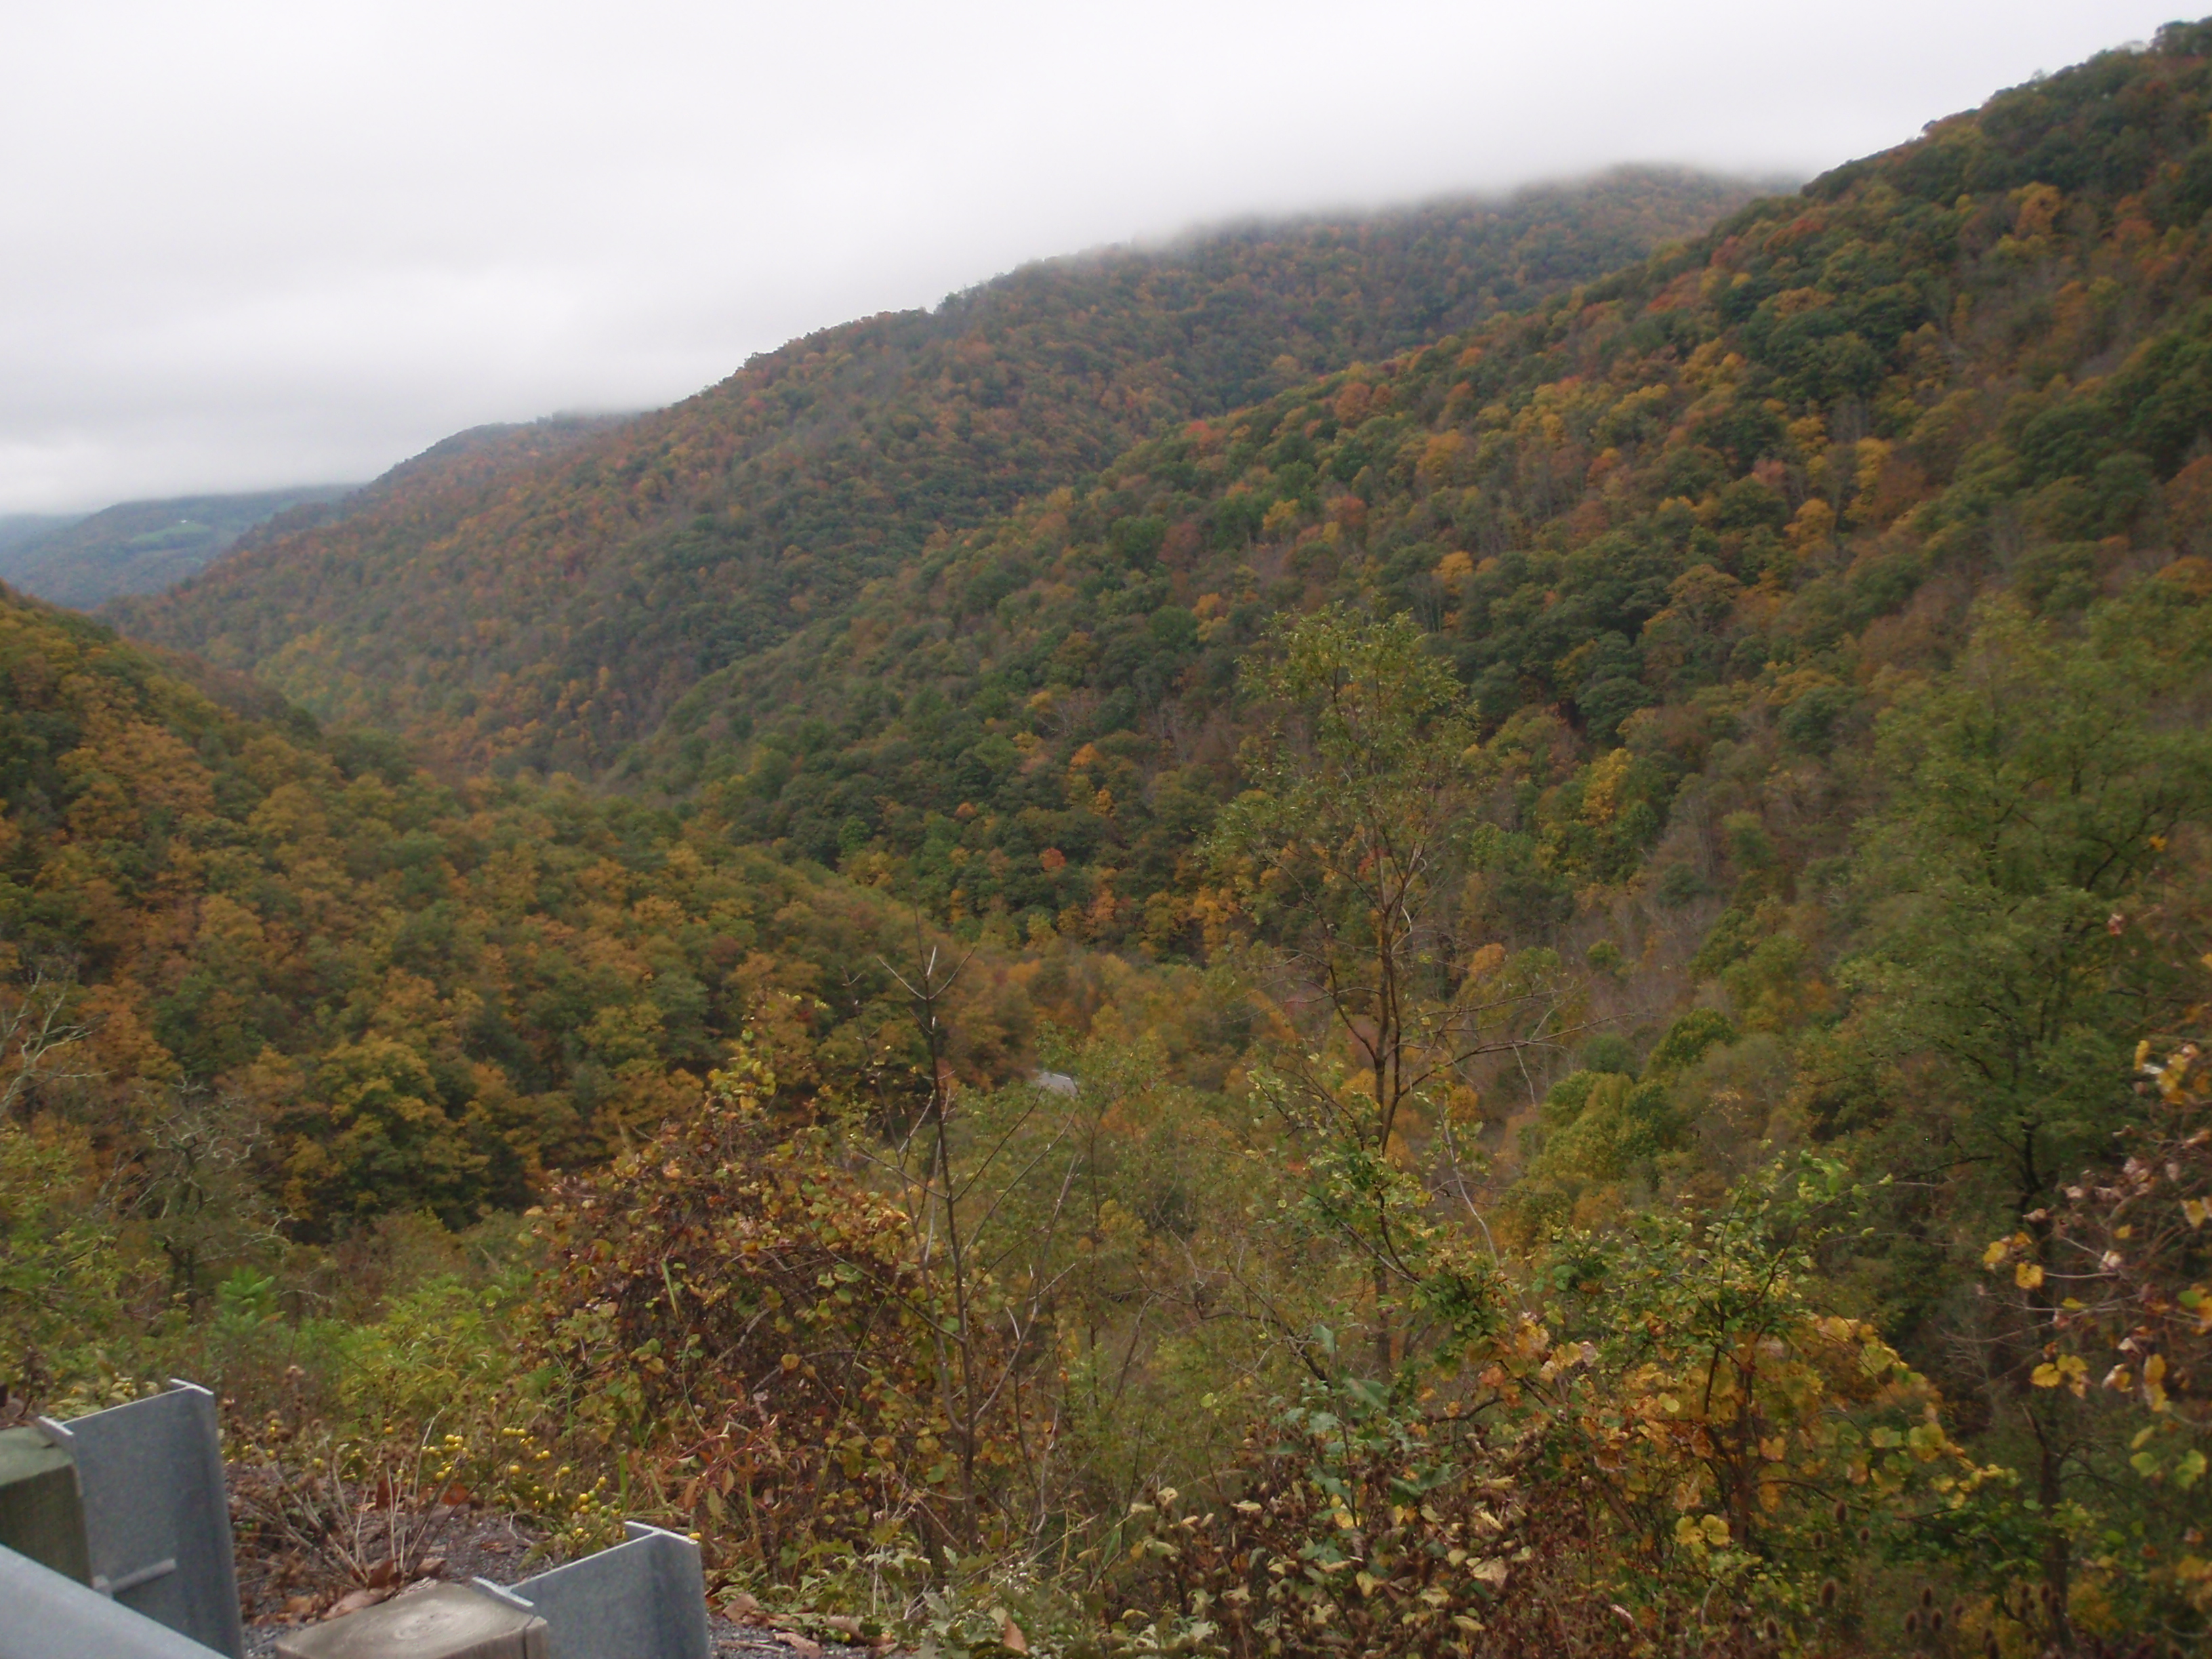
The route is absolutely relentless. In some ways I’d almost forgotten just how relentless it is – the major climbs from last year stuck out in my memory, but the rest of the ride is still actually full of climbing too. But the payoff is a mostly low-traffic ride through a very scenic state. It’s mostly an out-and-back route, except that the routes diverge for the section that goes over the big ridges between eastern West Virginia and western Regular Virginia.

My mother drove me to the start at IHOP in Gainesville, VA in the wee hours of the morning, where I met up with Spencer and Matt. It was raining at the start, but it wasn’t forecast to keep raining for too long. After a good breakfast, we were off down the road. With last year’s navigational difficulties ironed out, we arrived at the first control in Front Royal in good time, unlike last year when I was already falling behind at that point due to a wrong turn (error in the cuesheet, which has now been corrected).

OLYMPUS DIGITAL CAMERA

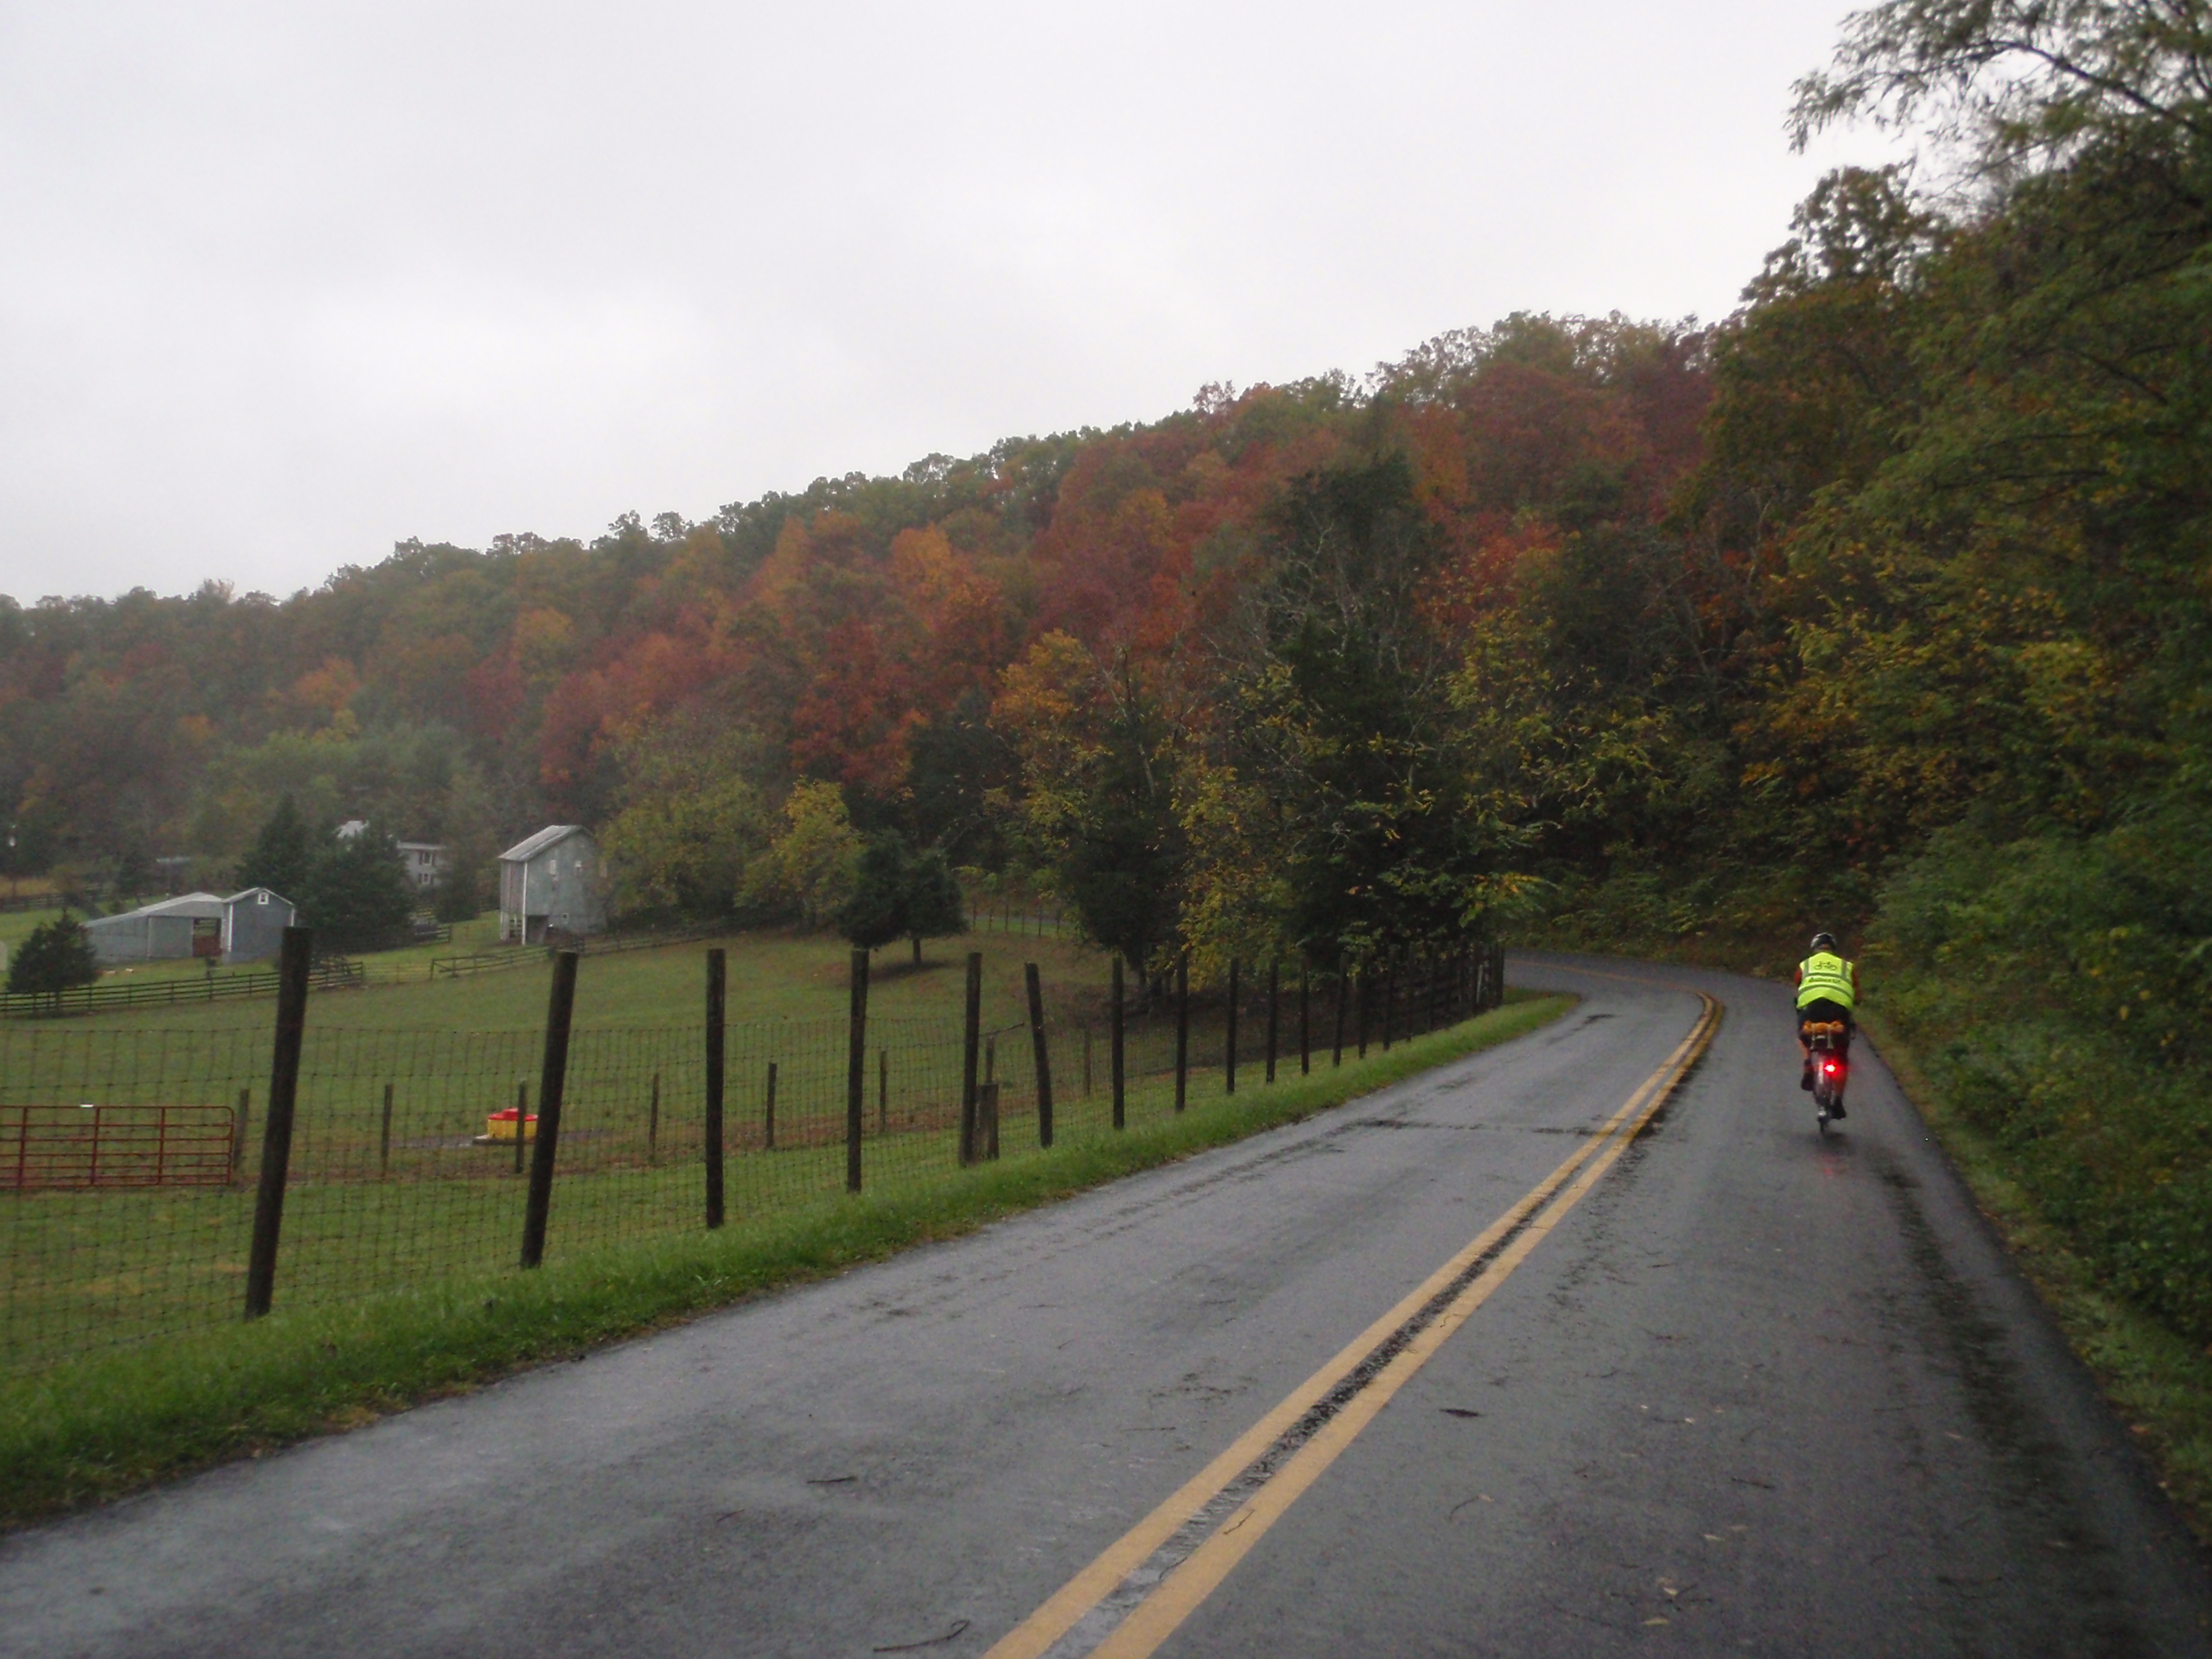
After Front Royal is where the climbing begins. There are three gaps, but they’re really just a warmup. It was still foggy and raining off and on, which was really too bad because in clear weather the views are gorgeous and this year I actually had a camera. But the roads were nice and quiet and filled with the scent of wet Autumn leaves.


Finally after descending again, we arrived at the control at the Lost River Grill an hour and a half ahead of the control closing time, with 103 mi down. We sat down and had a good square meal and some hard cider to tank up for the next climb. OLYMPUS DIGITAL CAMERA


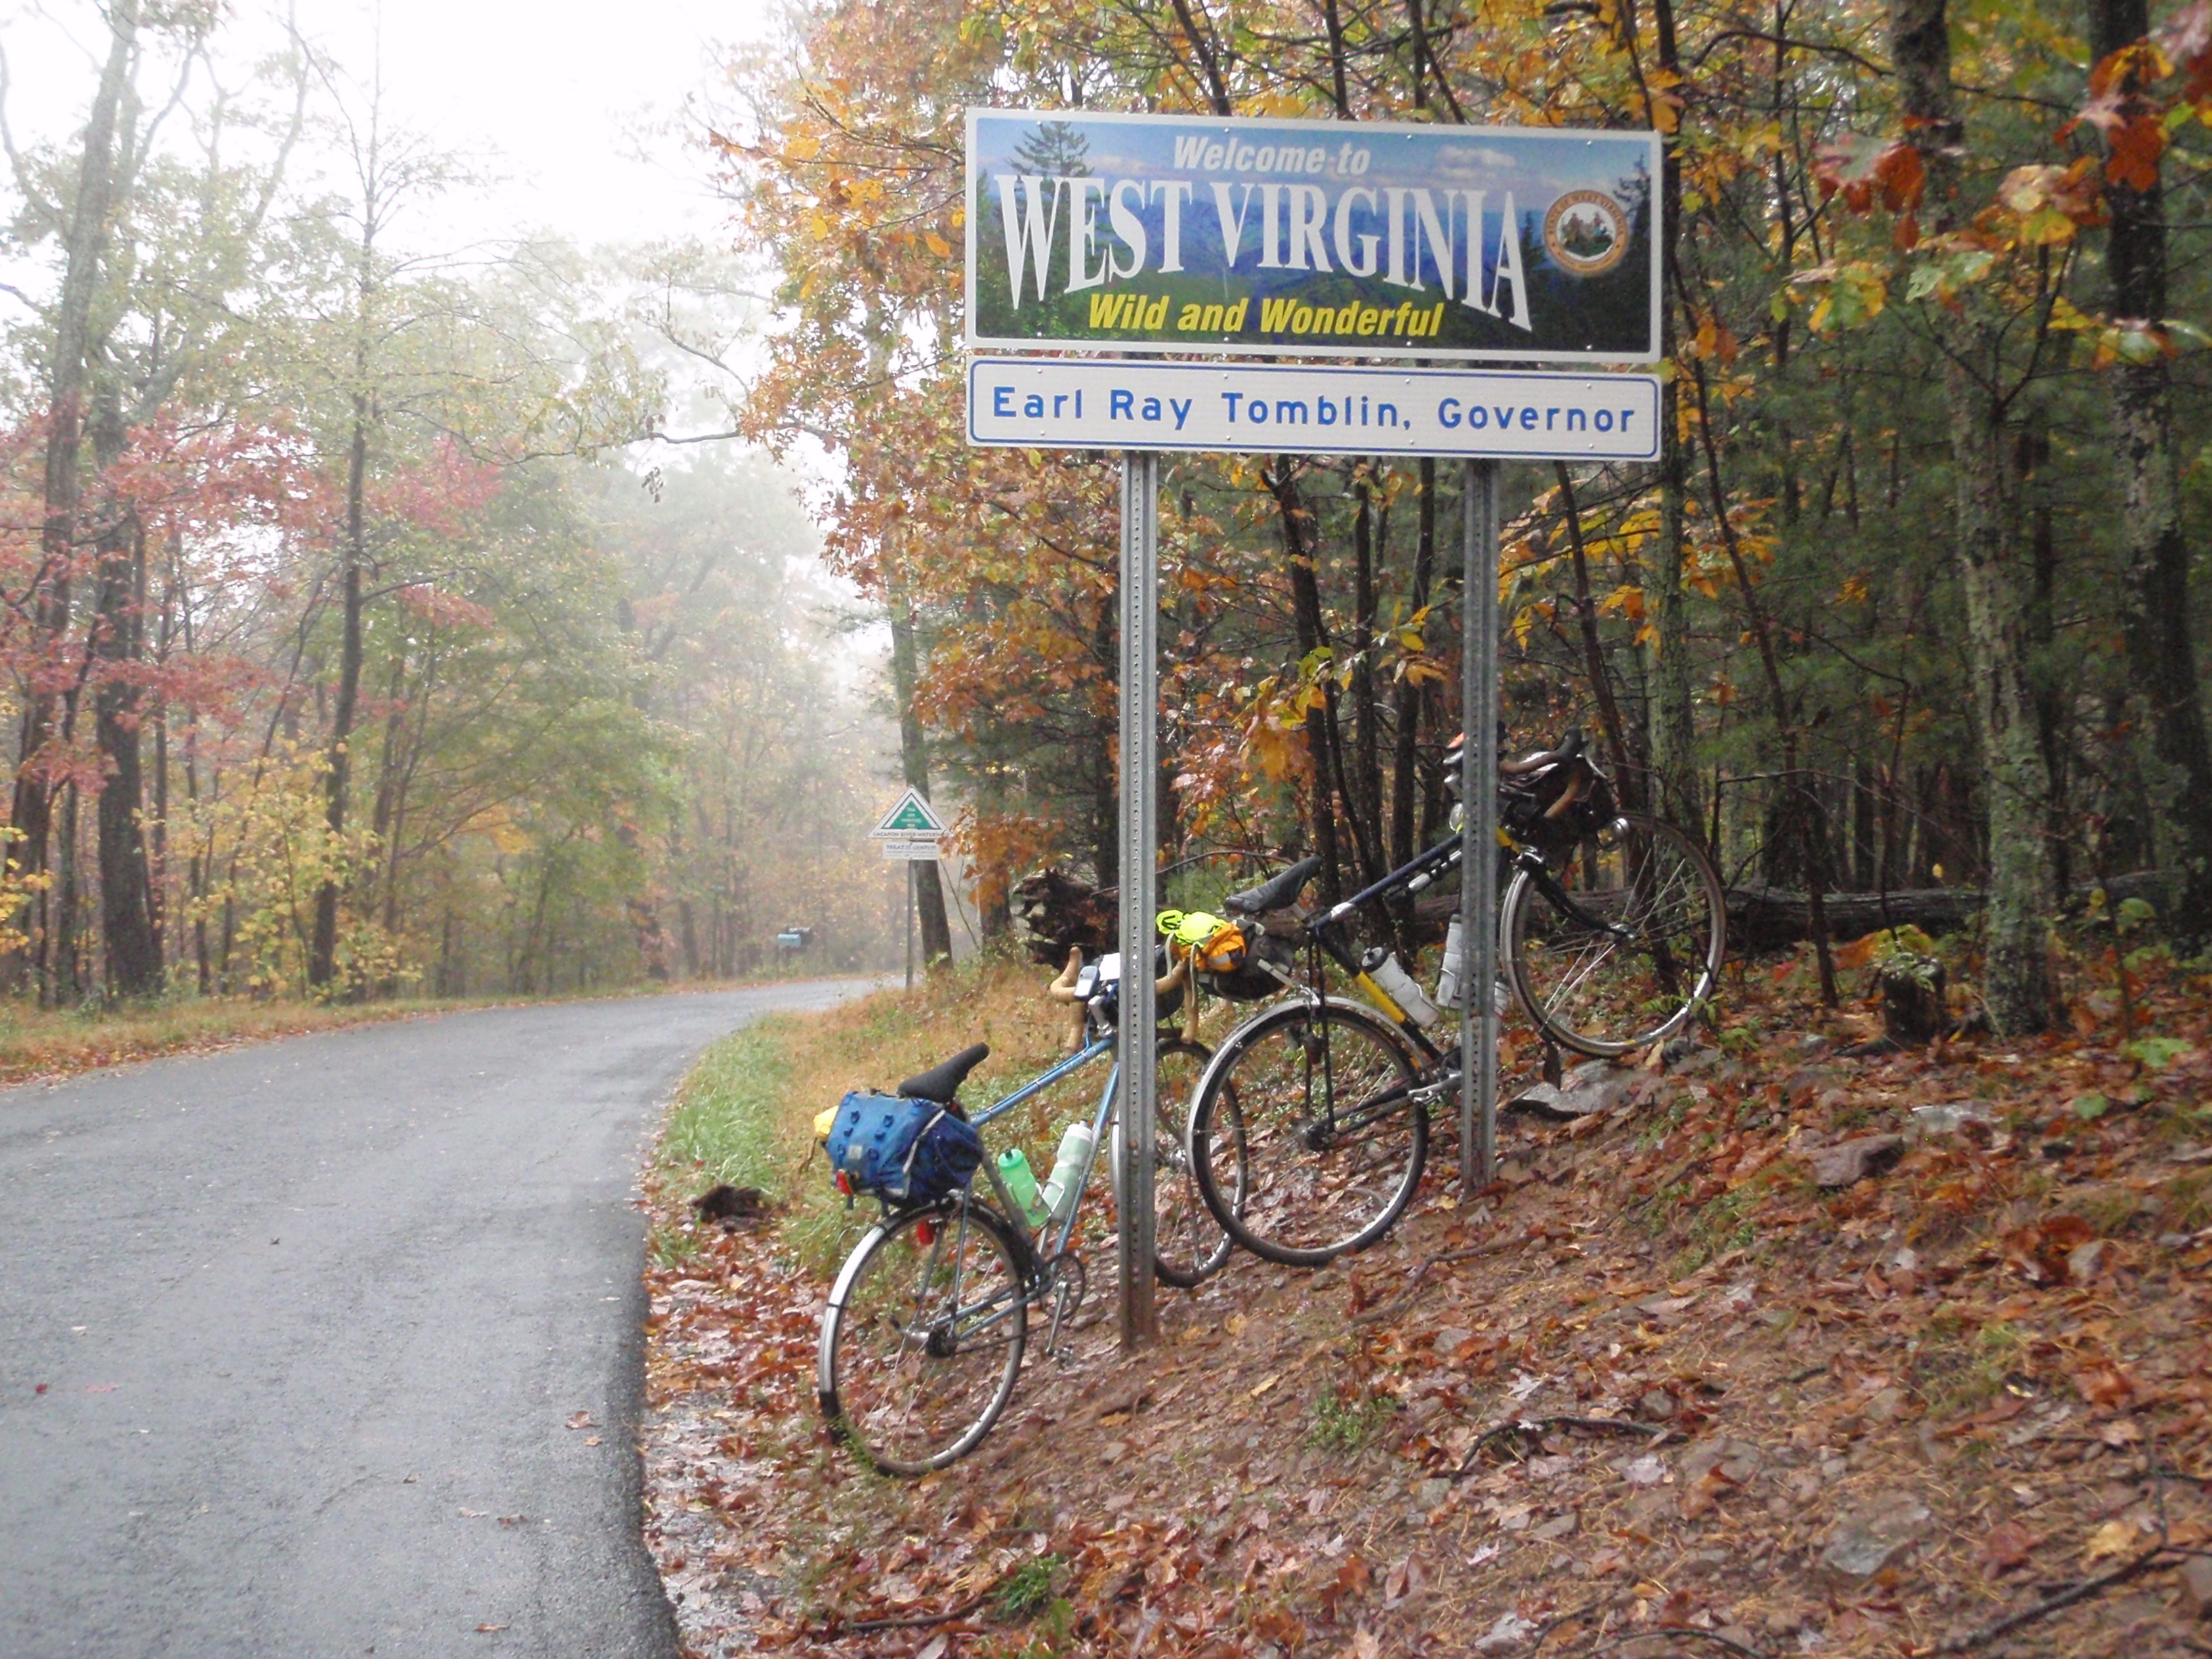
Just like last year, the climb up after Lost River State Park just does not friggin end. It goes on and on, and when you think you’re almost done with it, it goes up some more. It was raining, so the guy who told me I was almost at the top last year (I wasn’t anywhere near) wasn’t out. And there are a lot of scenic views that we couldn’t see. But we got a photo of the bikes with the state line sign.

OLYMPUS DIGITAL CAMERA

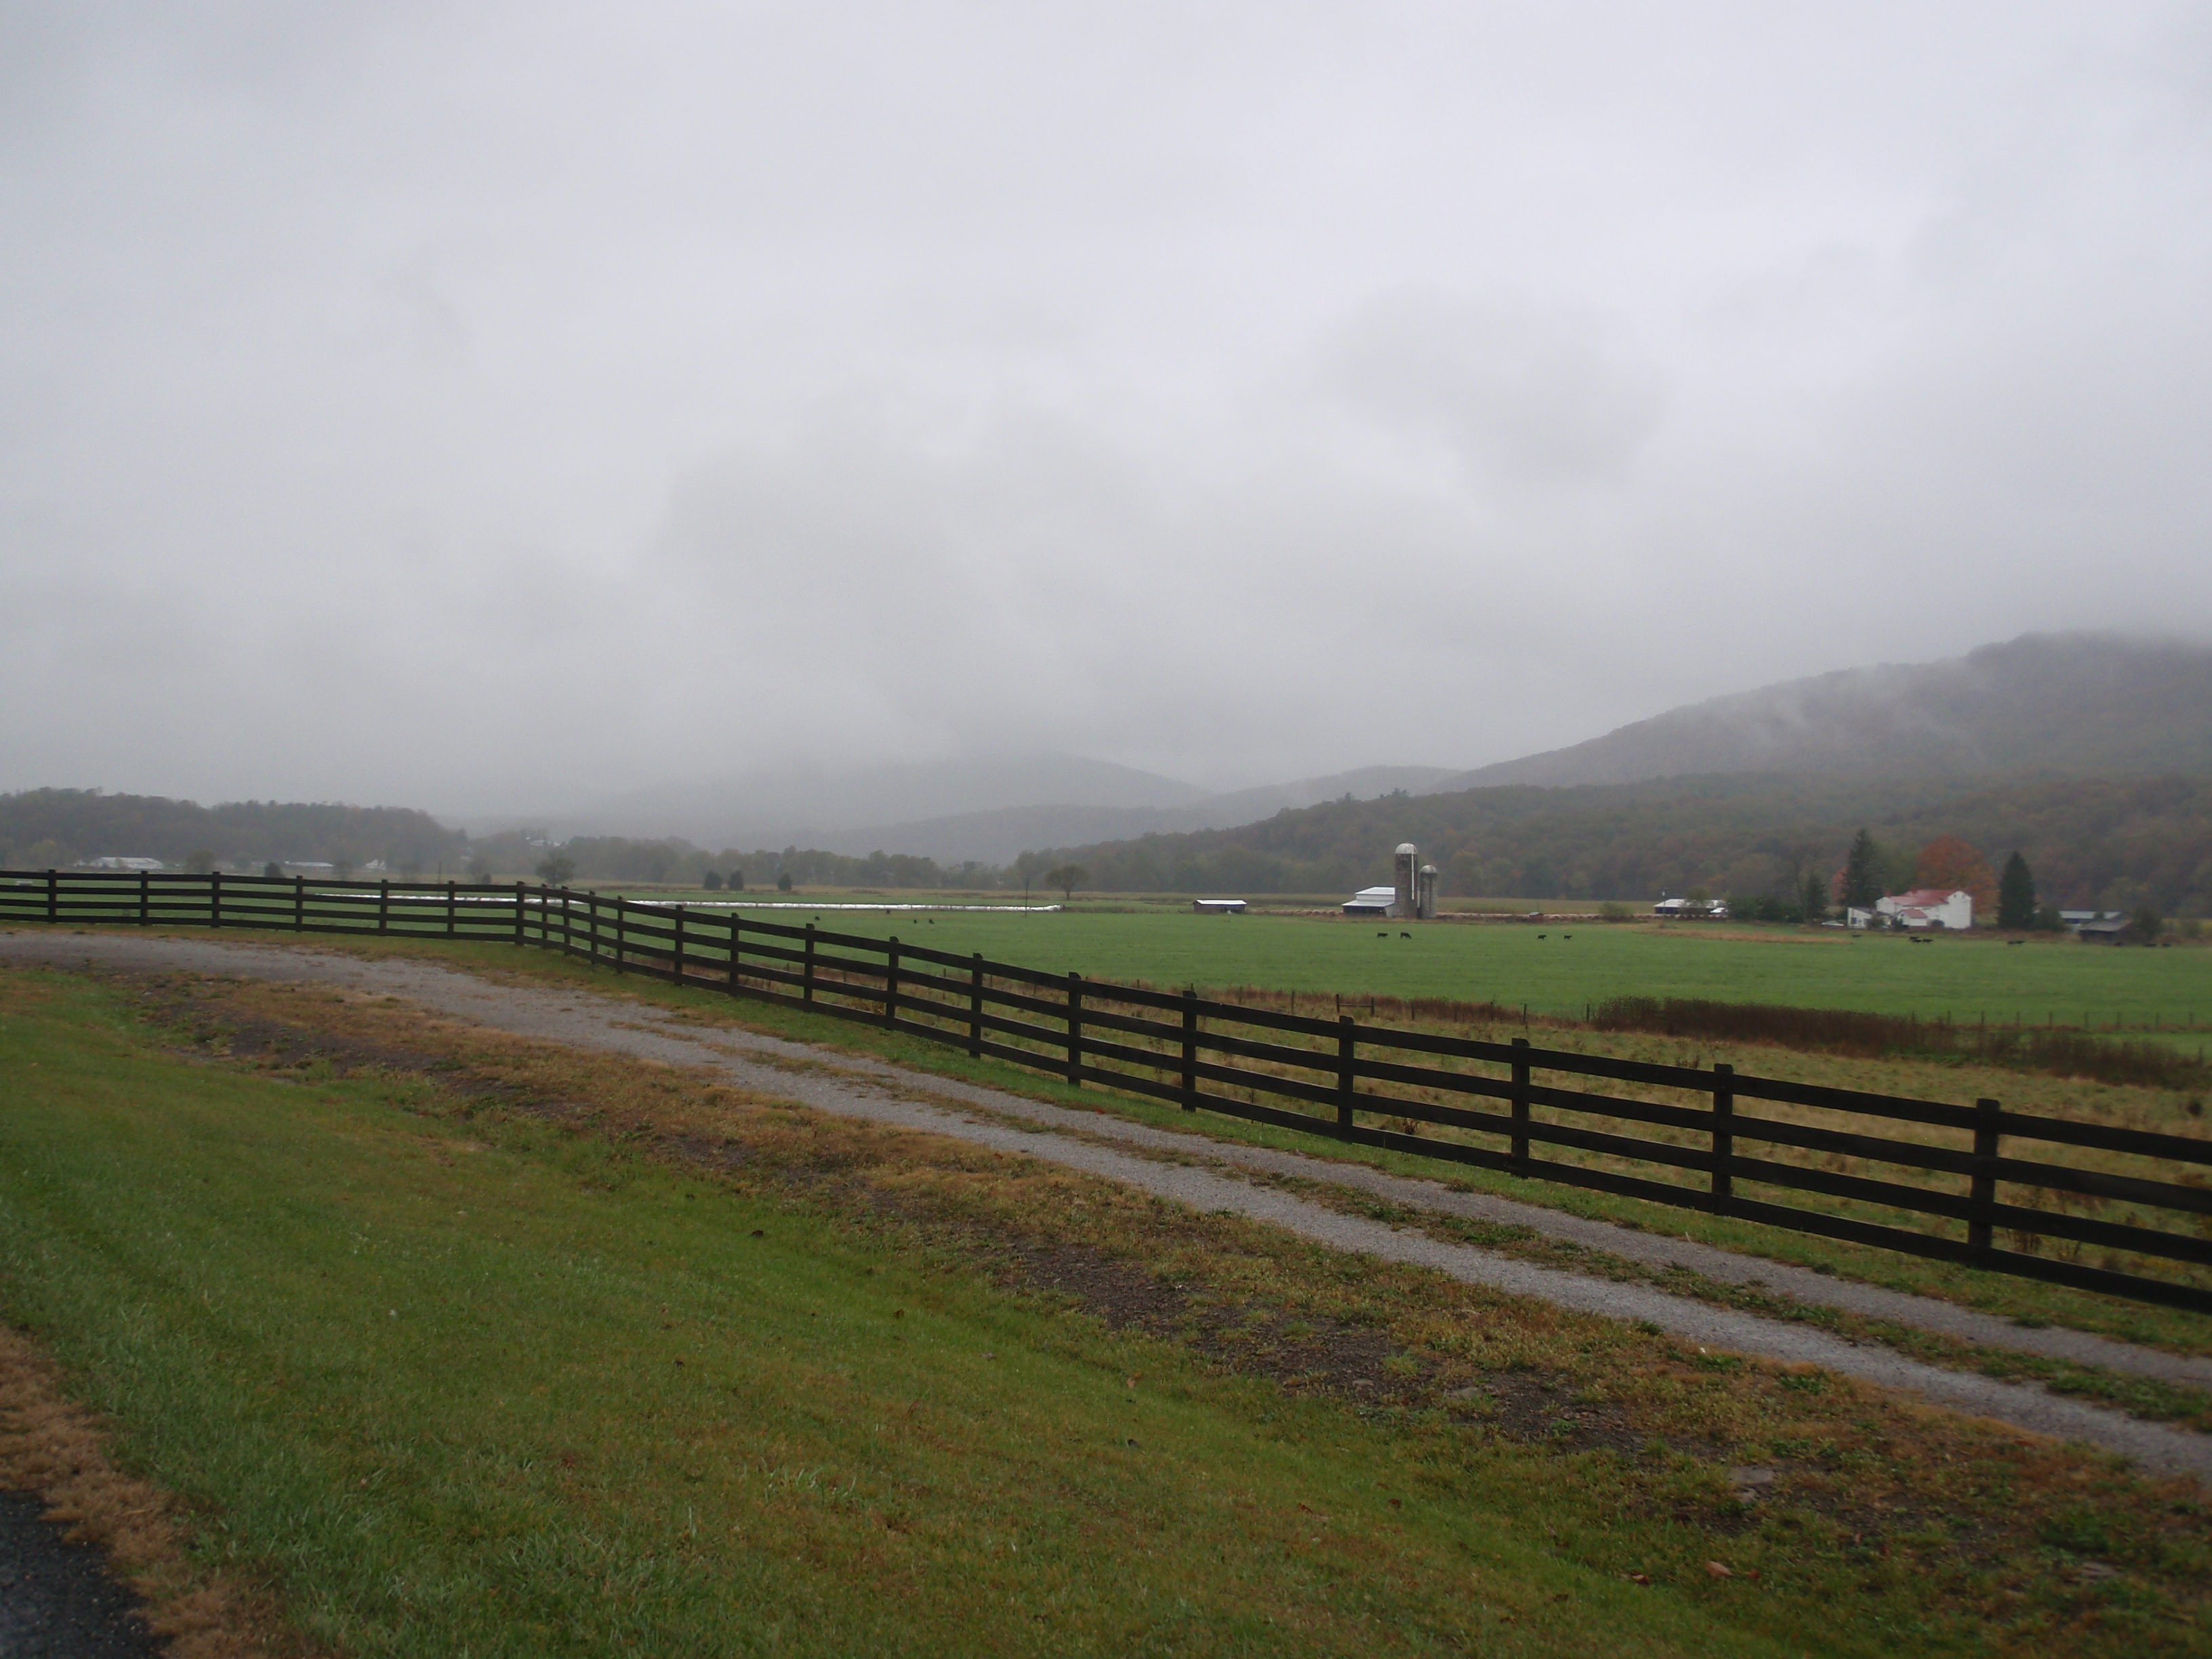
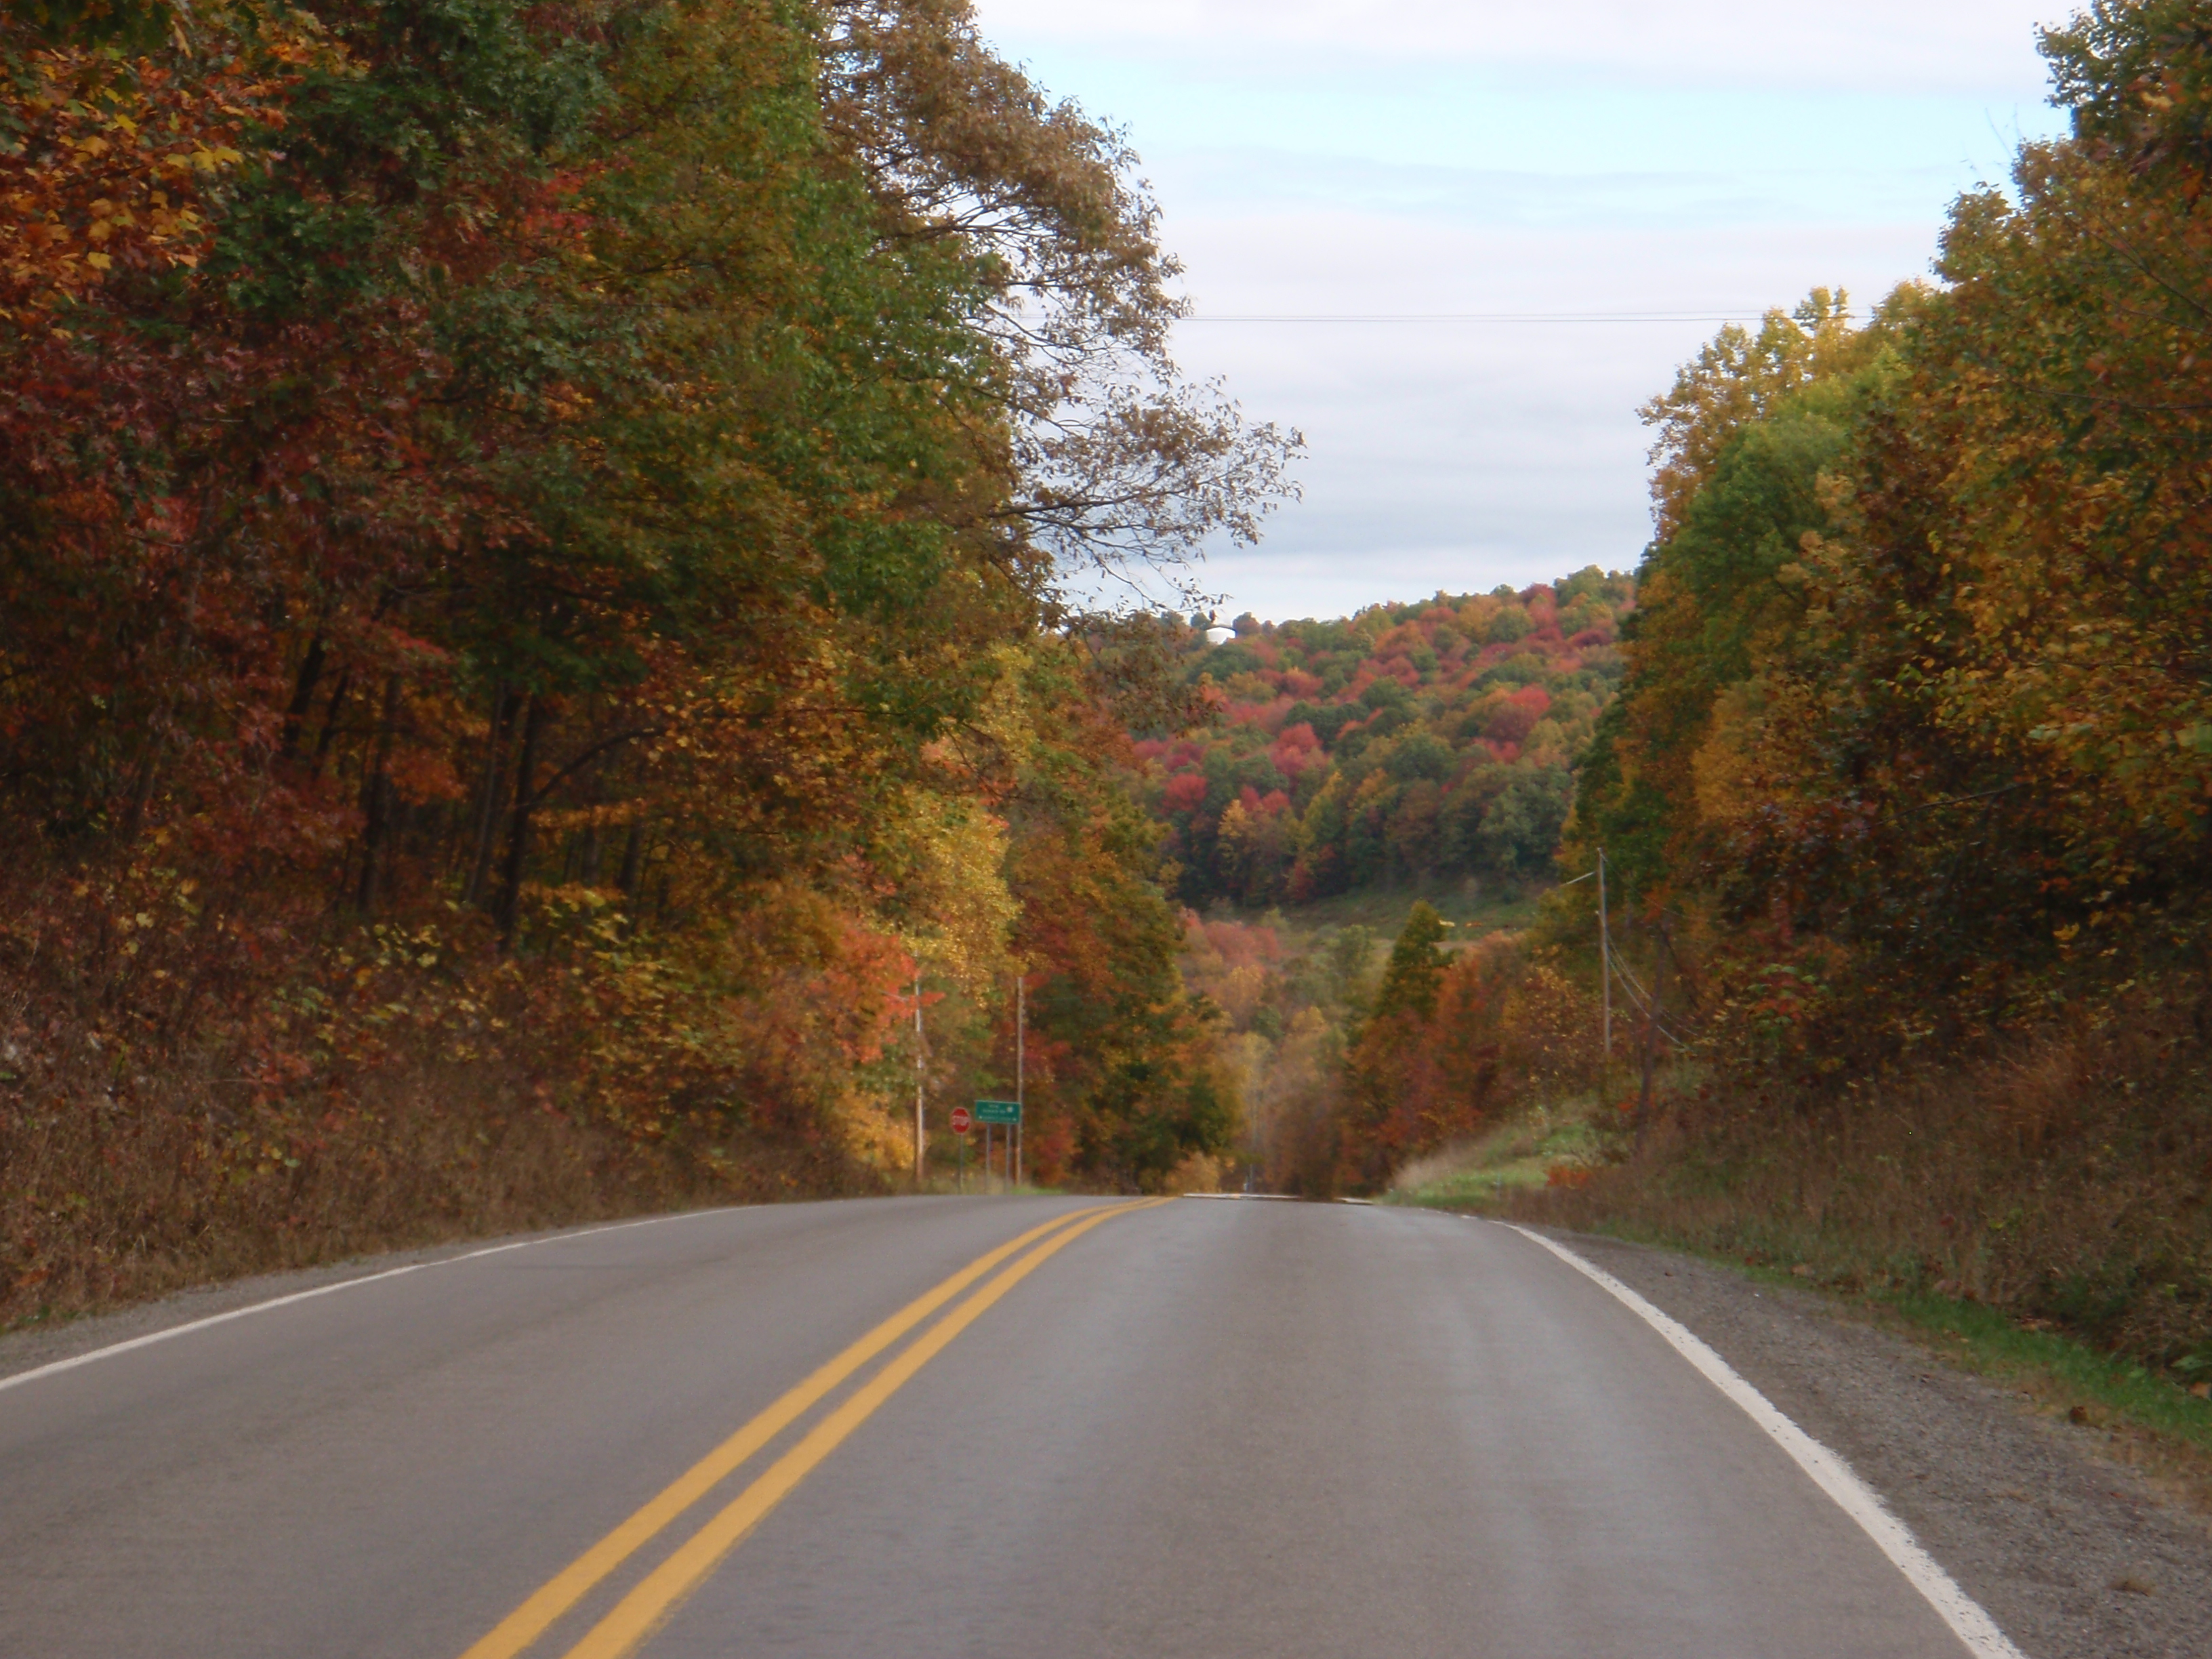
It’s under 60 mi from Lost River Grill to the store in Seneca Rocks, but it’s a long haul of 60 mi. After the big climb, there are still a few other smaller but still substantial ones. The road into Seneca Rocks is very pretty though, with open pastures and dramatic mountains all around, covered in fall colors. As you approach Seneca Rocks there are more mountains, and more sort of kitschy, touristy lodges and cabins.

OLYMPUS DIGITAL CAMERA

OLYMPUS DIGITAL CAMERA

OLYMPUS DIGITAL CAMERA

OLYMPUS DIGITAL CAMERA

Again, it’s too bad that the visibility wasn’t better, but there’s also something beautiful about the mist rising off of the mountains. My grandmother said that was the foxes cooking their oatmeal, which I find a somehow very satisfying image.

Spencer is generally a faster climber than me, although I make up some of it on the descents. However, on steeper hills he typically uses the “two foot gear” more than I do. But he walks a lot faster when pushing the bike up hills than I do. So on most hills he goes faster, but on hills with a grade that he prefers to walk and I prefer to ride, I go a bit faster. He got a ways ahead on some of the climbing after Lost River, but we arrived at the control at almost the same time.

And he has an awesome bumper sticker on his rear fender:OLYMPUS DIGITAL CAMERA


If you can’t read it in the photo, it says “Randonneurs go all night long, but they’ll need a receipt.” (although actually in our area, the organizers don’t usually ask for all the receipts so much except on permanents and the Fleche)

We were still doing okay time-wise, but I knew that the next chunk was especially difficult and we hadn’t built up a huge buffer, but we were still ahead of where I’d been the previous year, so I felt good about it. The route between Seneca Rocks and Buckhannon (the overnight) is probably the hardest part of the ride. Last year it was particularly hard because I didn’t really even know what was coming. There are six or so big climbs all in a row before you get to Elkins, and last year they were the biggest mental challenge of the ride. This year at least we knew they were coming, but that doesn’t make them any less work to ride up, and that stretch just takes a long time. But at least the weather was reasonably cooperative; it wasn’t raining too much, and at least it wasn’t freezing cold, like it was last year. At one point, Spencer was getting drowsy and wanted a nap in a post office we passed. I didn’t feel the need for a nap so much, but figured sitting down to eat and drink for a few minutes wasn’t a bad idea. It’s always hard to eat when you’re working hard on climbs or you’re on fast descents where you really need to be paying your full attention to the road. But it’s even harder on a fixed gear because you need both hands for leverage. I sat down and started eating a granola bar… and suddenly, after taking a big bite, chewing and swallowing that bite just seemed like the most arduous task imaginable. I closed my eyes, and next thing I knew I was waking up 15 minutes later still with my mouth full of food.

The stop did help though, and we hit the road with renewed energy. Finally we reached the gas station at the bottom in Elkins, which isn’t a control, but is a welcome stop. The clerk in the convenience store even remembered me from last year… I guess a lone cyclist out in the middle of the sub-freezing night in an area without many cyclists at all makes an impression.  I didn’t really remember the terrain between there and Buckhannon (which I always think means it must be easy, since I don’t remember it being hard… but that’s actually not what it means at all!), so I figured it must be relatively flat. We decided that a beer before our sleep stop would really hit the spot, and an extra pound isn’t really that much, so we each bought a can of Blue Moon to haul all the way to Buckhannon.

The rest of the way to Buckhannon proved to be rather more of a grind than I remembered, but the beer was well worth its weight. We got into the control just a bit before closing time, which was an improvement over last year where not only did I get in late, but I was also pushing pretty hard to manage even that what with losing time over navigation. We drank our beer and got an hour and a half of sleep or so, then got back on the road.

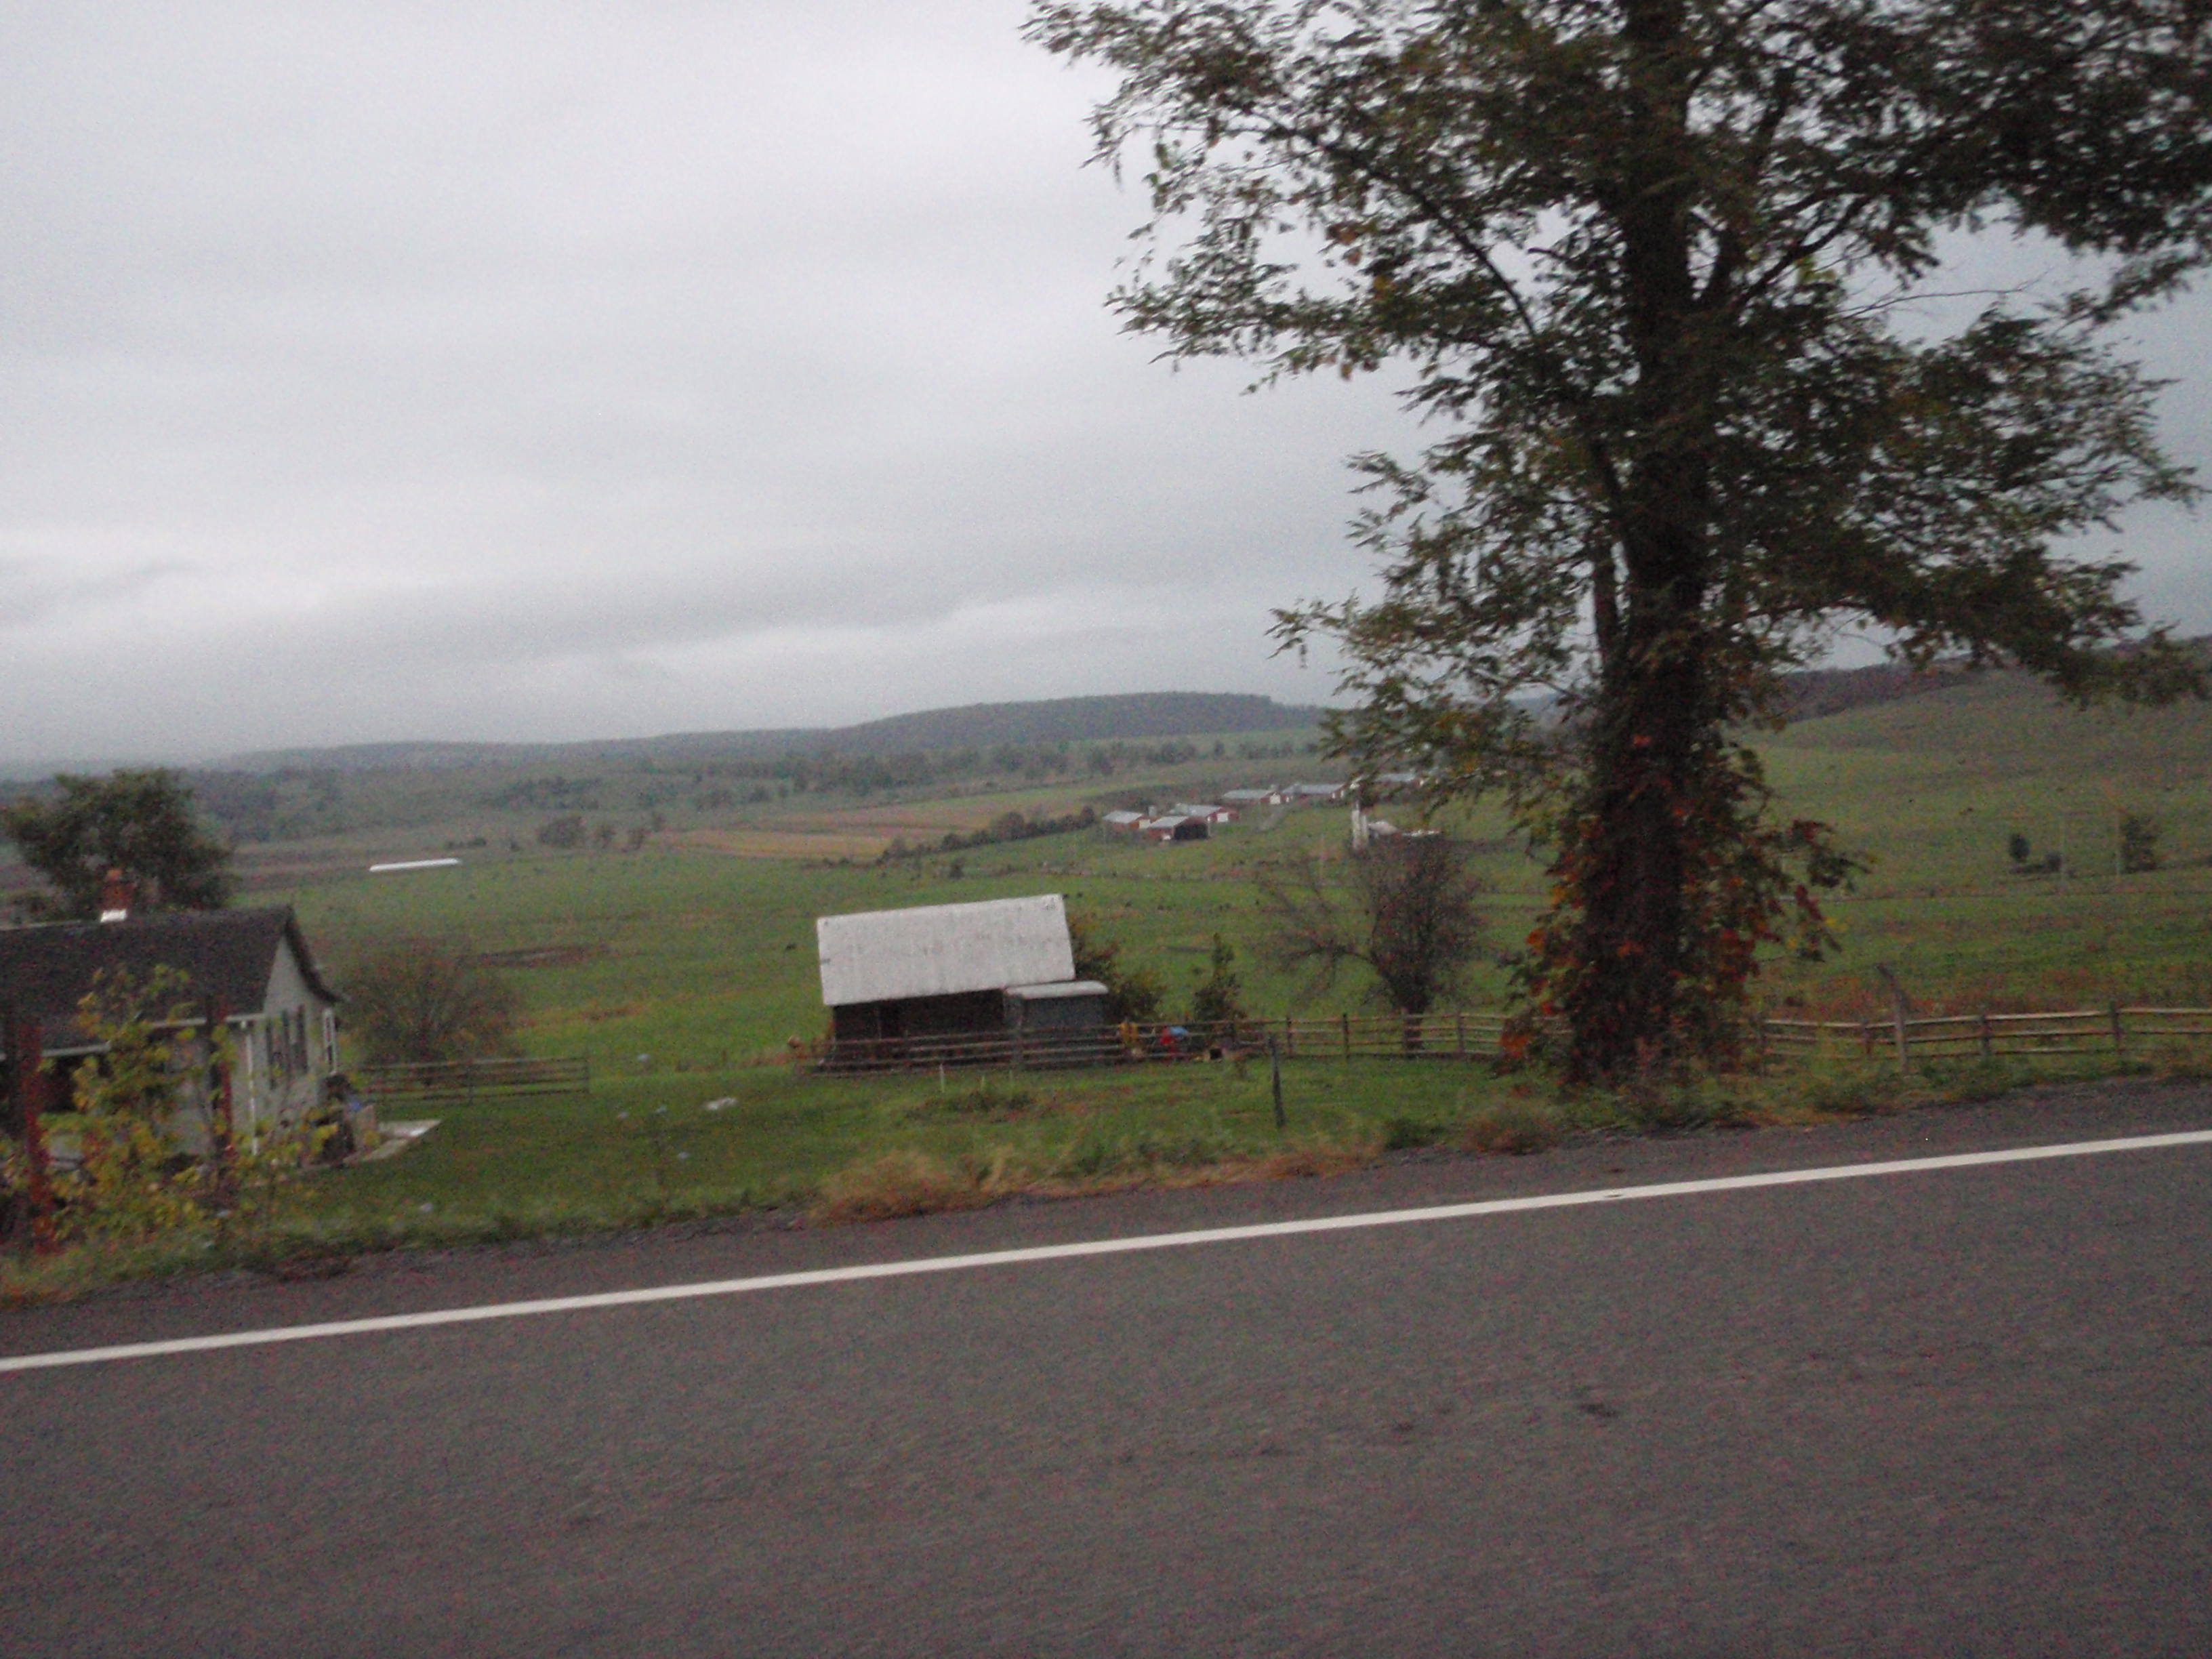
We started off the day on a wide divided highway with minimal traffic and a relatively fast downhill false flat. The morning was overcast, but the mountains around the highway were visible and the countryside was very picturesque. The highway was named after the late Senator Robert Byrd, like several other stretches of road on this ride. We made a quick breakfast stop at a Hardees. OLYMPUS DIGITAL CAMERA

We stayed on US 33, but it became a much smaller road after awhile, winding through farms, trees, hills, and small unincorporated hamlets with funny names. I remembered one called Pickle Street from last year, but wasn’t able to get a photo, so I made sure to get one this year. OLYMPUS DIGITAL CAMERA

OLYMPUS DIGITAL CAMERA

The second day is the “easier” day, in that it doesn’t have any real mountains. But it’s all relative – it still has a lot of hills that still take a long time to slog all the way up. They aren’t mountains, but some are big enough for switchbacks. They have really nice switchbacks, by the way. Nice and smooth, banked a little, and rounded enough that you can just kind of glide around them without having to lose too much speed. I like those, they are just somehow so pleasant and satisfying to roll through.

OLYMPUS DIGITAL CAMERA

OLYMPUS DIGITAL CAMERA

But the climbs are still relentless, and we weren’t making up much time. But we were feeling good, and the Glenville stop had a pizza/sandwich counter and a $5 special on 12-inch subs. While we were there, we were commenting on how that beer had hit the spot last night, but that we didn’t want to haul it all the way back to Buckhannon from Glenville if we wanted some more. So we called Matt from the control and asked him if he would have a chance to pick us up some during the day.

After Glenville, we were on smaller roads for awhile, with more climbs, more farms, and a few more loose dogs. It was pleasant riding and after awhile actually got a bit boring, but before long the hills started picking up again to keep things interesting. As we got closer to Parkersburg, the traffic picked up, too. The road was narrow and lots of trucks and trailers were hauling ATV’s back toward the city or toward Ohio, having presumably spent their Sunday offroading. But we finally arrived at Tim Hortons in Parkersburg, still behind the eight ball time-wise, but still ahead of where I’d been at that point on the ride last year. We had a meal and set back off for Glenville, happy to be at the halfway point.

As we were climbing away from Parkersburg, a young dog started trotting after us. It was a puppy, really; it wasn’t chasing the way loose dogs usually do, it was just sort of wagging its tail and tagging along. This was a pretty busy road, with a fair amount of fast traffic, and the puppy was just happily trotting back and forth. It followed us for awhile, and we kept thinking it would turn around and go back where it had come from, but it didn’t. It seemed like a sweet, friendly dog, actually. It would run by us, wagging its tail, then go sniff around the side of the road, then come back and say hi again. The traffic whizzed by, sometimes honking and slamming on the brakes when the puppy wandered out into the road, oblivious to the danger. I was sure we were about to watch that poor puppy become roadkill. I also wonder how many of those drivers thought we were a couple of morons who decided that letting a puppy run around with us on a busy street while we rode bikes was a good way of taking it for a walk.

We were going uphill, so there was no way we could outrun the puppy. We stopped riding a couple of times and he stopped with us, tail wagging the whole time. He had a pink collar on, but no identifying tags. Finally, Spencer thought maybe if he could distract the dog with food, we could make our exit. We  thought that if it didn’t have us to tag along with, it would wander home through the yards and fields and not on the road. He opened his handlebar bag and tossed a piece of bread off to the side of the road and the dog happily ran after it, but having snarfed down the treat, came running back just as happily. Not knowing what else to do, we kept riding and soon crested the hill and started going faster again, at which point the puppy lost interest or decided to go home. I hope he made it safely.

By the time we got back to Glenville, we had made up a bit less than half an hour, and we’d been starting to get drowsy, too. I sang and recited stuff and we kept on trucking. We had been thinking that the long false flat downhill out of Buckhannon that morning was going to be a bit of a slog in the other direction, but actually it wasn’t really – if anything, it was one of the easier sections, and the prospect of beer waiting for us at the control was a great incentive. Matt was waiting for us, and true to his word, had picked up some more Blue Moon for us. It tasted even better than it had the previous night, and knocked me right out for another hour and a half in an actual bed.

In the morning (well ok, I really mean an hour and a half later) we packed up our drop bags and got ready for the final day of the ride. Matt looked up the weather forecast and said it was supposed to be warm, so we actually packed most of our warm clothes into the drop bags before leaving. With 433 mi in my legs and brain, I wasn’t thinking entirely clearly about what I packed and what I didn’t. Although I did have the presence of mind to pack the last bottle of Blue Moon into my drop bag.

But as we headed off, the morning was mostly clear, and the sun even began to come out. By daylight, the long, grinding stretch between Buckhannon and Elkins was really, really pretty. The fall colors were spectacular in the morning light – the photos do not do them justice. If two roads diverged in a yellow wood, that’s where the yellow wood is.

OLYMPUS DIGITAL CAMERA

OLYMPUS DIGITAL CAMERA

OLYMPUS DIGITAL CAMERA


Last year when I got to the control in Elkins, it was pouring down rain and about 33 degrees. I was shivering and behind schedule and stood in the corner of the store eating microwaved pasta and taping garbage bags around my legs. This year, it was warm and sunny, and I sat outside to eat my food. Spencer had gotten into town a bit ahead of me, so I was confused when he wasn’t at the gas station and they hadn’t seen him. But a couple of minutes later he turned up, having stopped at a Taco Bell where I didn’t notice his bike outside as I passed. It’s a long road over a whole bunch of passes between Elkins and Seneca Rocks and he was anxious to get going, so he pushed on while I finished eating, and then finally got back on the road.

OLYMPUS DIGITAL CAMERA

OLYMPUS DIGITAL CAMERA

OLYMPUS DIGITAL CAMERA

OLYMPUS DIGITAL CAMERAOLYMPUS DIGITAL CAMERAOLYMPUS DIGITAL CAMERA

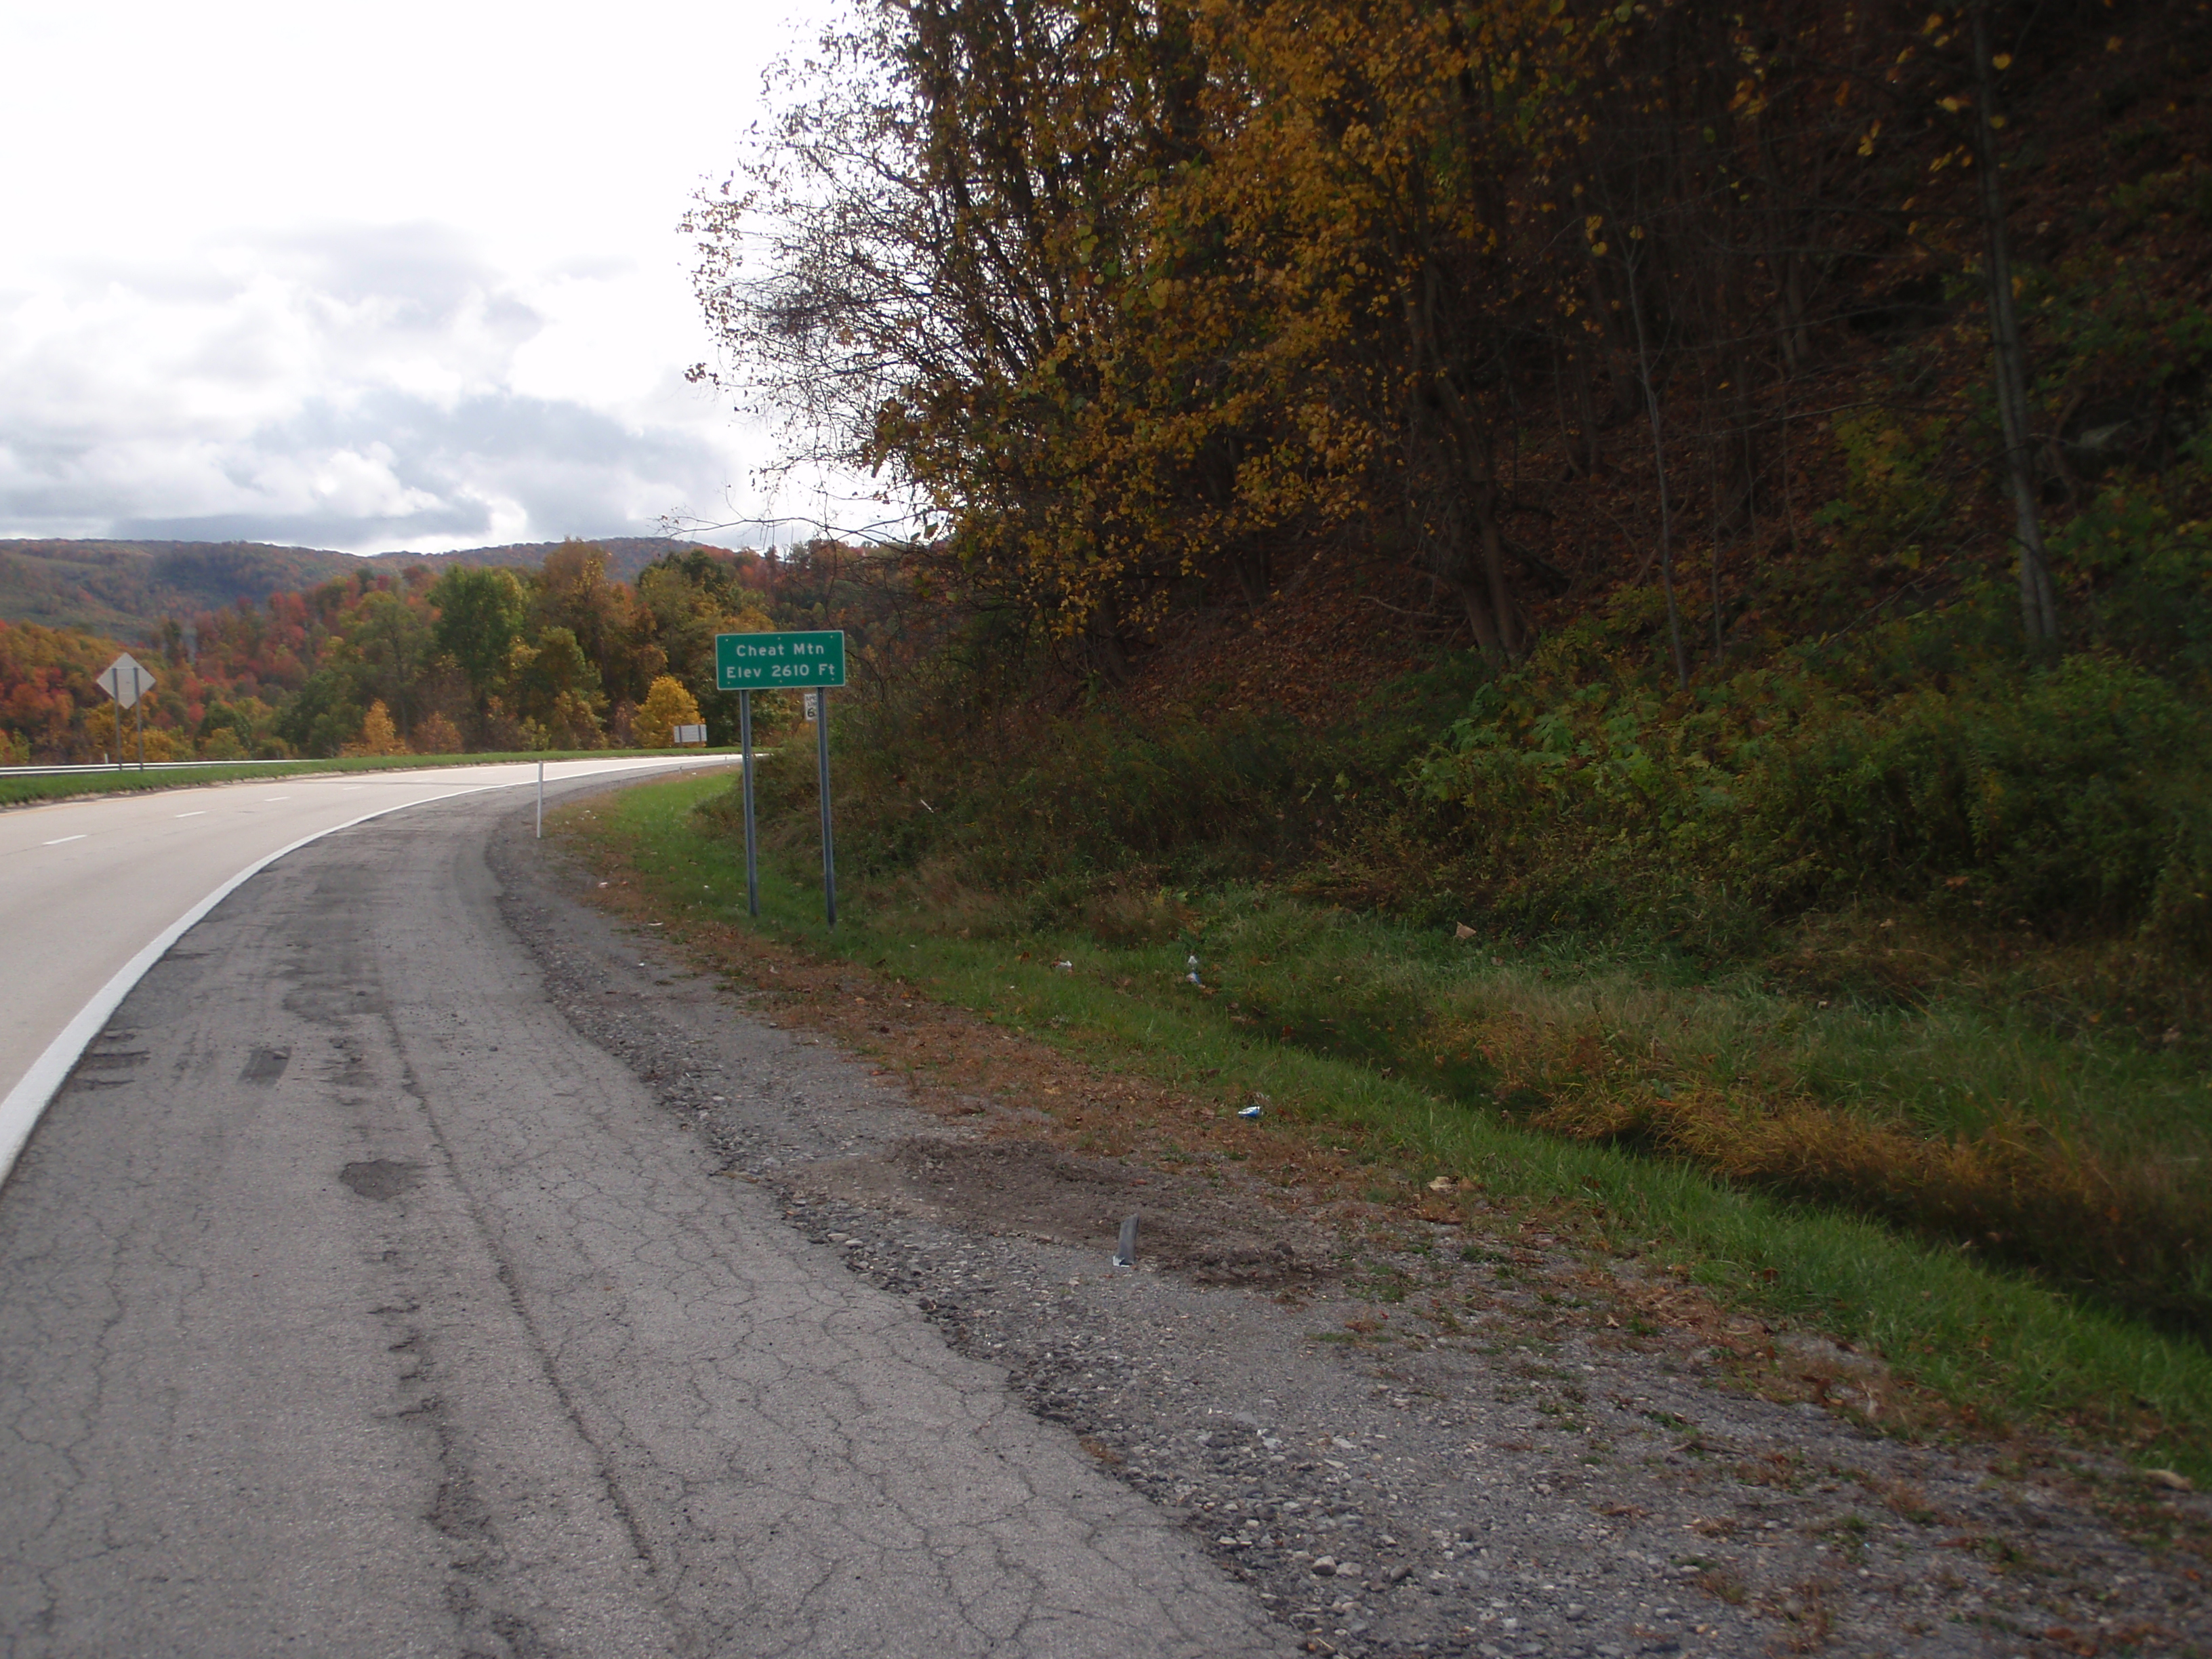
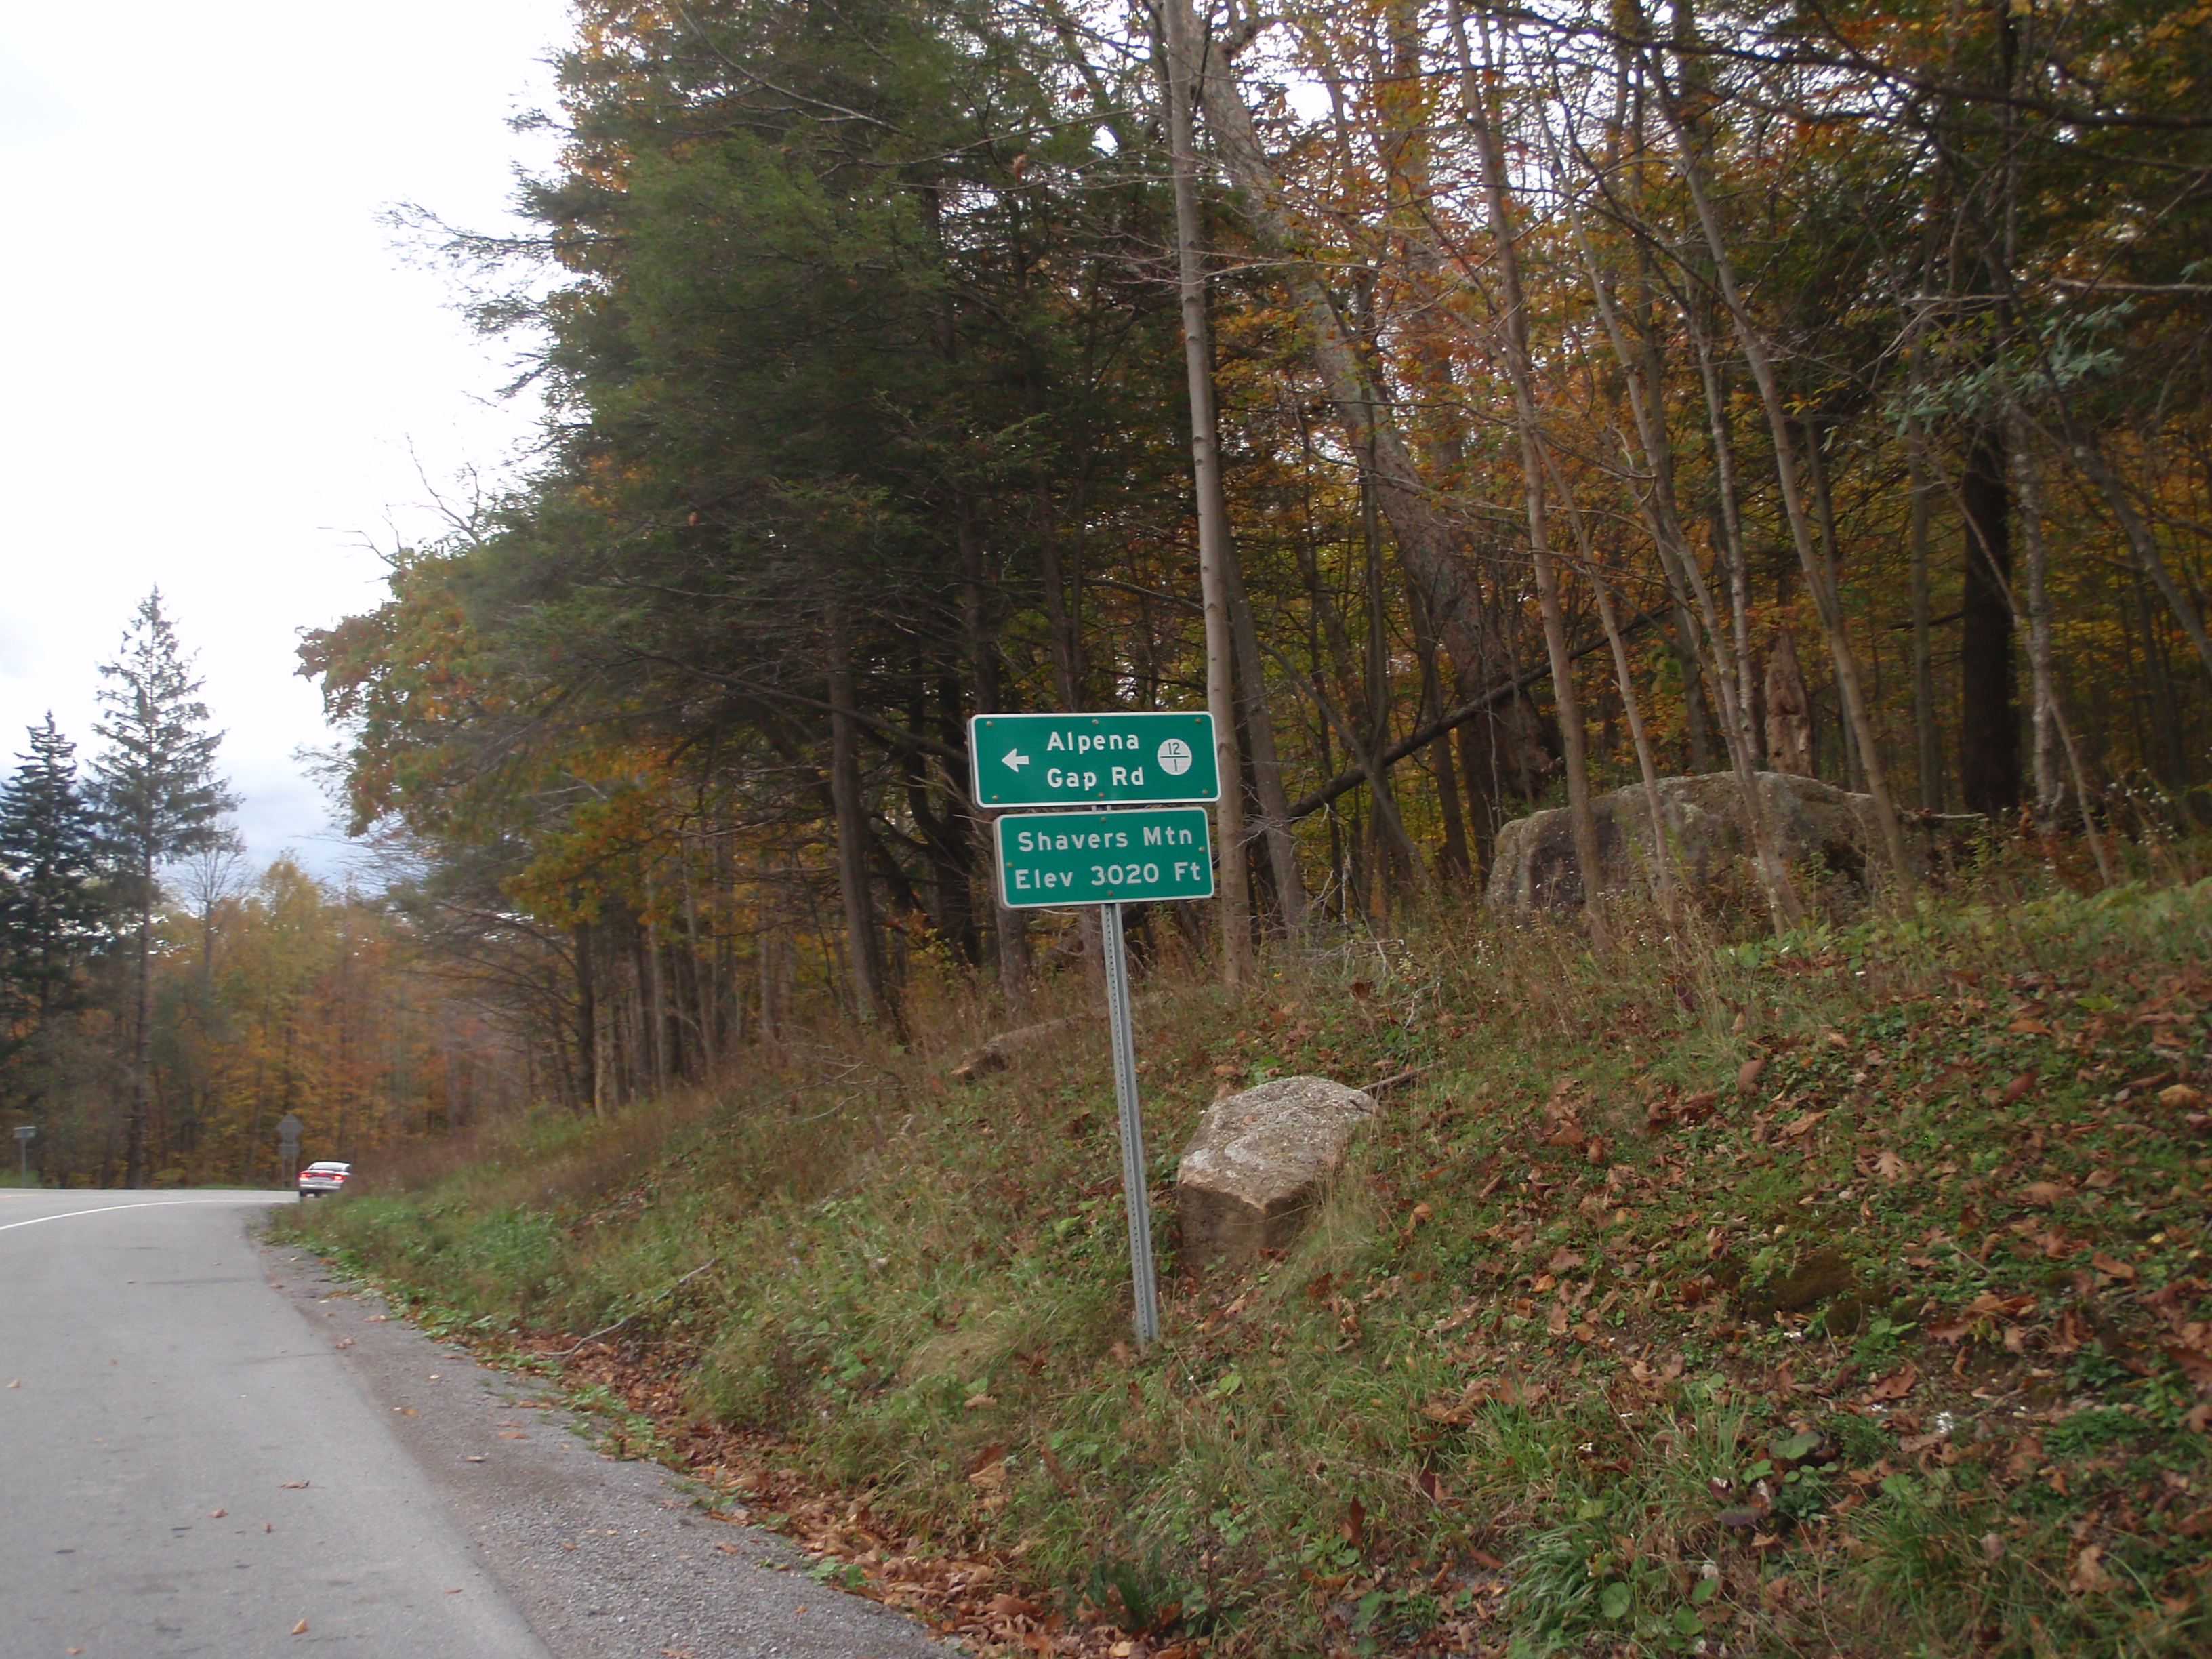
Last year, the scenery on this road was obscured by bad weather, but this year it was clear and beautiful. The mountainsides were covered in dramatic, fiery colors and the visibility was good. This is the section that has the whole row of climbs and descents, one after another. They are Cheat, Shavers, Middle, Rich, and Allegheny, plus a couple of other smaller ones without signs on top. Having now slogged my way up them twice in each direction, I took photos of each sign as I passed it. The sky was clouding over, but for the most part it was still basically clear.

OLYMPUS DIGITAL CAMERAOLYMPUS DIGITAL CAMERAOLYMPUS DIGITAL CAMERAOLYMPUS DIGITAL CAMERA OLYMPUS DIGITAL CAMERA

I got back to Youkum’s market in Seneca Rocks still feeling pretty good. Spencer had already passed through, so I bought a bottle of milk and headed off. Sometimes it’s nice to have the motivation of trying to catch someone, plus I figured that the more rolling terrain was relatively favorable to catching up. I was making bets with myself as to whether I’d catch him before the Moorefield control, or at the control stop.

OLYMPUS DIGITAL CAMERAOLYMPUS DIGITAL CAMERA

A bit before the control, I saw Spencer’s bike parked outside a DQ. I went in and got myself a quick basket of deep fried calories while he put his head down on the table for a few minutes, and then we headed off. I couldn’t remember exactly what time I’d been there the previous year, but I thought it was still later because it was dark when I got into Moorfield. But with the fast food stop, it was dark when we got to Moorefield anyway. I didn’t want to admit it, but I think we were losing time against my times from last year, which wasn’t a good sign since I’d barely made it in time in the end and had had a few navigational difficulties besides.

It was getting a bit chilly, and we were regretting having unloaded quite so much of our warmer stuff. I bought a pair of gloves at the Sheetz and a couple of Starbucks “Doubleshots”, but we kept the stop short since we’d already had our meal. Incidentally, it must be awful to work in that store. The music was blaring really loud, it was obnoxious just to be in there to buy a couple of things and leave. I can’t imagine being stuck in there all day with it every day. I know I’m more touchy about that than most, but still.

OLYMPUS DIGITAL CAMERA

After Moorefield, the return route diverges from the outbound. You still have to get over the same bunch of big ridges through George Washington National Forest as on the way out via Lost River, but this route is a longer, steadier, more gradual incline. It goes up about 1200 ft in around 9 miles. The road is a large divided highway with a wide shoulder and only the occasional truck. Matt said that apparently it was supposed to be a major thoroughfare that would connect with a major highway in Virginia, but that Virginia never finished their side of the project. So there’s this enormous brand new highway (also dedicated to Robert Byrd) that hardly anyone uses. But it makes for not a bad bike ride, being smooth and graded and well marked and practically empty. It was a long climb, but it was an even grade that made it easy to get into a steady, comfortable rhythm even if it seemed like it would never end. There are a few more little ups and downs on the way down, and the road turns into a much smaller country road, then another ~900-foot climb, and finally the Virginia line. There were some more ups and downs, and we finally pulled blearily into the penultimate control in Middletown, VA.

I had some cup o’ noodles and Spencer had a quick nap, and we got back out on the road. It’s basically predominantly down between Middletown and Gainesville, but the first part of that leg still has a lot of ups and downs and steep rollers on country roads, and even one more 500-foot climb. I’m sure that on a Saturday morning with fresh legs, I would love that part of the ride. But at nearly 600 mi in and being down to the wire, it’s a bit like purgatory. Plus it was dark and very foggy, which made it impossible to see very far ahead. Spencer was getting discouraged too, because I kept insisting it was mostly downhill to the finish, but it sure as hell didn’t feel like it and we did not have time to spare.

Finally we got back onto the John Marshall Memorial Highway that we had started the ride on. At that point, it really is smooth, fast, and mostly downhill. So I turned up the gas and tried to take advantage, always keeping an eye on the remaining time and remaining distance. I did my best to keep the speed up on the descents while keeping Spencer in sight behind me. Finally on one of the bigger ones, he whizzed by me with his feet off the pedals. After that, we both unclipped on a few of the steeper descents to get a little more speed out, but most of the time the grade was such that at least for me it was faster to stay clipped in and just keep pedaling hard.

We spent a good hour and a half in full time trial mode. I just tried to focus on breathing and pedaling. It’s amazing how the endorphin rush makes everything else disappear – the mental fatigue, the saddle soreness, the clammy clothes, the little aches and pains that are the result of three days and nights on a bicycle. We just pedaled for all we were worth. As we got closer to the end and it flattened out a little, we went into team time trial mode, swapping very short pulls to keep the pace up. We were all set to make it with a good few minutes to spare, when we hit a red light. And then another one. And then every single other one after that. Last year I was down to the wire and finally got to the right block of shopping centers (I swear, they all look identical) and ended up riding circles in the parking lot looking for the IHOP. I was bound and determined not to do that again, and carefully watched the cuesheet…. but we still ended up riding back and forth through identical shopping center parking lots before we finally found it.

It took a hard team effort, but we made it in the end, after spending the last hour and a half or so just how I spent it last year – riding as hard as I could humanly manage for an hour and a half at the end of 75 hours. When we got to IHOP, we picked up our drop bags. I took our water bottles with me when I went to the bathroom to change, and split the last bottle of Blue Moon between the two while I was at it. I may tend toward beer snobbery in every day life, but half a warm Blue Moon in a scungy water bottle in an IHOP at 7 AM was actually beyond delicious.

Looking back, I guess I must have been generally riding faster last year, since I had a few wrong turns but finished in the same time. I was definitely pushing harder last year generally because I was so much farther behind for a lot of the ride. But last year I also felt like I needed more recovery time at many of the controls, between the freezing temperatures, the snow, and pushing the pace. This year I actually basically felt pretty good for the whole ride. Except for that last final push, I mostly felt like we were keeping a steady but comfortable pace. We didn’t rush or stress at controls, but we were for the most part reasonably quick and efficient. It’s just a very hard ride that doesn’t go fast. Matt said that in his experience, the slower folks who have done this ride (among whom I would definitely count myself!) generally seem to like it fine, because they figure on going slow in the first place and the just chug along. The faster ones don’t like it as much because, well, it slows them down too much. He said he hasn’t had anyone finish it in under 69 hours or so. It’s not the route to set a personal record! But it is a very scenic, challenging ride. In early October the fall colors are at their finest, and it isn’t hot, which some of us greatly appreciate!

So, thanks very much to Matt Settle for running the ride, and again for doing it for only two riders, meeting us in the motel, and picking up the beer. And thanks to Spencer for being good company, a steady, strong rider, and a glutton for punishment on a fixed gear. This ride was fun last year when I was alone, but it’s definitely more fun with someone else. This route is gorgeous and well worth the work, but it is not for the faint of heart. If I ever do it again, I might seriously consider using a bike with gears. And it should tell you something that it’s been a few years and a lot of long miles since I said that. But you can probably take it with a grain of salt, since I did this ride fixed last year and came back for more.

IMG_20131015_081343_201


Share Button

Back from the New England Builders’ Ball

Jake and I have just gotten back from the New England Builders’ Ball, plus a day at the Providence Cyclocross Festival. We packed up everything we needed – bags, display stands, banner, album, laptop, lamps, etc – into our panniers and backpacks and took our bikes on the Commuter Rail down to Providence, RI.

Dill Pickle Gear had a booth across from ANT Bikes and in between MSH1 Cycles and Paul Carson Bicycles in the ballroom in the historic Biltmore Hotel in downtown Providence, RI. The setting was elegant and there was lots of spectacular work on display from frame builders from all over the region. It’s always fun to get to see so many gorgeous bikes, especially since they’re made right here. And it’s great to meet the folks behind them too, especially since so many of them are practically neighbors.

builders' ball booth cropped

Among all the bikes were also two other local companies producing accessories: Exposed Seam, the work of a couple who make leg cuff that keeps your pants out of your drivetrain more neatly and completely than a regular reflective strap; and Cleverhood who make a rain cape designed to make all-weather city cycling better. Actually, I was volunteering on last year’s Boston 300k, which had cold rainy weather all day. There was one guy who rode in a Cleverhood rain cape, and he cruised happily around with a grin on his face all day while most other riders were shivering and suffering.

A few other highlights that immediately come to mind were the incredibly clean, streamlined work from MSH1 on one side of us, especially the small bike on display with internal cable routing for the double shift cables of a Rohloff hub. There was was also a bike from Bilenky Cycles with black tubes and elaborate bright yellow hand cut lugs. Then there were the titanium frames from Firefly Cycles, with graphics done in the bare titanium only in the difference between matte and polished surfaces. And there was a local bike shop that had a 1972 Raleigh International frame (and if you know me at all, you know that I have a real soft spot for old Raleighs) that they had painted with a woodgrain finish.  Wish I’d taken photos of those, and other stuff too!

And of course, many many thanks to my devoted better half, who helped out at the booth and helped me schlep all the stuff down.IMG_0024


While we were in Providence, we also spent Saturday with Dill Pickle set up in the Builders’ Ball tent at the Providence Cyclocross Fest. The weather actually turned out pretty nice. The cross racing was fun to watch, and there was a pretty big expo going on too. I met some folks who have designed a product called Buca Boot, which is an ingenious lockable trunk for the back of a bike. They’ve got a kickstarter campaign going to fund it, so check it out.

I also met Linda Keough, who has five kids who all race bikes. They go through lots of tires, so she recycles them into handles and straps for bags, and decorates them with bike parts too.

In the evening we went to Providence’s WaterFire festival, where they light a row of wood fires all down the river and keep feeding them from boats, and finally on Sunday morning we packed it all back onto the bikes and took the train back home.

IMG_20131006_125526_700


Share Button

New England Builders’ Ball!

Are you in New England and looking for something to do next weekend? Do you like the idea of a room full of great bike stuff made right here? Come to the New England Builders’ Ball in Providence, RI on Friday, Oct. 4 from 7-10 PM. Dill Pickle Gear will be there, and so will a whole bunch local frame builders and other companies that produce cycling gear. I think it will be a really fun, exciting evening showcasing New England’s amazing bike culture. Come check it out!


And on another note, stay tuned for some changes to the Dill Pickle Gear website. Since soon Google Checkout will no longer be supported for applications like this, I have to switch to a new payment processing system anyway. So while I’m at it, I’m making a bunch of other changes, too, and some new features. So stay tuned!

Share Button

Where New Designs Come From

Now that the new Dill Pickle handlebar bag is up, I thought this time I’d try and document my design process for all to see, in case anyone’s interested.

The first step is to figure out what it is that I want to create. Personally, on long rides I use a small-ish handlebar bag for things like food, camera, sunglasses, arm warmers, etc: basically, the stuff I want to be able to get at easily while riding. The cuesheet goes on top of the handlebar bag where it’s in easy view. Tools, extra layers, dry clothing, etc. goes in a saddlebag, which keeps it away from my grubby fingers, spilled gu, and banana peels.

The handlebar bag that I’ve used for years was actually one of the first bike bags I ever made. It’s sort of rough, and has way more buckles than it needs. I made a mount for it that keeps it away from my fingers and also holds my headlight. It’s been useful and successful, but there were a few things I wanted to improve on. The lid operates in a stupid way. It’s easy enough to unzip the back and stick my hand in, but I like the easy-open lids that the traditional boxy front bags have. It can strap directly to the handlebars, but then it gets in the way of wrapping my fingers around the tops.

My old standby handlebar bag, on its mount

So there were some things I wanted to improve upon from the one I’d made before. There were also a few things I wanted to improve on over lots of other common handlebar bags on the market. Most handlebar bags with a larger capacity and a cuesheet window on top need tools to install, leave a mounting bracket on the bars when the bag isn’t in use, and keep their shape only through completely rigid and heavy internal structure. It makes no sense to me for the bag and all its associated hardware to weigh as much as its contents when full.  There are some smaller ones that strap onto the bars, but they get in the way of your fingers and usually don’t have a cuesheet window and are less convenient to get into while riding.  Then there are the traditional boxy rando front bags, but they require a front rack and usually a decaleur as well, and really work best on bikes that are designed to carry the load that way in the first place. Don’t get me wrong, a bike with a fully-integrated design from the ground up can be a beautiful thing, but many of us use the same bike for more than one thing, or have a bike we like and don’t want to re-design that wasn’t built that way.

So the goals for this model were as follows:

  •  Similar in size to the one I’ve been using
  • Cuesheet window or other attachment system on the lid
  • Easy access to the contents with one hand
  • Stays out of the way of wrapping your fingers around the tops
  • Self-contained mounting hardware, as universally adjustable as possible for use on most road bikes
  • Light enough in weight that it’s actually lighter than whatever you might fill it with, and so that it doesn’t have as much affect on the handling
  • As much cuesheet real estate as possible, while remaining narrow enough to use with narrow handlebars and still have room for wrapping thumbs around hoods
  • Tall enough from top to bottom to be able to offer a dedicated smartphone pocket

The obvious “footprint,” or basic overall shape when looking down from above for something like this is a rectangle. But a rectangle would put a long flat side against the bars and get in the way of your hands. For months and months I thought about using different kinds of spacers to offset the bag from the bars. Rubber bumpers? Wooden blocks? Extra-thick straps? All these had drawbacks in stability, ease of use, complexity of construction, etc. If you’ve ever wondered what goes through my head when I’m out on my bike by myself for hours and hours and hours, now you know. I also began looking into having a version of my own home-grown bag-and-headlight mount produced.

But eventually, I decided that a rectangle was just not going to work. The simplest way to keep out of the way of your fingers is just to get rid of the part that would be in the way. Then it could strap straight onto the handlebars, using cords around the levers to support it at the desired angle.

In thinking about the mounting system, lid closure, etc, I spent some time browsing through catalogs of luggage hardware and realized that while shock cord on a hook is a common and simple way of keeping a lid closed, lots of handbags have something even easier to use: magnetic snap closures. They close themselves as long as you get the stud into the general vicinity of the socket and opening it is as easy as grabbing the lid, but in the shear direction they are completely secure. One way or the other, the closure would have to be off to the side, around the corner from the flat edge that would be right up against the bars and stem or it would be awkward to use.

So off to the drawing board to draft the first prototype. For a variety of reasons, I don’t use CAD. I do it the old fashioned way, like this:

pattern-draftingYep, I remember my high school geometry!

The first prototype had an aesthetically pleasing, curved “footprint”. It curved away from the handlebars, with an oval-ish lid and a curved bottom. The bottom and front were one panel, and the sides and back were one panel that curved around to the front. But it had a few problems. First, the lid overlapped the mounting straps so that the stem would be in the way of closing the bag. But more critically, the curved shape meant that it could deform too much when loaded, or even just when pulled out of shape by the mounting cords. In order to keep the weight and complication down, the shape had to make use of the structural properties of the plastic, not fight against them.

So on to prototype no. 2. The second version had side panels angling out from the bars that contained thicker, more rigid plastic with a curved front/bottom/back panel reinforced by a lighter plastic that gained rigidity by wrapping around the curve. I mounted it on the bike, and it was much closer to what I wanted:

HandlebarBagPrototype2HandlebarBagPrototype2-3HandlebarBagPrototype2-2


But it still had a few issues. It looked too big and bulbous, to start with, out of place and out of proportion and I felt also too big to properly support its load this way. My original idea was to offer a row of possible mounting locations on the side panels for the cords that go around the levers, to accommodate differences in bike geometry. But upon trying it out, I realized that this was stupid because the bag is most stable when supported from the bottom, regardless of where the cord goes after that. And I didn’t like the way it was distorting the fabric of the side panels – it didn’t look like a recipe for longevity. Lastly, when bouncing the front end of the bike around, the bag would bounce up rather a lot. The cords keep it from bouncing down, but it needed something countering that to be completely stable. The fork offers just such an attachment point.

But otherwise, while the size and shape needed tweaking, the basic structure seemed good. The lid opened and closed easily, and the cuesheet window offered a reasonable amount of viewable area with a reasonable amount of security for keeping the cuesheet from going flying when the lid was open. And the lid opened and closed really neatly and easily. The top was just high enough above the bars for the lid to stay out of the way of the mounting straps.

So, back to the ol’ pencil and paper again for round three:pattern-drafting-2


Prototype no. 3 fixed the major issues to my satisfaction, so now it was time for some real-world testing. Fortunately, we were off to DROVES for the weekend with our friends John and Pamela.  DROVES is an annual trip they put together to go out and ride gorgeous practically-vertical dirt roads in Vermont. What better way to test the function and stability of a new design than to go careening down a bumpy dirt road with it? And not only that, I could take the opportunity to try it on Pamela’s bike. She rides with tiny 36cm bars with short reach. I’d already tried it on a 60cm bike belonging to a tall friend, so if it fit neatly onto her bike, it should work for just about anything.

Pamela’s bike indicated one more change to the design: she has disc brakes on that bike, so any stabilization strap needs to go either around the fork blades or around the fork crown. But actually, going around the fork blades provides better side-to-side stability anyway. But aside from that, the bag not only fit Pamela’s front end, but also matched her new Honey’s navy-and-gray paint job to perfection.

I put the bag back on my bike, dumped the contents of my saddlebag plus a few other odds and ends for additional ballast into it, and took it out for its road test. Saturday was cold and raining, and even started sleeting while we were out, which felt like being sandblasted in the face on the descents. Sunday was a bit better, and we went out for longer. But a couple days’ descending on dirt and washboarding and potholes and gravel and downed tree limbs from the storm put the bag through its paces. It stayed stable, the lid stayed closed, and it didn’t bounce. HandlebarBagTest2


So, success!

The next step was to transfer the pattern pieces onto thicker, more permanent paper, make some more of them with the last revision of the fork straps, and take photos.

Share Button

Okay, how big is it actually?

I’ve made rough estimates of the interior capacity of my bags before with packing peanuts, or by guessing roughly from the basic dimensions, and I’ve even tried it with water. Today I decided it’s time to figure it out once and for all.

Small saddlebag with a 1-liter flask

Is it one liter?

Small Saddlebag holding a two-liter bottle

Is it two liters?


So, I tried something else. Water is messy, packing peanuts are inaccurate. I thought of beans, but no one will want to hang around if I eat that many beans when I’m done measuring with them. So I tried pasta.

One liter of macaroni

One liter of macaroni

Small saddlebag containing 1 liter of macaroni

Small Saddlebag, containing one liter of macaroni


Small Saddlebag containing three liters of macaroni

Small Saddlebag containing three liters of macaroni


Uh-oh, that’s all the macaroni they had. It’s just about to the “fill line” so to speak, so maybe it has a three-liter capacity. But I think I can get some orzo in there too!


Three liters of macaroni and one liter of orzo.

Three liters of macaroni and one liter of orzo.

IMG_1705 IMG_1706

Yep, all that pasta really went into that bag.

Yep, all that pasta really went into that bag.


So, three liters of macaroni and one liter of orzo, and it still closes. Call it a capacity of 3-4 liters depending on how full you stuff it. I think we can also call it a “carb load”!


Now I’m stuck, I didn’t buy enough pasta for the large, so I started adding the empty boxes:

Six liters of pasta, plus three orzo boxes and a macaroni box

Six liters of pasta, plus three orzo boxes and a macaroni box

Three liters of orzo, three liters of macaroni

Three liters of orzo, three liters of macaroni

Two macaroni boxes, four orzo boxes, six liters of pasta

Two macaroni boxes, four orzo boxes, six liters of pasta


It... mostly still closes!

It… mostly still closes!

Yeeep, I can still strap that jacket in there.....

Yeeep, I can still strap that jacket in there…..


The orzo boxes are 7.75″ x 4″ x 1.75″, or 54.25 cubic inches, or 880 ml.

The macaroni boxes are 6.25″ x 5.125″ x 2.5″, or 80 cubic inches, or 1.3 ml.

That makes about six liters of boxes and six liters of pasta. It’s a tight fit, but the boxes aren’t taking up all the nooks and crannies either, so I’ll call it 12 liters, give or take. Plus a jacket.


Now for the exterior pockets:

Side Pocket with one liter of orzo

Side Pocket with one liter of orzo


That managed to zip shut onto two more liters of orzo

That managed to zip shut onto two more liters of orzo 


So, there you have it, and now you know exactly how big they are. 

Got any favorite pasta dishes?


Share Button