As I mentioned in the previous post, in the summers I usually travel to a handful of week-long summer programs where I either play for dancing or teach music. I don’t have a car (or a drivers license, actually), and I like bike rides. So whenever I can, I load up everything I need on my touring bike and ride there.
The first question: Why do this? It makes for some long days on a VERY heavy bike. In some cases, I might be able to find a ride, or a shuttle from somewhere, or a train, or whatever. There are economic justifications I could make, in that even if you added up all the extra money I spend on crappy food and the occasional motel on trips like this, it would never add up to the cost of owning a car or even the cost of renting one for an entire week or two in order to drive it there, park it, and drive it home. But the real reason is that I like bike rides. If I were to get a ride there or drive there or whatever, it would still take a big chunk out of a day and I wouldn’t get a weekend ride in at all. Last summer I did four of these weeks, which means there were seven weekends out of the summer that abutted one at one end or the other, and that’s a lot of summer weekends to give up. Riding there lets me have my cake and eat it too, and even work it off. 😉
The bicycle I use is the one I have set up as a touring bike, even though that isn’t what the frame was originally intended for. It’s a 1972 Raleigh Pro (yes, I do seem to have a thing for old Raleigh Pro’s!). I used it for several years set up like this:


That’s the prototype of the Dill Pickle handlebar bag in front, with pretty much all the rest of the weight in back. The two panniers contain a week’s worth of regular clothes, plus concert clothes, street shoes, toiletries, a laptop, around two inches of sheet music and books, towel, swimsuit, and assorted other odds and ends like a tuner and metronome, etc. And of course, lots of instruments. Recorders, actually, of assorted sizes and styles, ranging from sopranino to bass. Different trips require different combinations – in the photo against the glass window, my whole gig bag is strapped over top of another roll containing my bass, and that’s just what’s on top of the rack. The photo next to that one was on the way to a camp in the woods, where the box fan is often a real necessity. The details of each trip vary slightly, but in the end, they all require a whole lot of stuff and I’m already pretty much packing as light as I can and still have everything I need for the week.
Those panniers are huge, and I can carry a pretty heavy load quite effectively that way. And actually, the bike still handles well like that! If I’m careful I can even ride with no hands with that load, as long as it’s evenly distributed between both sides. BUT it is very hard on rear racks. Lots of them specify a 40-lb weight limit, and that isn’t nearly enough. What with occasional dirt roads and bad pavement, I’ve broken two of them that way.
So this year I made some changes. My birthday present from Jake was to have Peter Weigle install S&S couplers in my frame. He also spruced it up quite a bit, re-painted it, added a new fork with low-rider mounts, added braze-on’s for bottle cages, braze-on’s on the seatstays for the rear rack, and studs for shifters so that I could used indexed downtube shifters (I prefer downtube to bar end, but wanted indexed 9sp; the clamp-on studs for friction shifters are round, and the indexed shifters require a stud with a flat side). I fitted it with stainless steel Tubus racks front and rear, and new fenders to replace the kludgy old ones. So it also needed new panniers, to make use of the new racks.

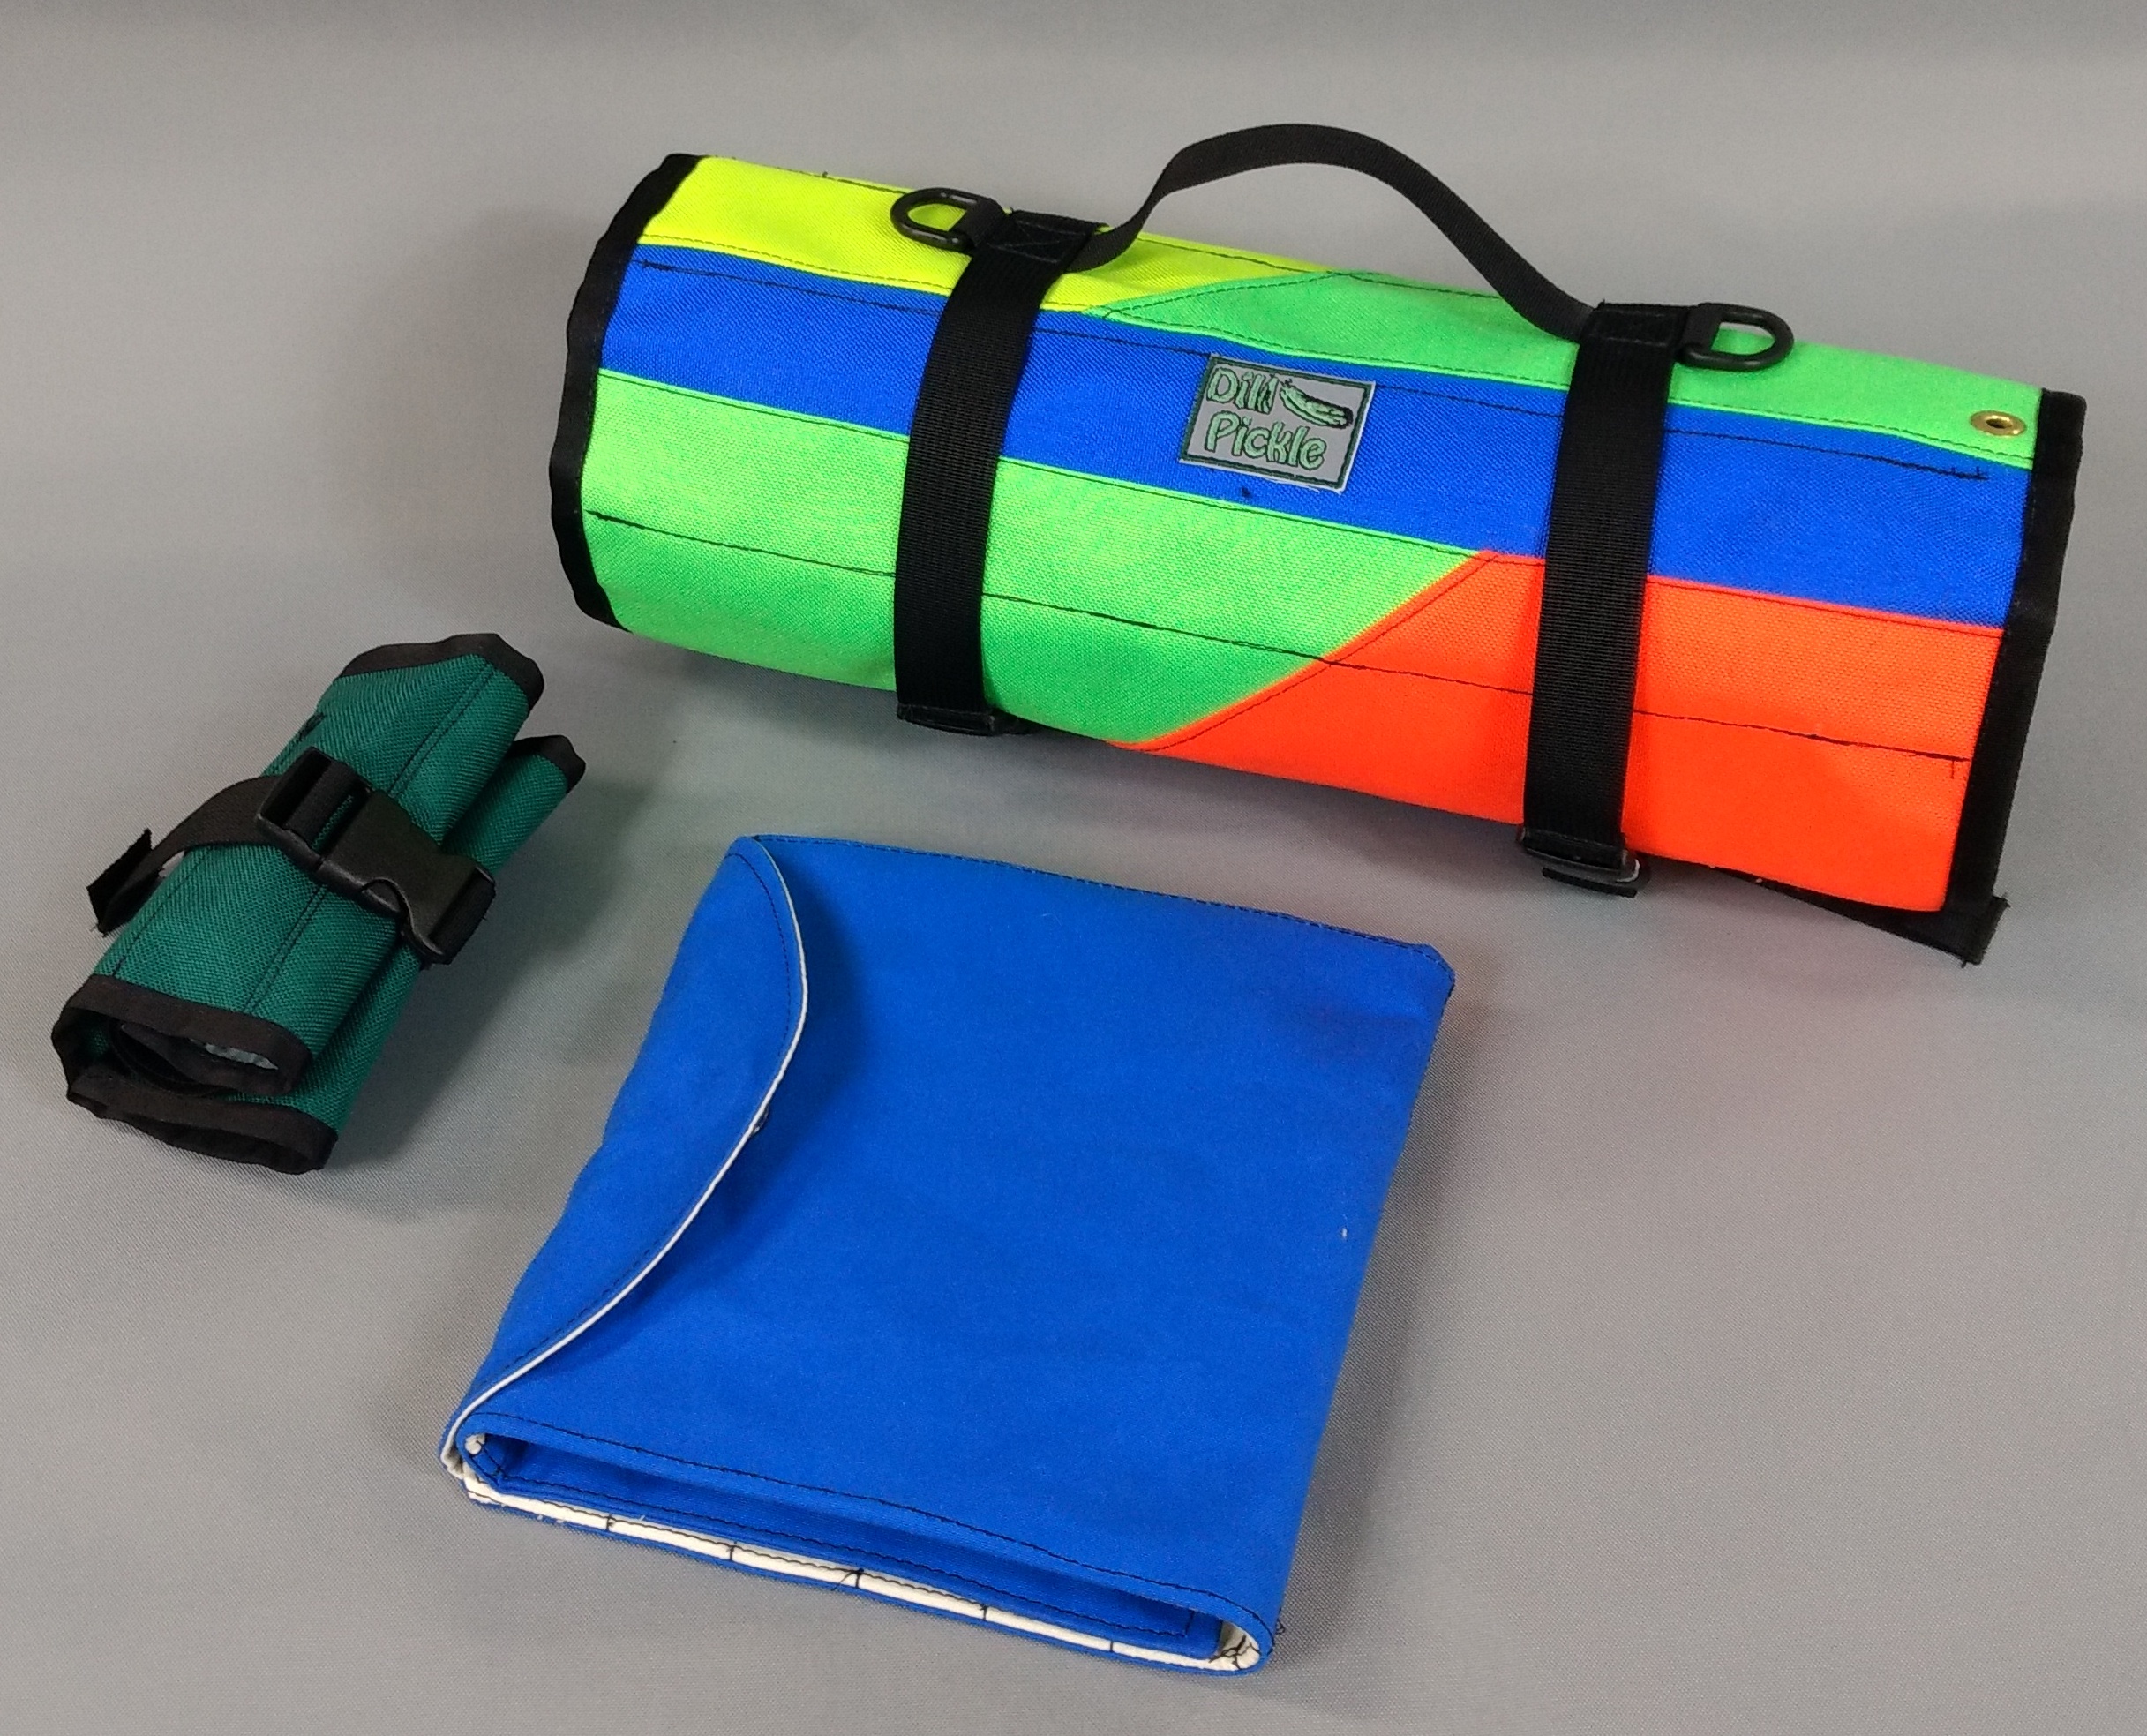
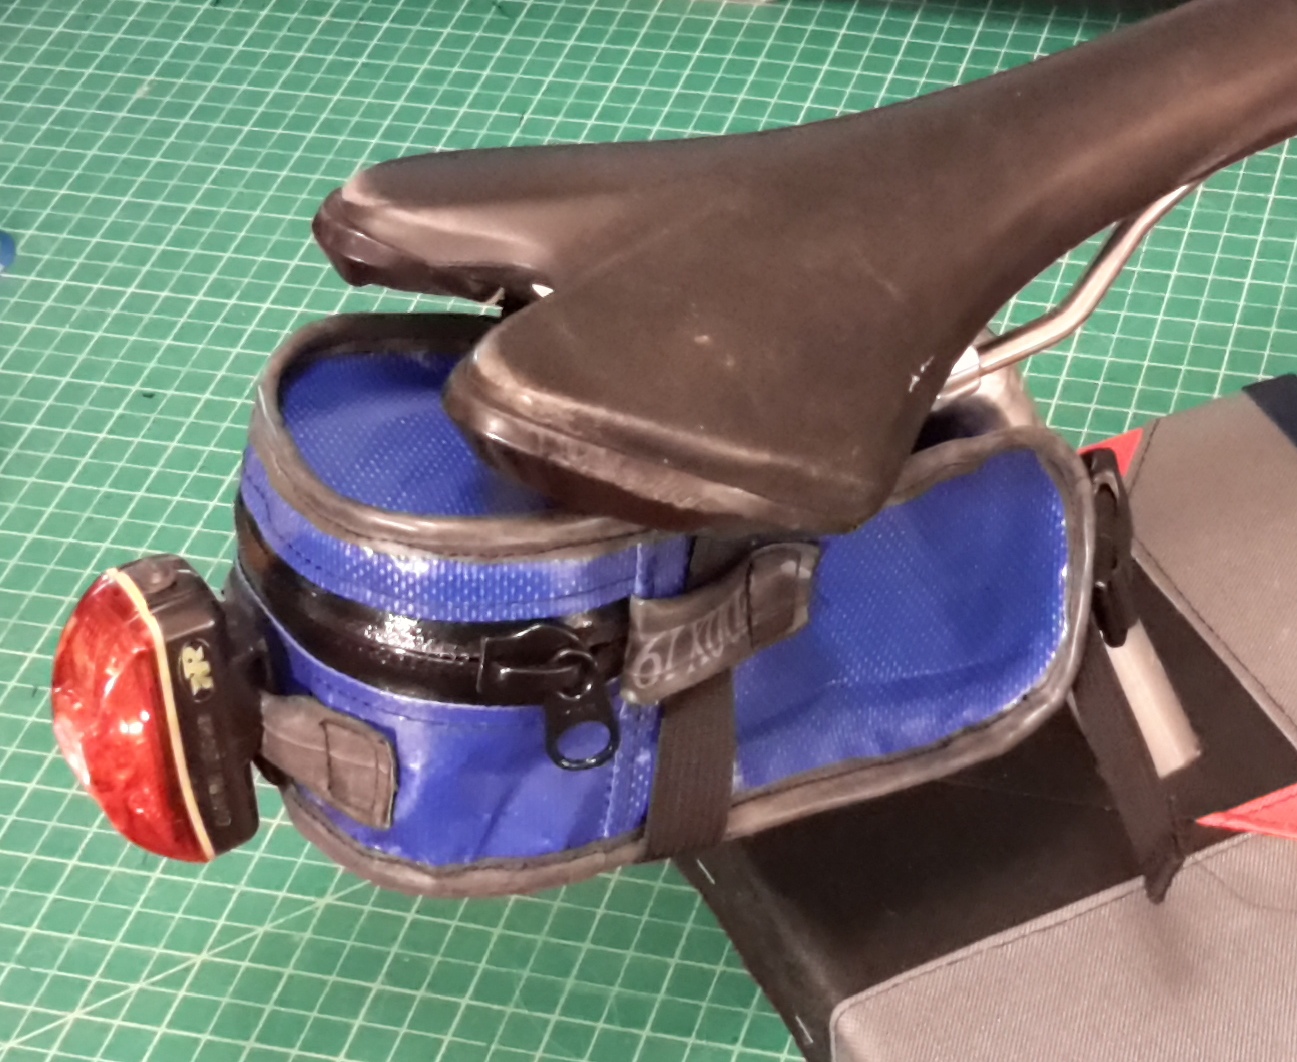
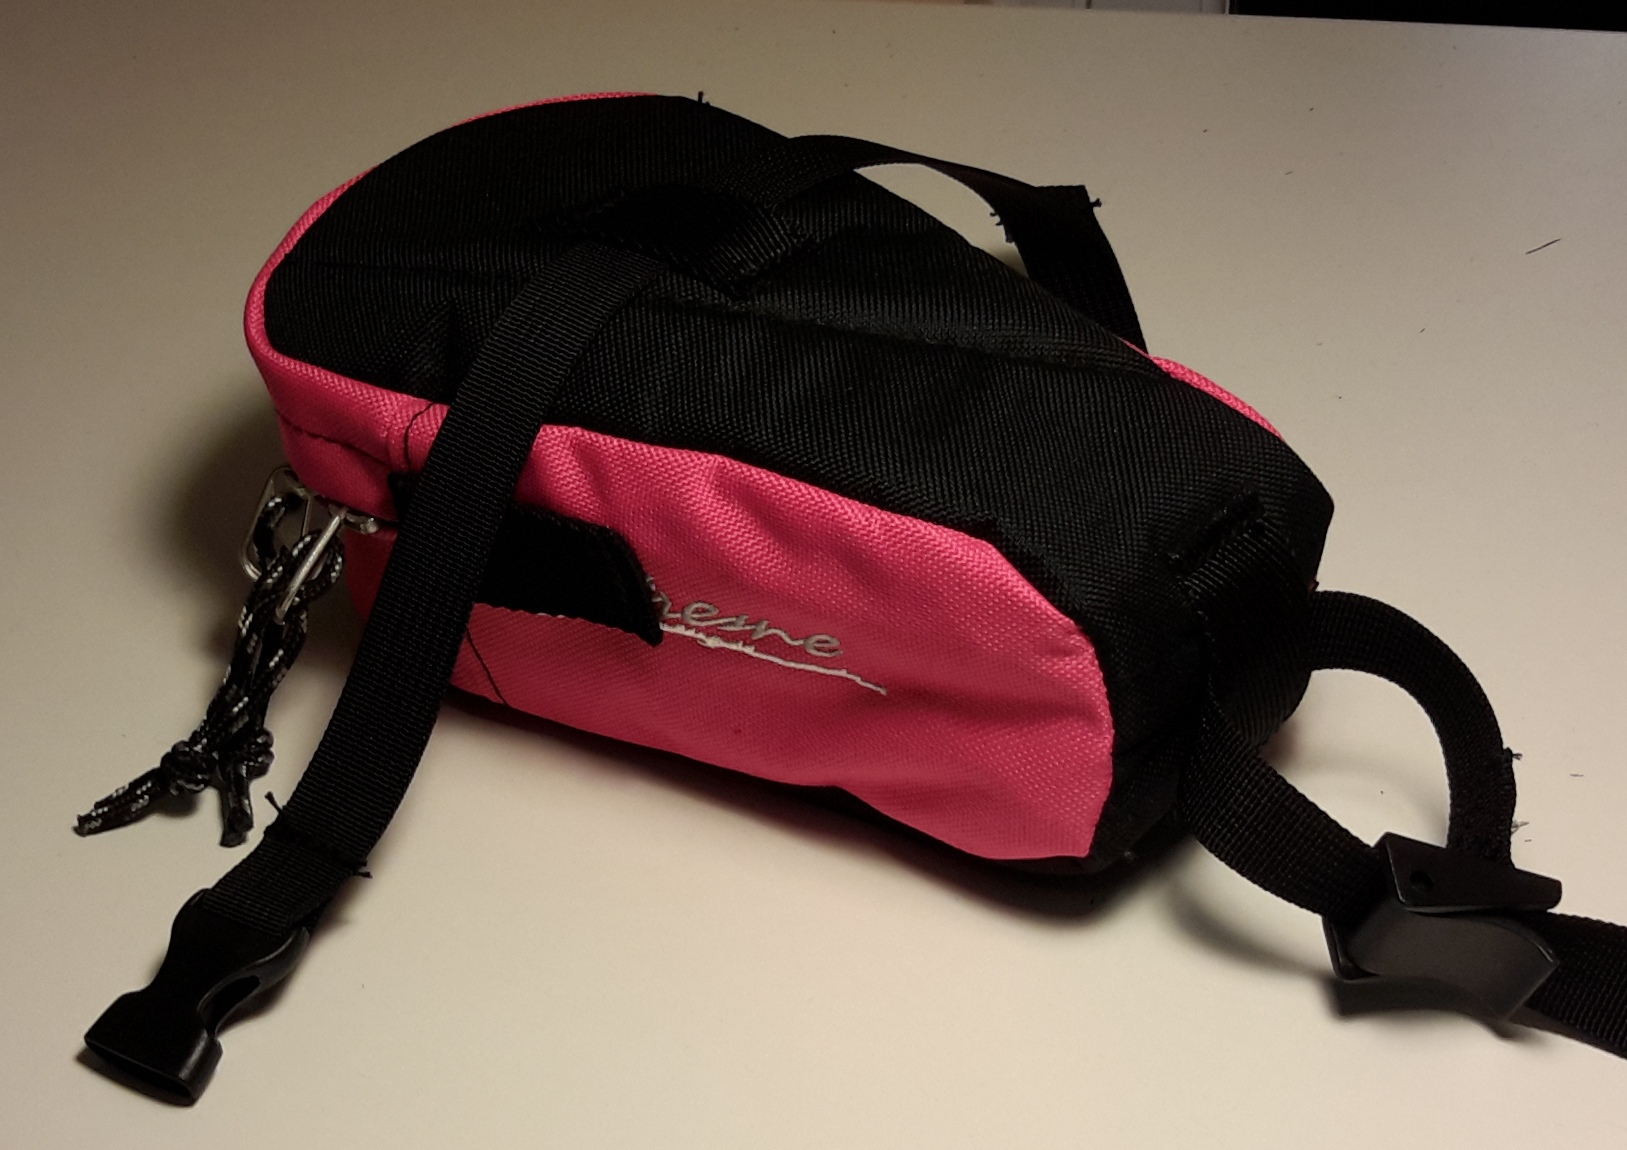
The new rear panniers are much more compact than the old ones. They’re noticeably more aero, since they don’t stick out nearly so far to the sides. It’s OK that they’re smaller because they’re supplemented by the front panniers. I also added a matching handlebar bag, medium saddlebag, and tool canister. I didn’t need to bring my bass this time, although on one of the trips I still did strap my gig bag to the top of the panniers:

The new fork has a bit more rake than the old one, and the bike handles quite well loaded like this. Again, as long as I load both sides equally, I can take my hands off the bars. In any case, the whole thing fully loaded still weighs in at around 90 lbs.
Other bits of equipment that may be of interest: I like a narrow q-factor, so I use T/A cranks with 30t and 46t chainrings, and a Shimano long cage MTB derailleur with an 11-34t cassette. That makes for wide-ish gear spacing, but that’s fine since with downtube shifters you don’t necessarily reach down to shift quite as often as you might be inclined to shift with “brifters” where your shifters are at your fingertips. On a racing bike that would be a substantial compromise, but for a touring bike I prefer the simplicity (and field repairability) of downtube shifters. Plus I like the shape of the non-shifting Shimano brake levers, and I find bar end shifters annoying. I’m using a B&M Lumotec Eyc headlight with a Shimano dyno hub, and a battery-powered tail light. Both wheels have Mavic Open Sport rims, and were built by me. Aside from the touring gear and the geared drivetrain, the bike is set up a lot like my brevet bike: same saddle, bars, cranks, pedals, position, etc.
The way I select my route is pretty simple: I’m generally under time constraints and need to be reasonably functional the evening I arrive, so I go by the most direct reasonably cycle-able route. This is not always the most scenic route, and often has more traffic than any route I’d choose or expect for any organized event, recreational ride, etc. But I don’t mind it as much when I’m alone because it doesn’t matter that you can’t carry on a conversation when there’s no one to talk to anyway. If there’s a reasonable way to avoid big hills I take it, but generally there isn’t. The most direct route is still fastest, and hilly areas have hills no matter how you go.
When it’s possible and helpful, I make my trip multi-modal. When going from home to Pinewoods Camp, it’s nice to take the MBTA commuter ferry between downtown Boston and the shipyard in Hingham. This lets me skip most of the worst traffic on the route. It only reduces the distance by a small amount and only saves a little bit of time if any. The really useful train is the Amtrak Downeaster, which runs from Boston up into Maine and has a bike car. It’s a bit of a pain to unload all the bags and bring them into the train, but the train is totally worth it. It makes what would be three very hefty days of riding into two hefty days. And the train and ferry are fun, too!
Pit stops are a bit of a complication, though. In general, I’m inclined to think that most of the time, no one messes with a 90-lb loaded touring bike. On brevets I leave my bike outside convenience stores while I use the facility, and if I’m worried, I carry a tiny cable lock that I call my “bullshit lock” that would at least require someone to find a pair of scissors to cut through. But on these trips, my bike is loaded not with camping gear, but with musical instruments that would be expensive and difficult to replace, and fairly disastrous to lose on the way to a gig. There are some areas where I just don’t even try to stop. Sometimes I can just stop at places like ice cream stands, where I don’t have to leave my bike at all to get something to eat. When nature calls and I have to actually go inside, I’ve found that lots of places will let me bring my bike inside, too. They often give me weird looks, but I explain that I’m traveling alone and don’t want to leave my stuff unattended. If they say no, I politely say thank you and go somewhere else. I’ve also stopped at restaurants where I could both sit near the door and keep an eye on my bike at all times, and used the bullshit lock to lock the wheels down low so I’d hopefully at least have a chance of running out if someone tried anything.
For the most part though, people are quite polite and understanding. They usually assume I must be on a really long cross-country trip to be carrying so much, even though I’d actually carry less if it were a regular bike trip.
These trips aren’t commutes in the daily sense, but they are in the sense of using a bicycle to get to work. Using a bike for transportation over occasional longer distances is perfectly viable, and it’s a fun way to get in a ride where you otherwise wouldn’t. The usual “your mileage may vary” advice applies of course, but I hope my descriptions of how I do it encourage you to try it yourself!